FRT_Fun 1997 Bare Bones NA Build (MOAR PICS NAO)
 08-16-2011, 09:19 PM
#21
zoomzoom
Thread Starter
Join Date: Jul 2011
Location: Arizona
Posts: 924
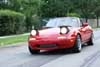
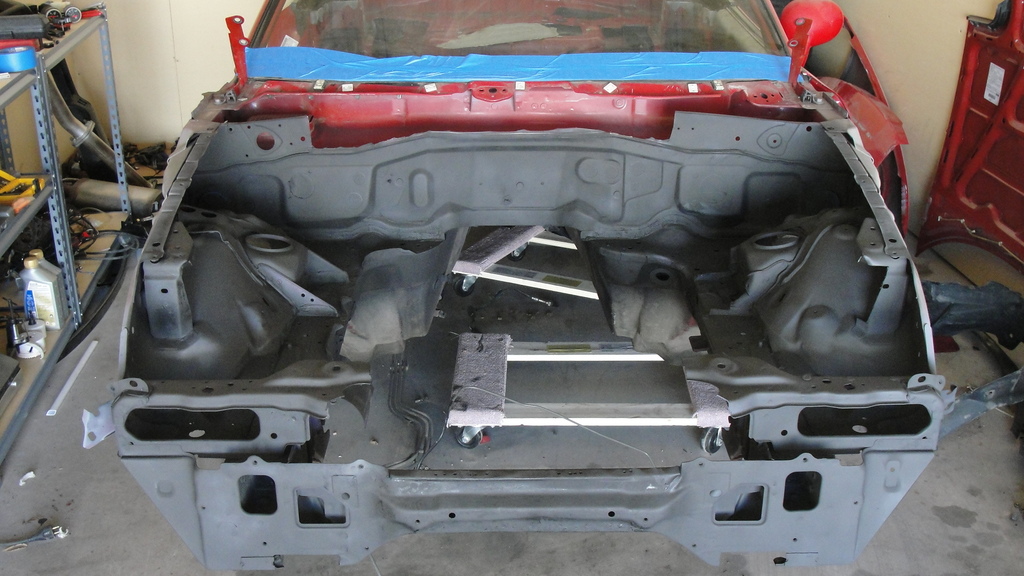
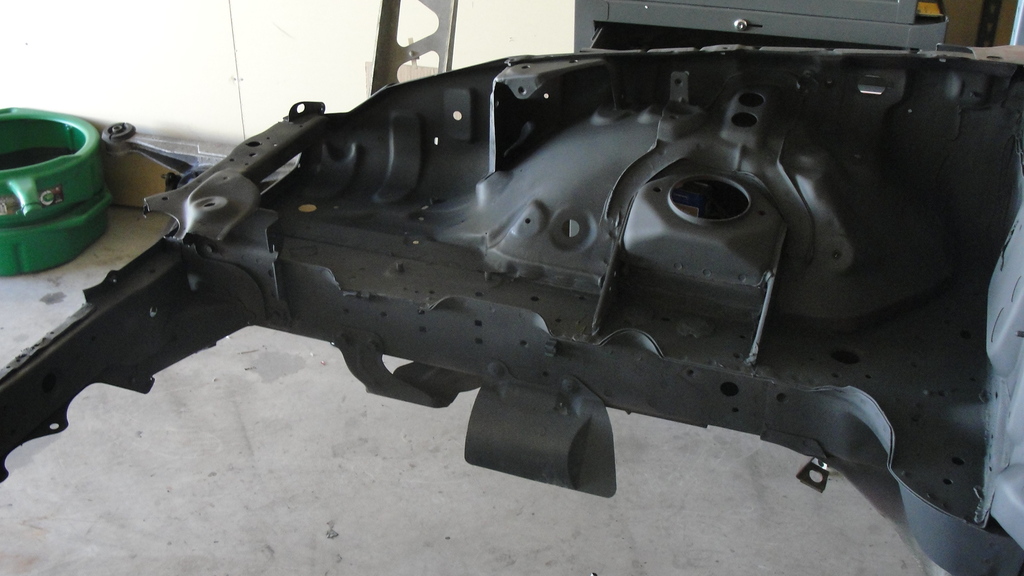
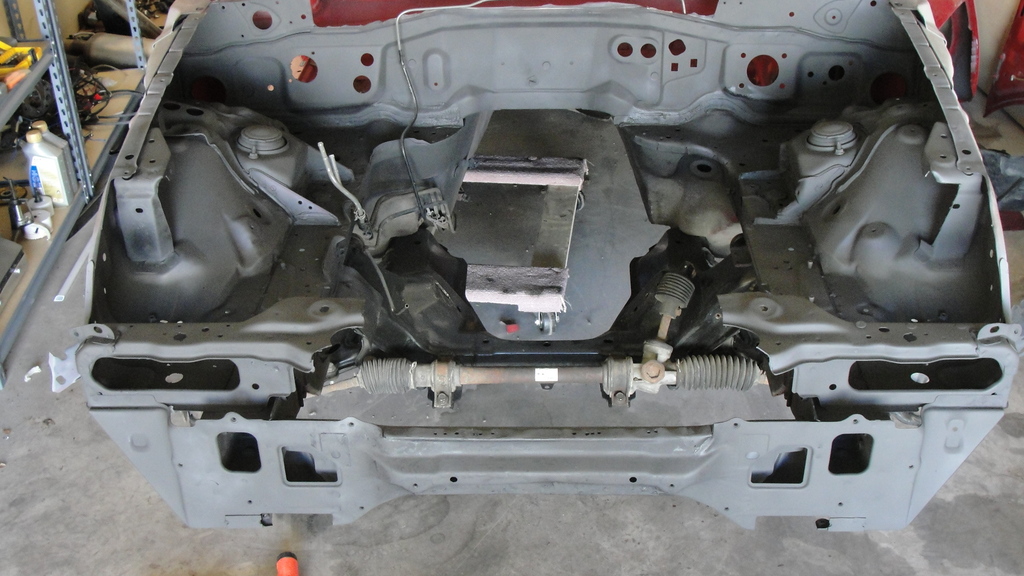
Forgot I took this on my phone...
The red part below the windshield will be painted as well, ran out of supplies. Still have to do another coat on the bay.
If my harness gets here this week I will start work on that this weekend.
The red part below the windshield will be painted as well, ran out of supplies. Still have to do another coat on the bay.
If my harness gets here this week I will start work on that this weekend.
Last edited by FRT_Fun; 08-17-2011 at 07:22 AM.


 08-20-2011, 03:47 PM
#25

") 08-20-2011, 07:19 PM
08-20-2011, 07:19 PM
#26
zoomzoom
Thread Starter
Join Date: Jul 2011
Location: Arizona
Posts: 924
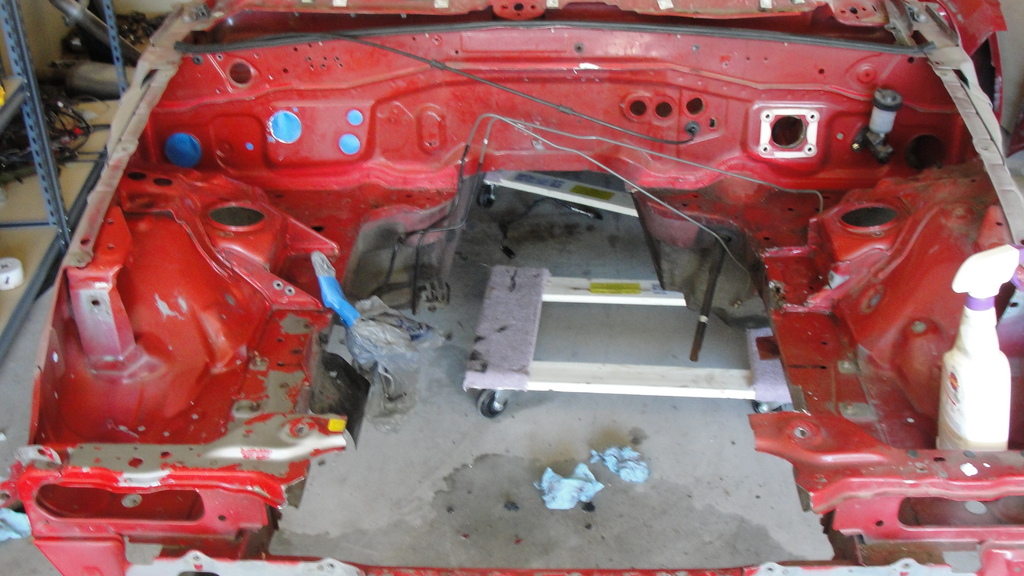
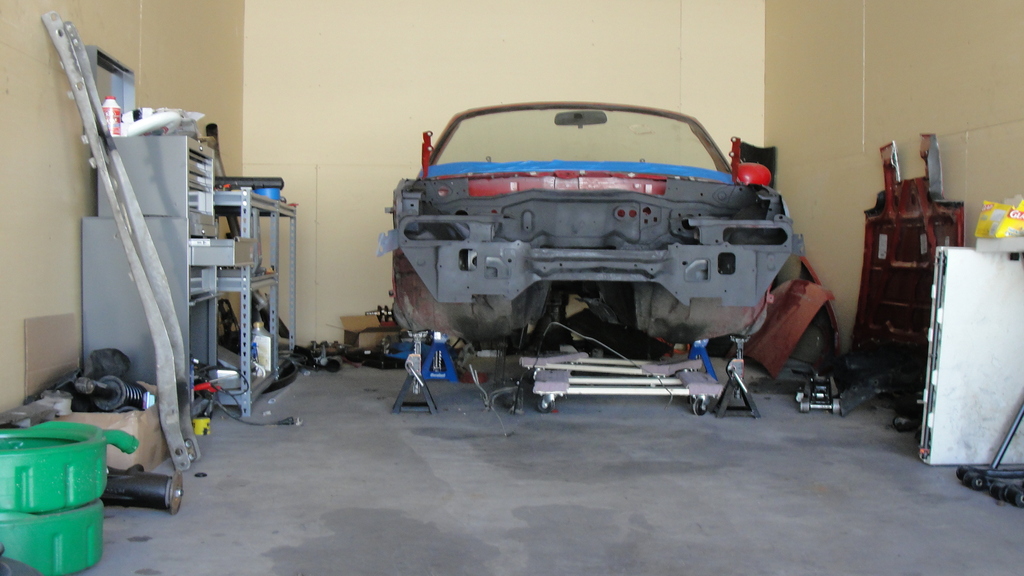
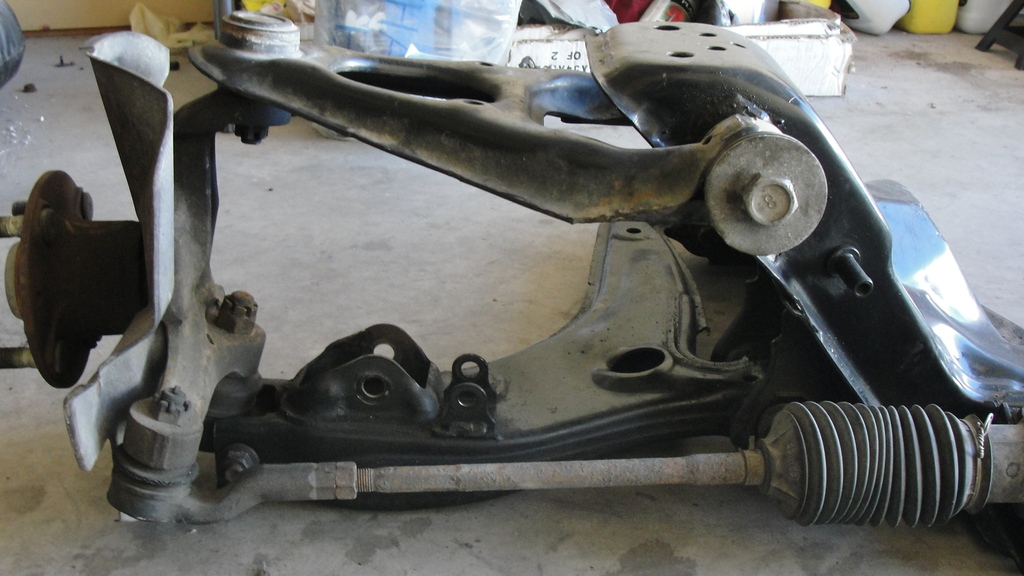
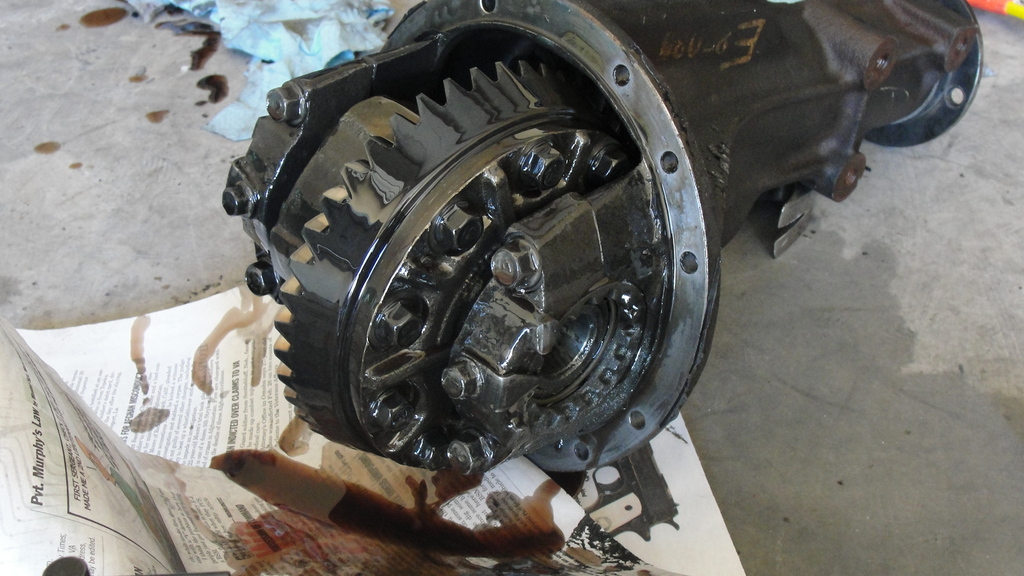
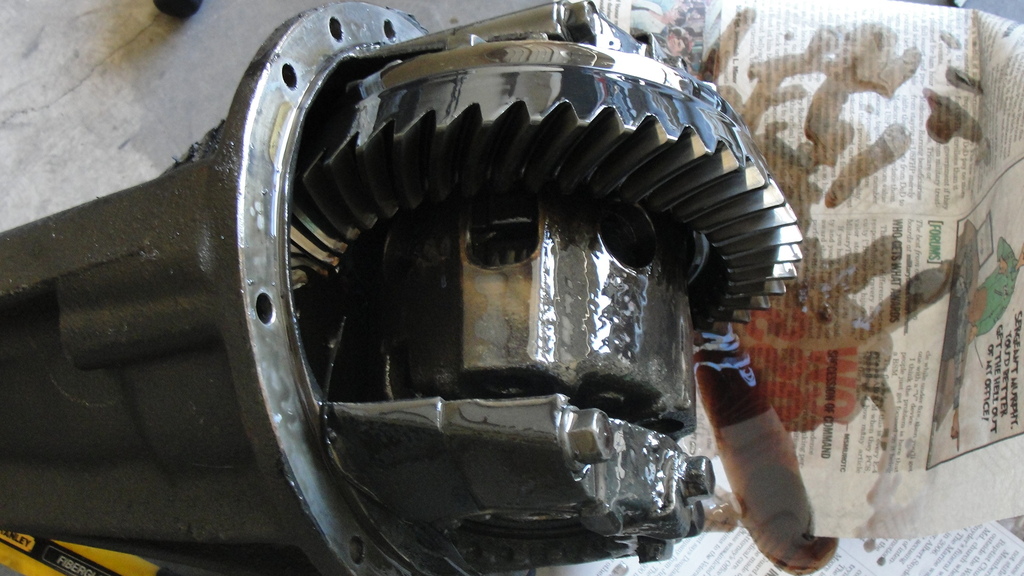
From the pics you can see I already removed it. And it took all of 5 minutes. Had no idea it was so easy. Guess the hard part is installation.
08-20-2011, 11:30 PM
#27
zoomzoom
Thread Starter
Join Date: Jul 2011
Location: Arizona
Posts: 924
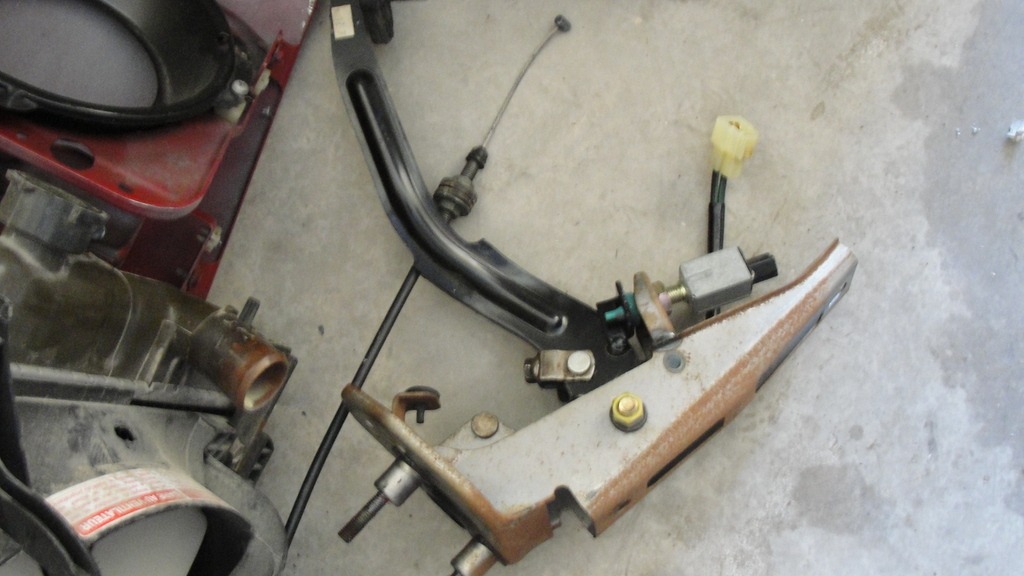
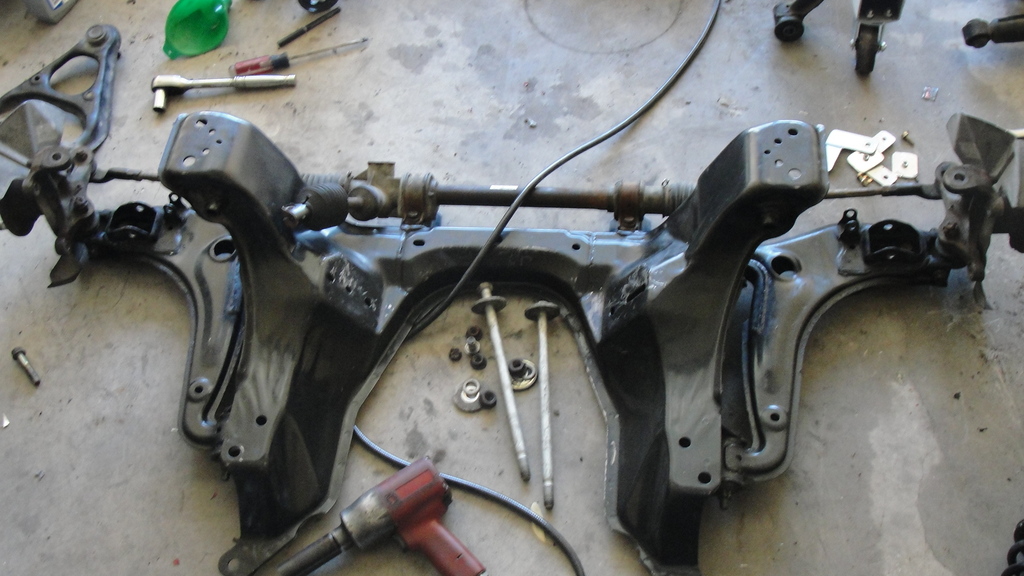
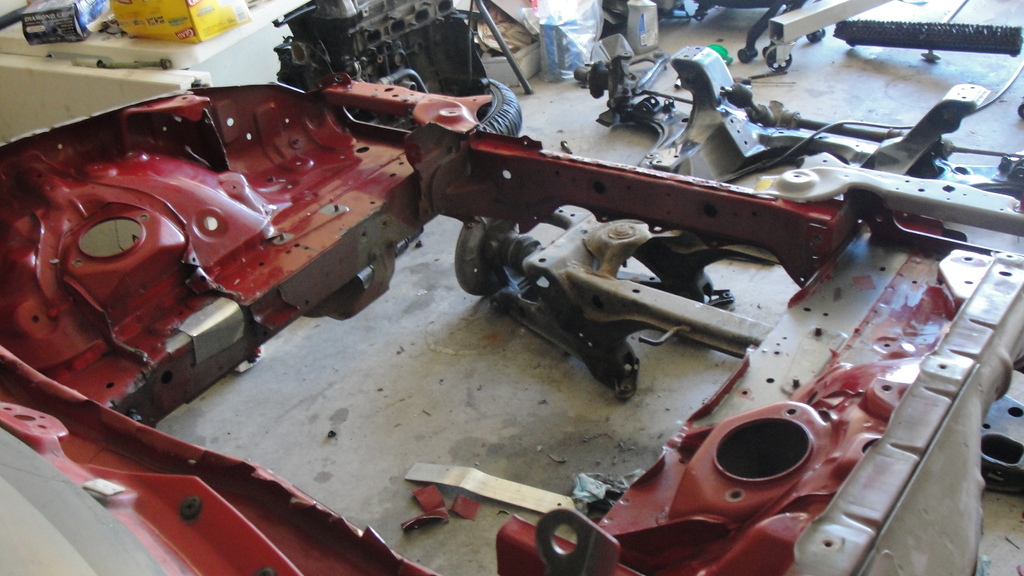
Moar tomorrow....
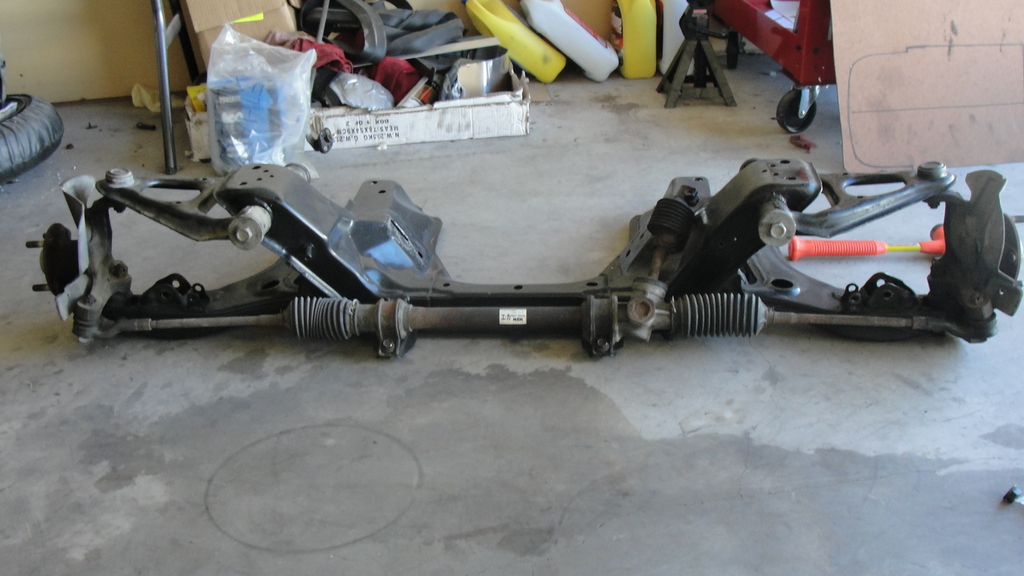
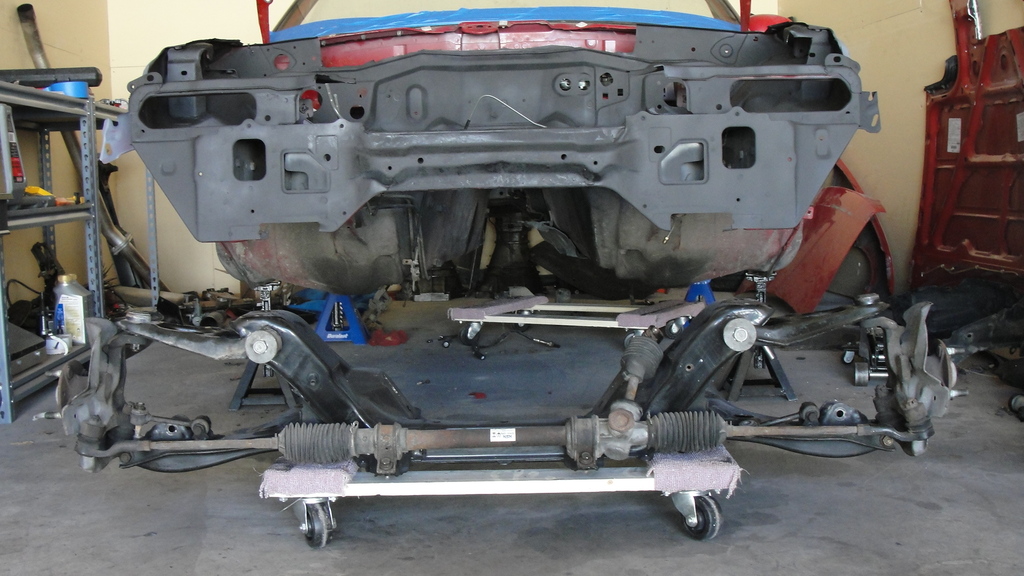
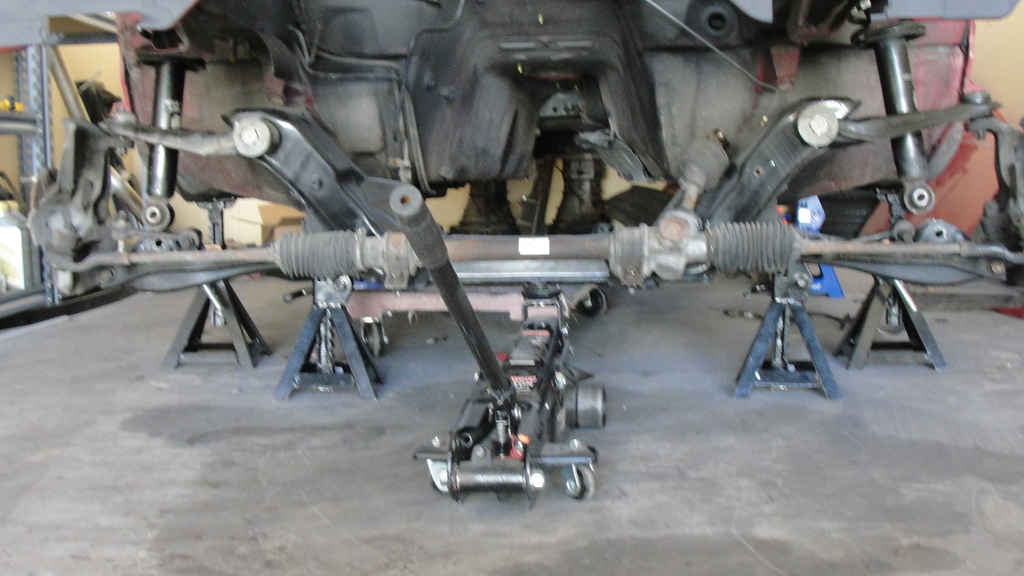
Rear subframe may be mounted.
Interior painted (front portion)
Steering column painted.
Pedals + steering column installed.
Brake Master installed.
Clutch master installed.
Old brake lines removed.
Engine test fitted.
Harness prep begins.
Rear subframe may be mounted.
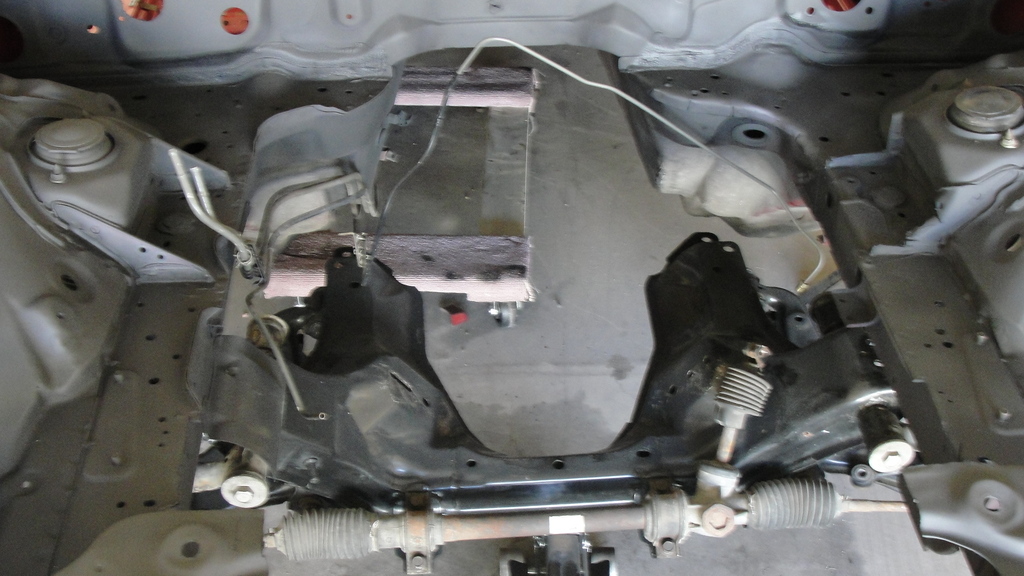
Interior painted (front portion)
Steering column painted.
Pedals + steering column installed.
Brake Master installed.
Clutch master installed.
Old brake lines removed.
Engine test fitted.
Harness prep begins.
08-27-2011, 09:00 PM
#28
zoomzoom
Thread Starter
Join Date: Jul 2011
Location: Arizona
Posts: 924
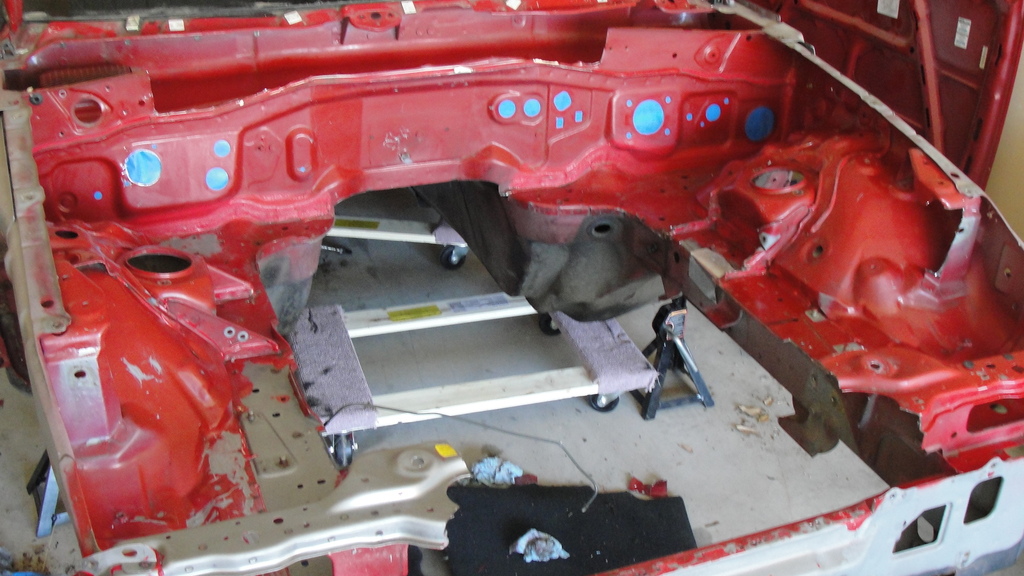
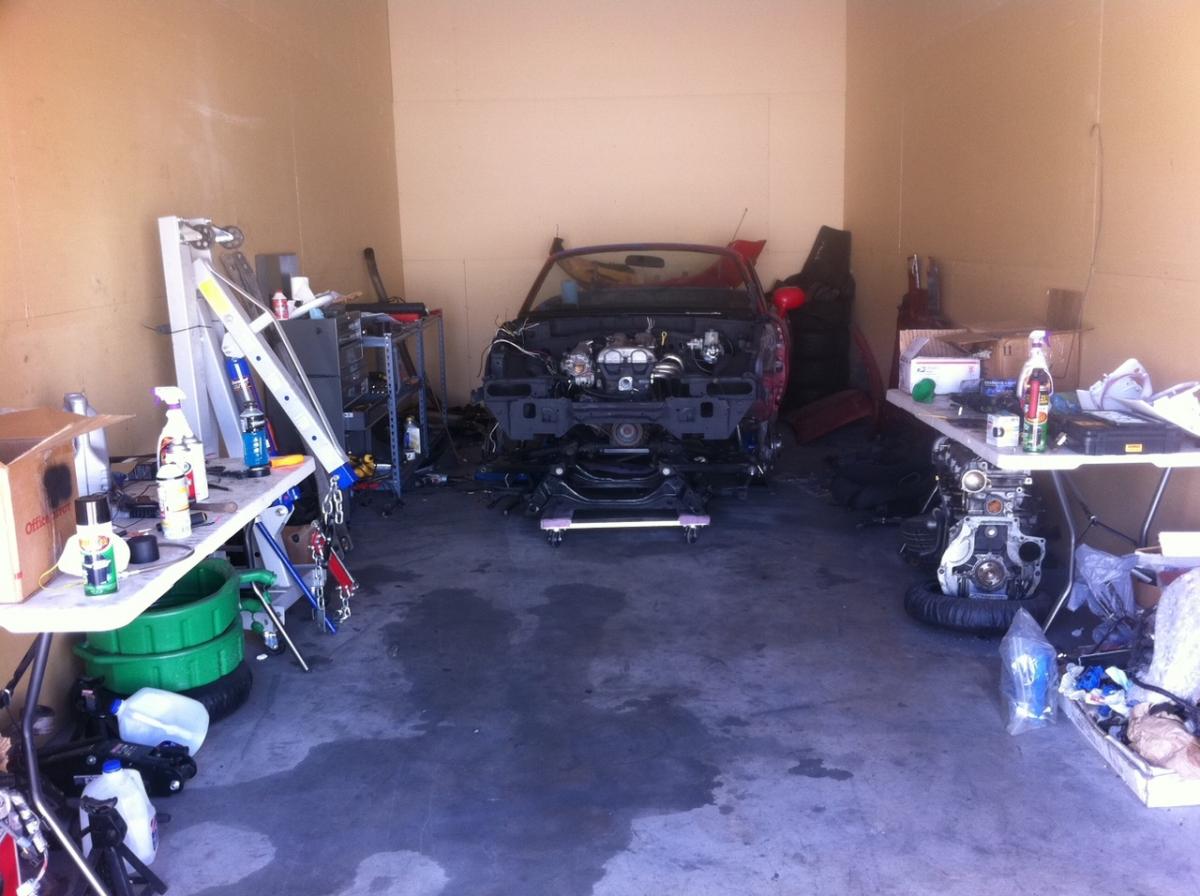
Alright so today I got some stuff done. Was super hot so only a few hours worth.
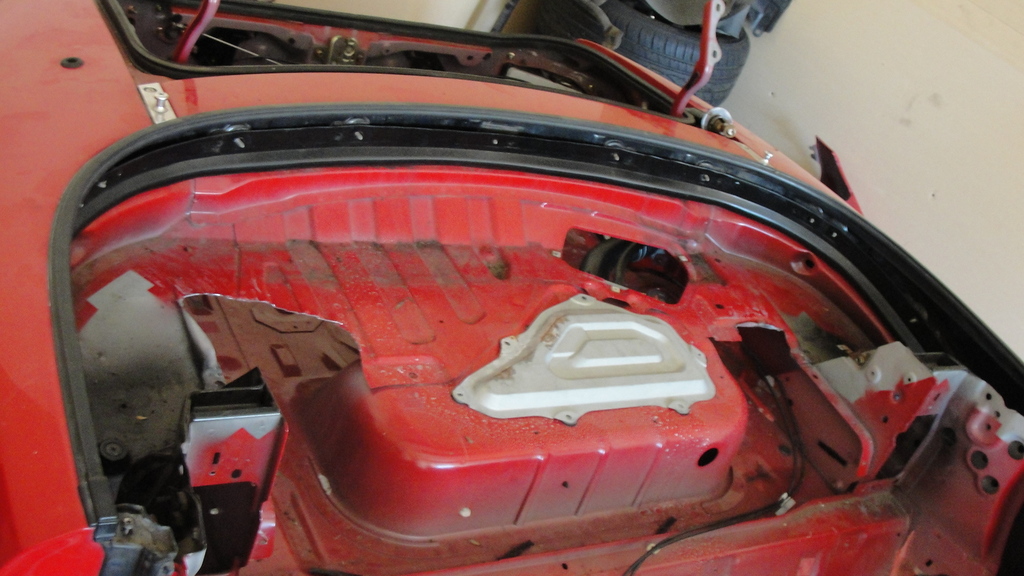
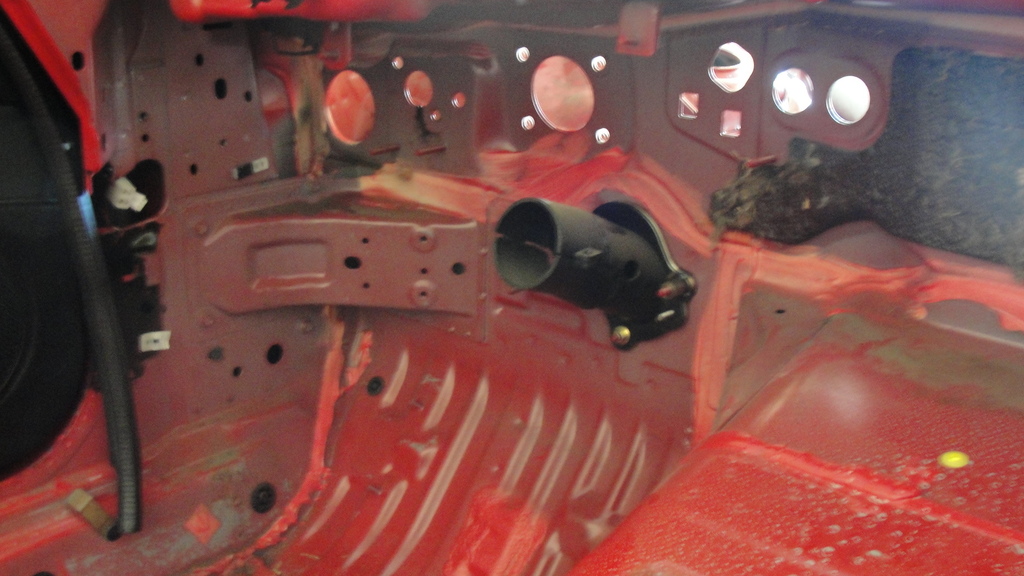
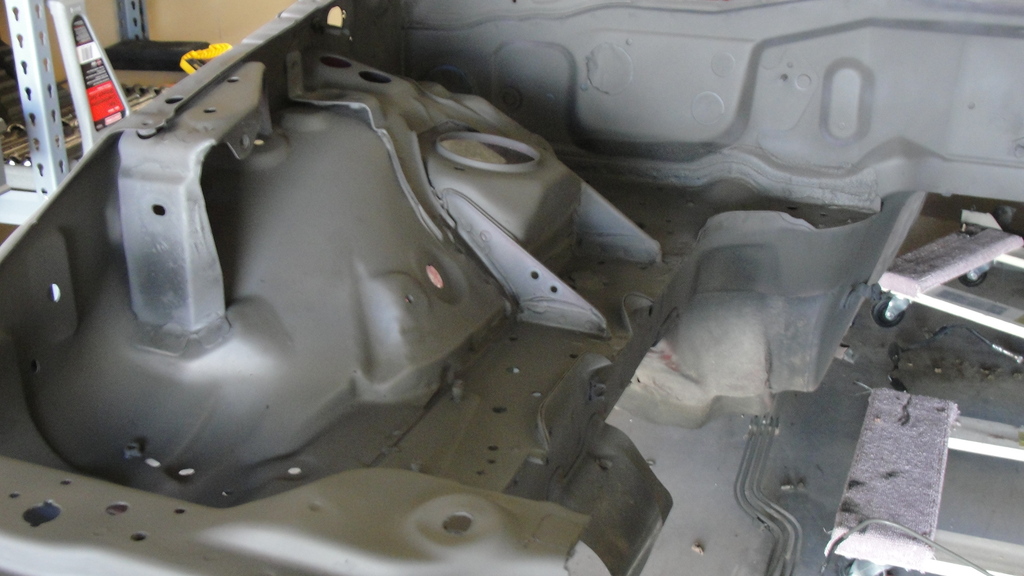
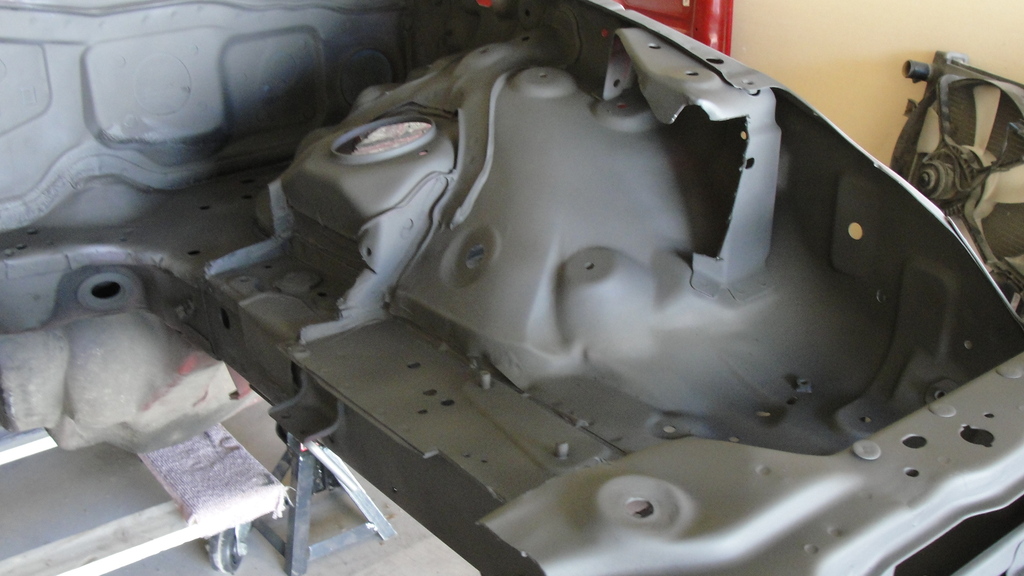
As far as I can tell the interior paint is finished. Lightning is bad so will bring a light tomorrow and touch up any spots I missed.
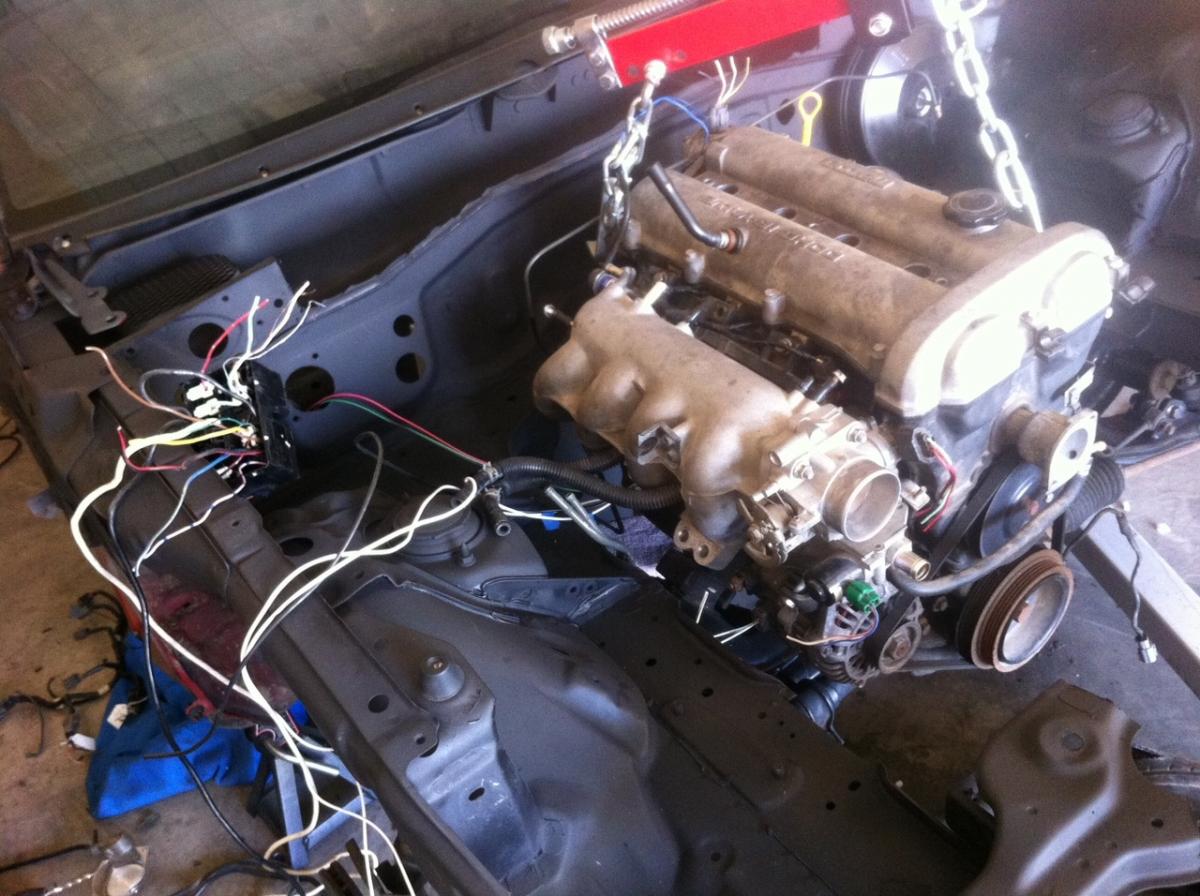
Engine installed so I can start test fitting the harness and various othe parts.

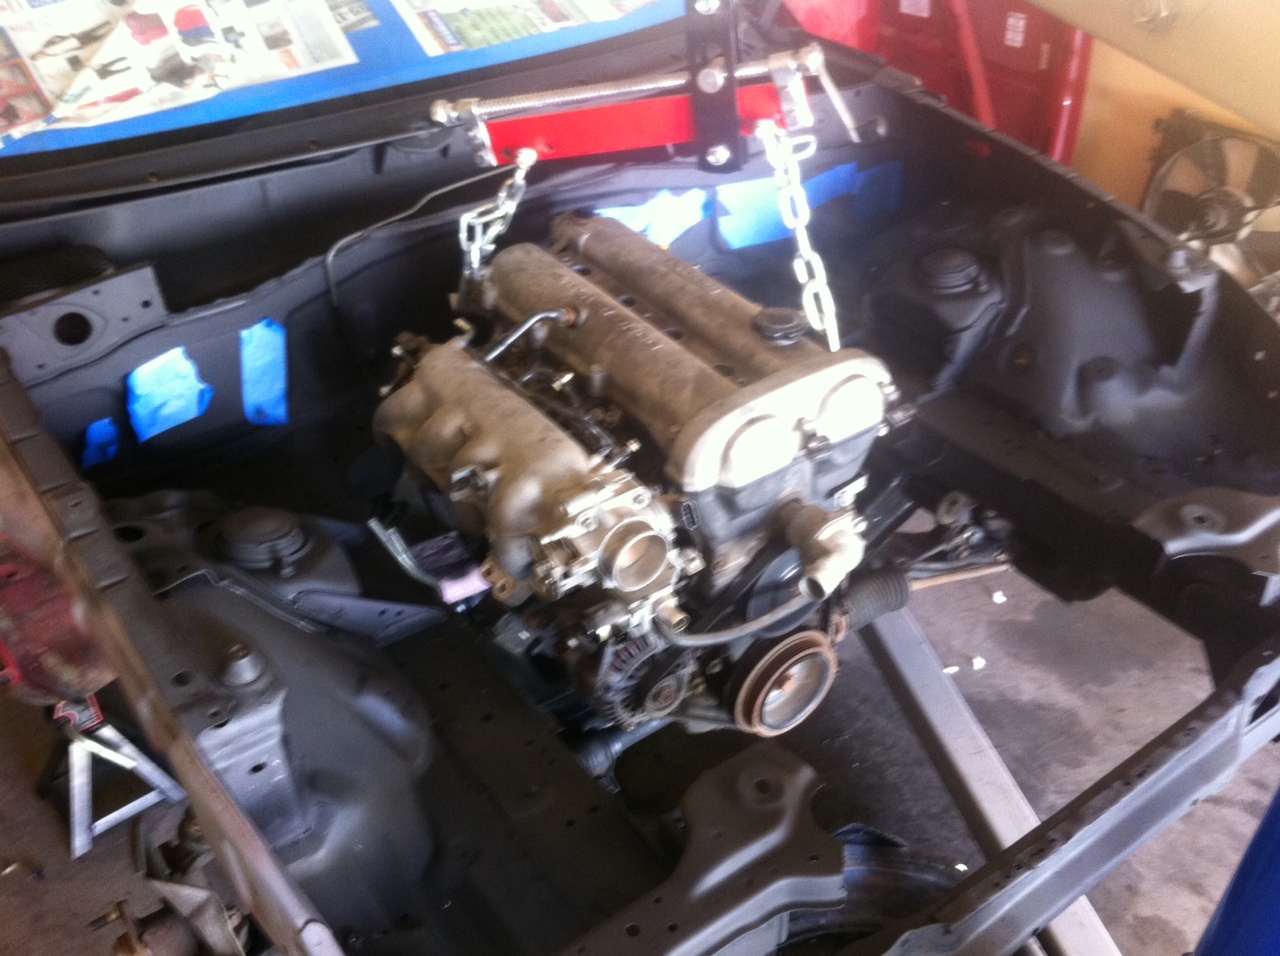
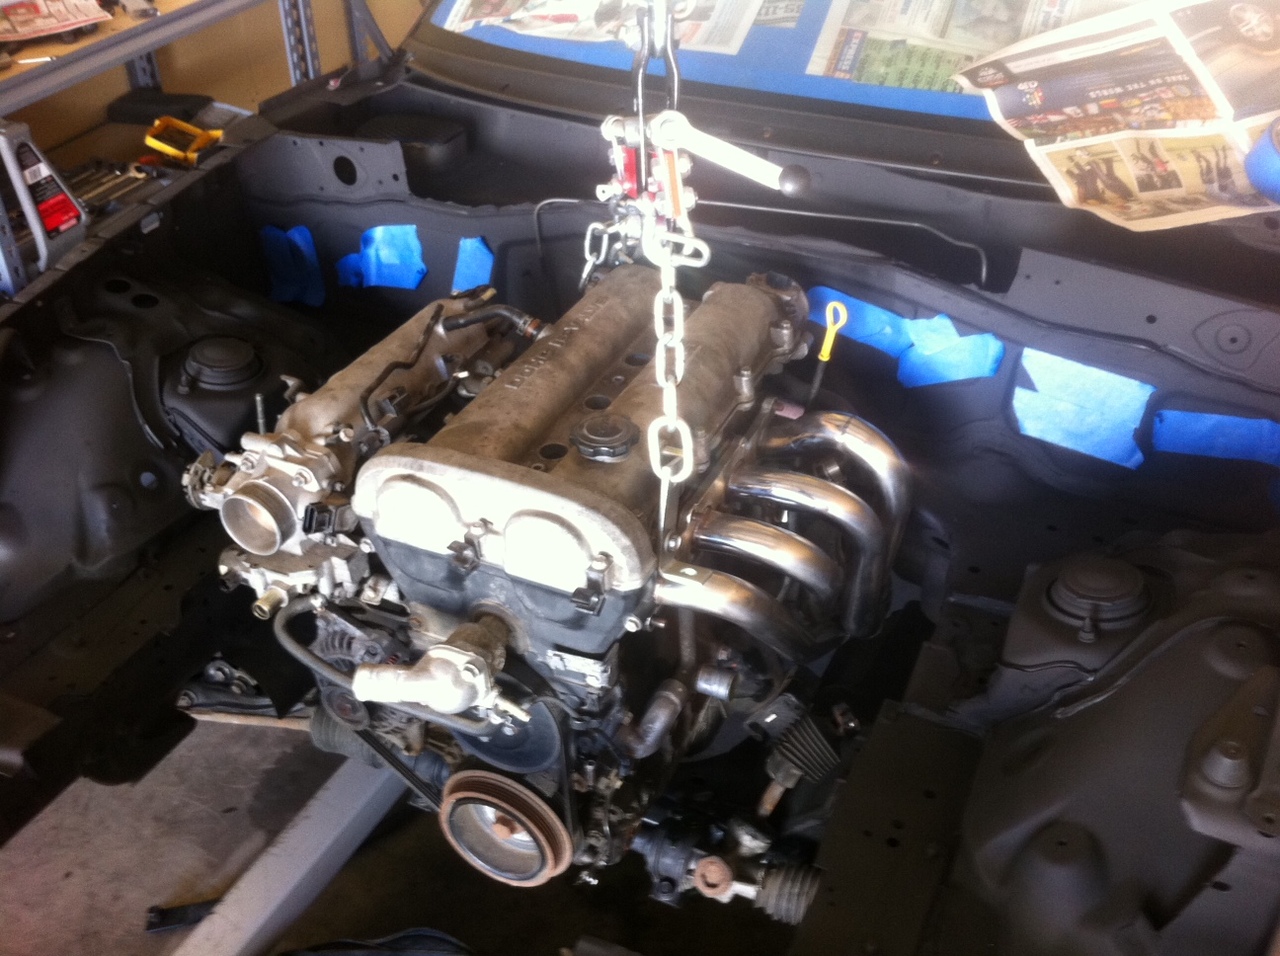
Engine will be cleaned and painted before it's in for good.
As far as I can tell the interior paint is finished. Lightning is bad so will bring a light tomorrow and touch up any spots I missed.
Engine installed so I can start test fitting the harness and various othe parts.
Engine will be cleaned and painted before it's in for good.
08-31-2011, 07:24 PM
#30
zoomzoom
Thread Starter
Join Date: Jul 2011
Location: Arizona
Posts: 924
Cleaned a bit today since an S10 will be in there for the next 2 weeks as I do some work for a buddy.
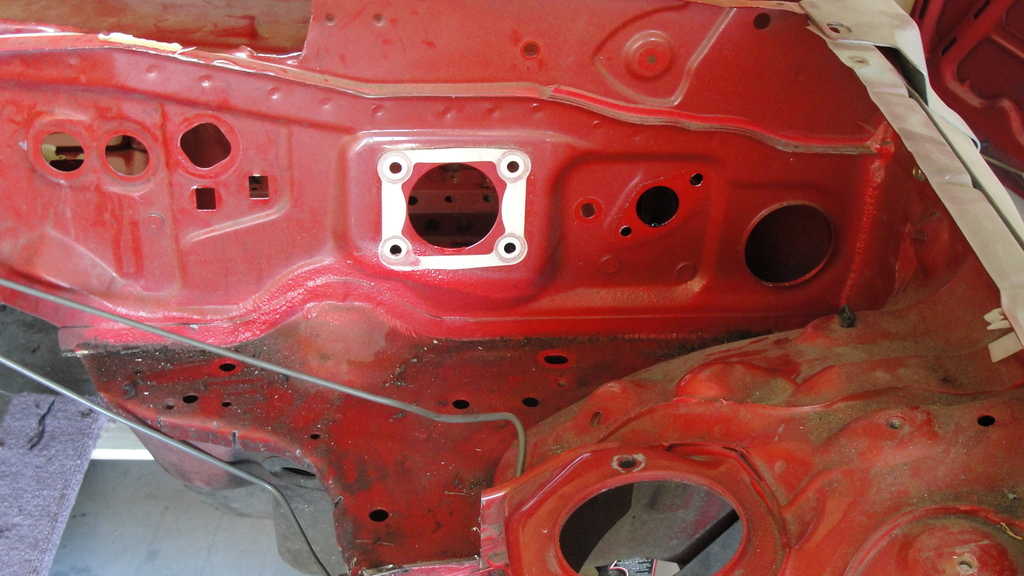
Block off plates and the injector harness.

Going to modify the relay/fuse box, and it will be located in the engine compartment.
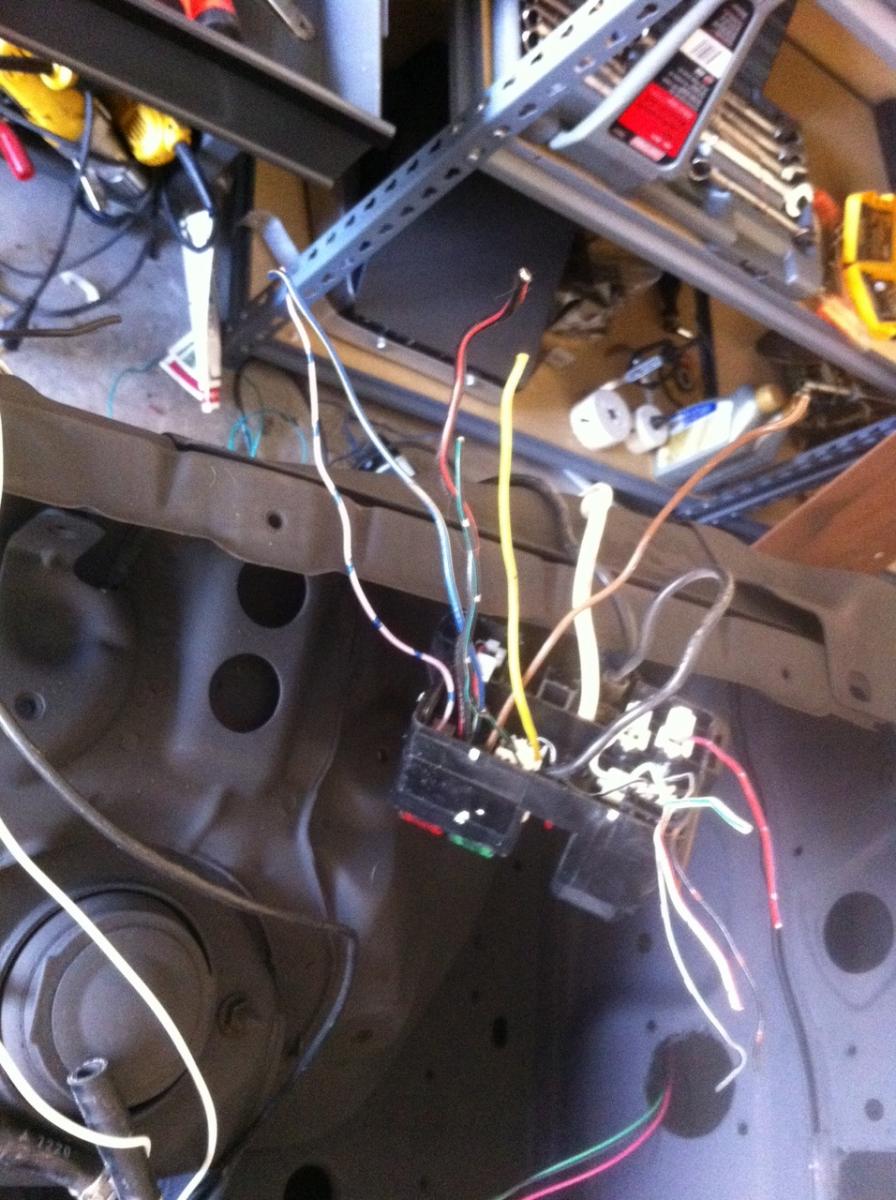
MOAR wires are appearing
Block off plates and the injector harness.
Going to modify the relay/fuse box, and it will be located in the engine compartment.
MOAR wires are appearing