Dieselmiata's teardown/rebuild of a 92


LMAO, you even did the washers and castle nuts. That beats throwing them in the PBR cap for a bit. Did you wire wheel all this while holding with a pair of vise grips? You were that over achiever kid in school weren't you?

Thread Starter
MFz Regular
Joined: Aug 2011
Posts: 540
From: Chicago. (From Austin TX!)
Started by soaking them in carb cleaner overnight to break up the old dirt/grease, and then just get crazy with a wire wheel on a bench grinder. Vinegar works great too as a de-rusting agent, but it is time comsuming. Vinegar has enough acid content to dissolve surface rust, but is not strong enough to hurt the metal's compound. But the fastest and most effective way is just a good old bench grinder. What is in the picture is just the bolts/fasteners for the drivers front control arm. I did the fasteners for all front and rear control arms plus the brake caliper hardware in about 30 minutes. I don't consider derusting/restoring parts work though, I consider it maintenance. It can be ignored, yes, but it makes everything so much easier to work on if you know the bolts won't be seized up when you go to take something apart. I figure by the end of winter, I will have done every single nut/bolt/screw on this car.
I'm almost done putting the engine back together, putting the timing belt on later, and then I'm going to tackle removing the dashboard. Should be a fun day, except that it is 10* outside and my garage is cold. Wrench bite is always worse in the winter.
I'm almost done putting the engine back together, putting the timing belt on later, and then I'm going to tackle removing the dashboard. Should be a fun day, except that it is 10* outside and my garage is cold. Wrench bite is always worse in the winter.
Thread Starter
MFz Regular
Joined: Aug 2011
Posts: 540
From: Chicago. (From Austin TX!)
Came up with a great way to hold the cams in place while putting the belt on. A ratchet strap!
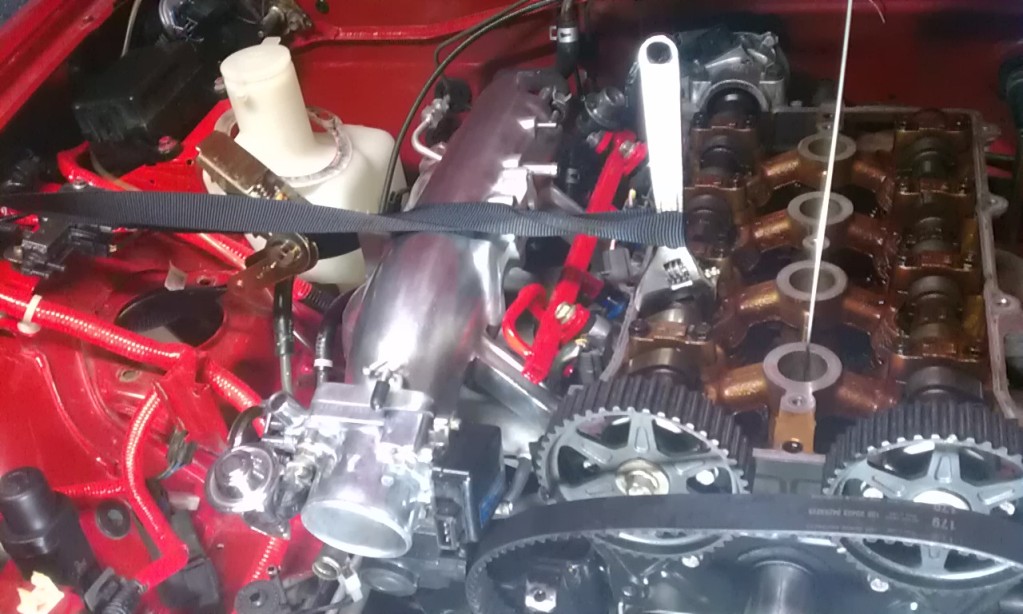
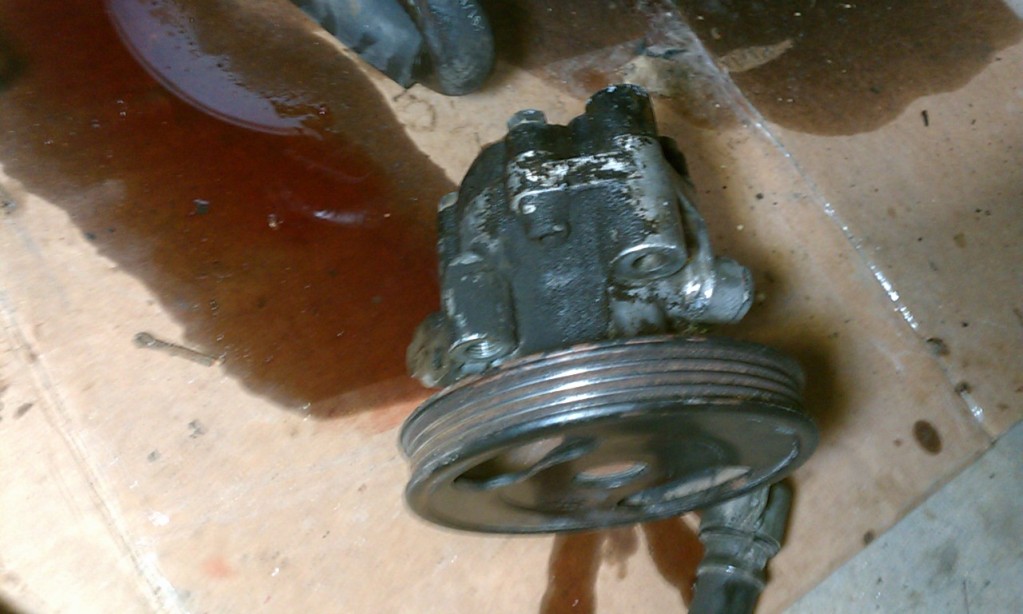
Got the timing belt done, and the engine is almost all buttoned up. While I was in there, I pulled all my lifters apart, got the nasty black oil from out of them. Next I'm going to remove the power steering pump and see if I can polish the pulley. I'm really liking the water pump pulley, but if the others don't match it's going to drive me insane.

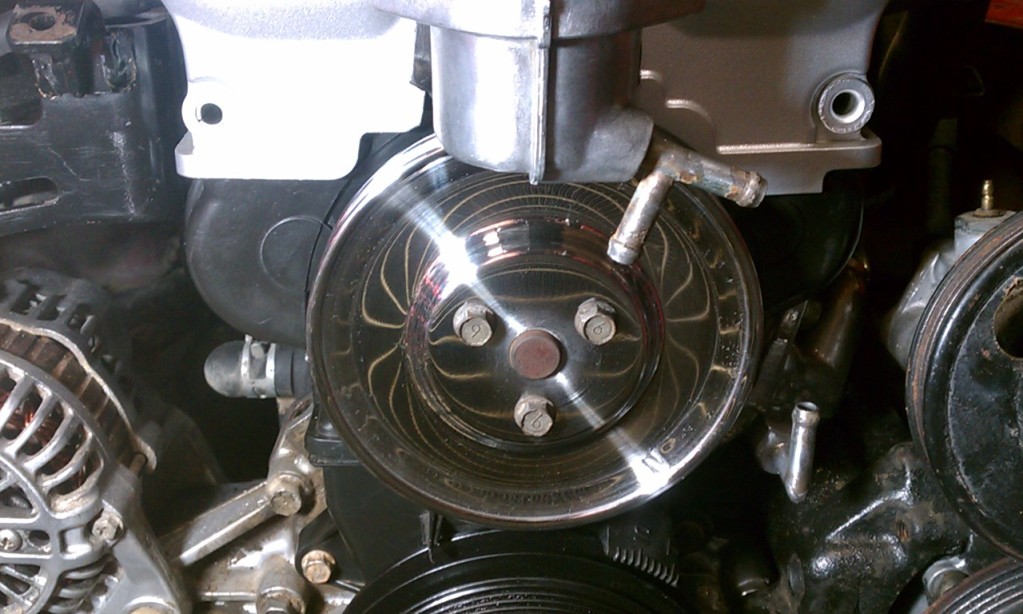
Got the timing belt done, and the engine is almost all buttoned up. While I was in there, I pulled all my lifters apart, got the nasty black oil from out of them. Next I'm going to remove the power steering pump and see if I can polish the pulley. I'm really liking the water pump pulley, but if the others don't match it's going to drive me insane.
Give me a couple weeks to finish the electrical and then you may come over to my new heated garage. 
If anyone knows how to handle surface rust, I imagine it's you. I'm going to start doing it your way.
If anyone knows how to handle surface rust, I imagine it's you. I'm going to start doing it your way.
Thread Starter
MFz Regular
Joined: Aug 2011
Posts: 540
From: Chicago. (From Austin TX!)
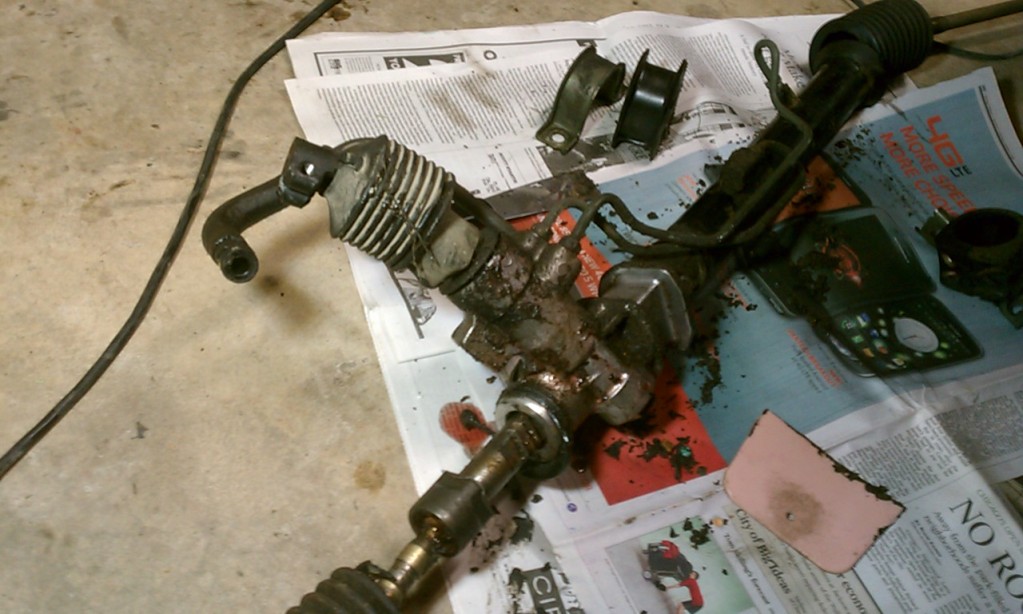
I just dropped my power steering pump and rack. Holy crap what a mess. The boots are all but gone, the top seal is leaking, and it's all covered in a 1/4" thick layer of grease and dirt. I've go some real work to put into this.
Thread Starter
MFz Regular
Joined: Aug 2011
Posts: 540
From: Chicago. (From Austin TX!)
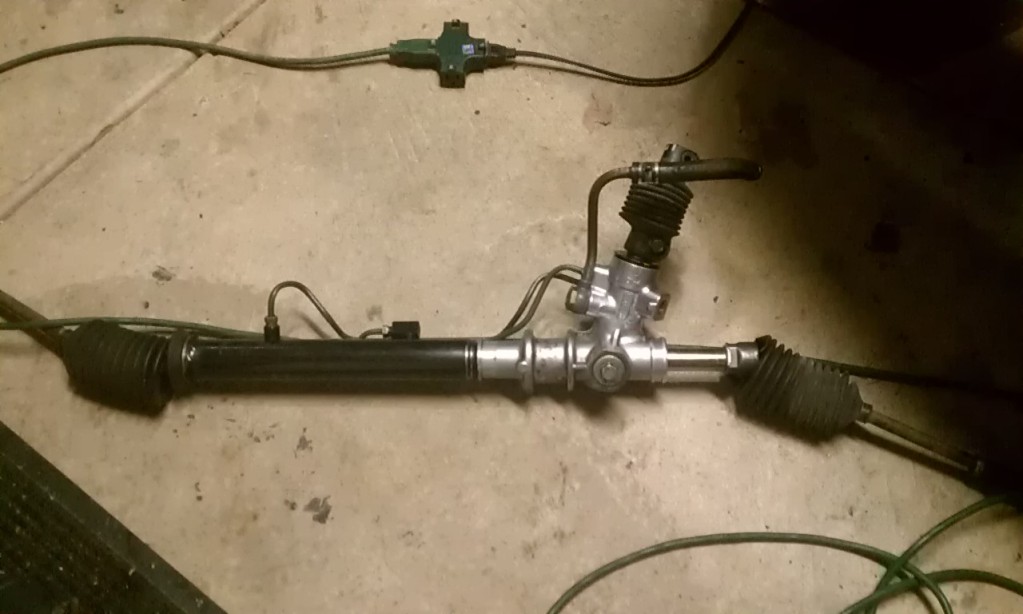
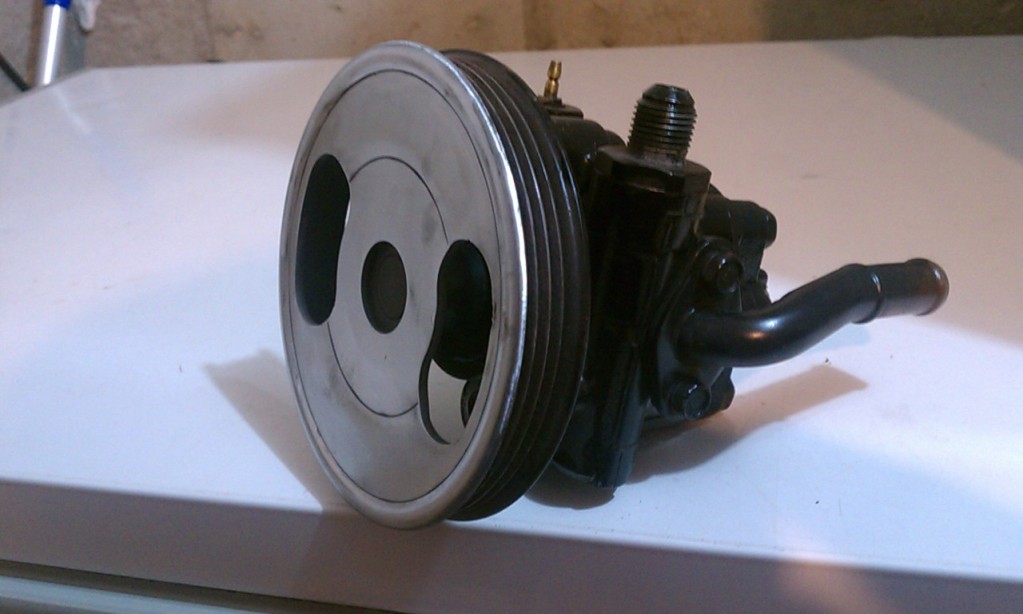
Cleaned up the steering rack, and figured out a way to match the power steering pump to the rest of the engine. The pulley still needs some polishing, but the brunt of the work is done. I painted the pump body with the same black as the rest of the chassis to help it blend in a bit. I have no ^&%$#in g idea how I'm going to polish the A/C pulley without removing the compressor. Maybe once I get everything up and running, I'll just use the natural rotation of the engine and hold sandpaper to the pulley as it rotates.
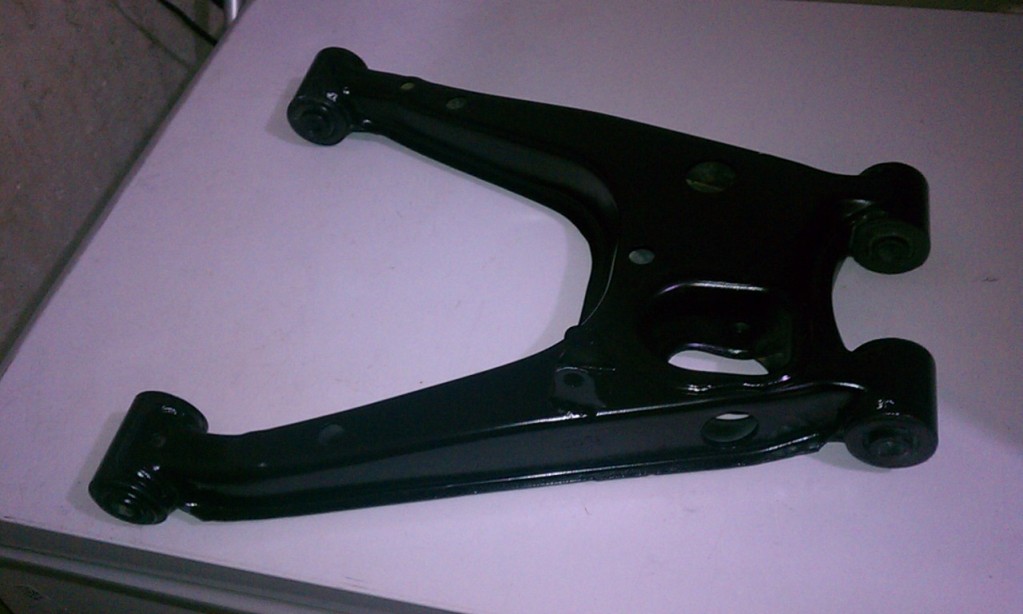
I forgot to get pictures before I shot them with primer, but they were almost mirror finish after I got crazy with a grinder. It would be cool if they could stay that way, but bare metal control arms would not last long.
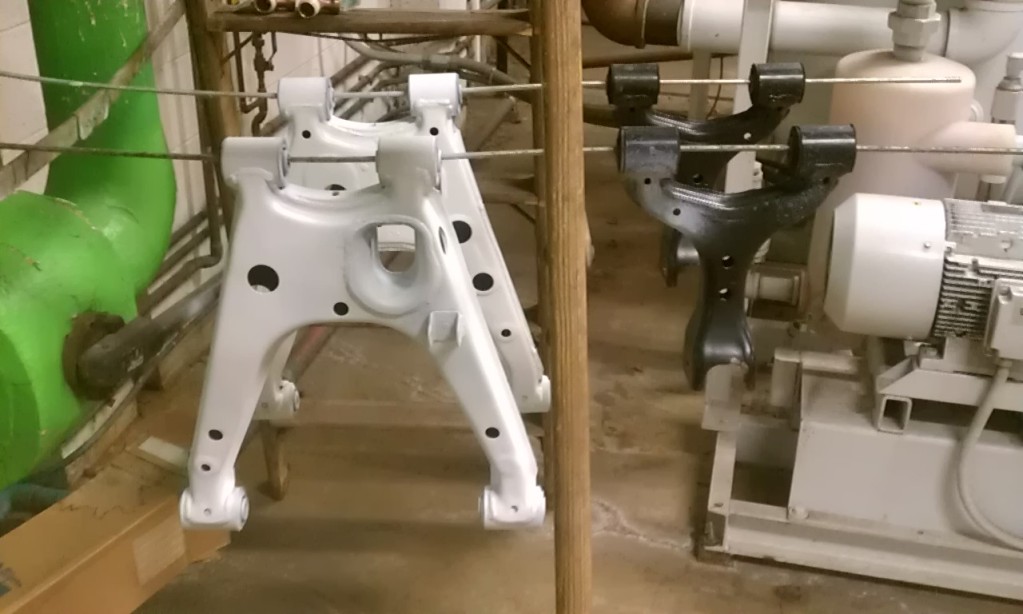
And here's a crappy snap of one done. Sorry about the quality of pics, I don't have a nice camera.
I forgot to get pictures before I shot them with primer, but they were almost mirror finish after I got crazy with a grinder. It would be cool if they could stay that way, but bare metal control arms would not last long.
And here's a crappy snap of one done. Sorry about the quality of pics, I don't have a nice camera.