Blaen, on BEGi's modern art


 08-12-2012, 11:21 AM
#32
MFz Regular
Thread Starter

Join Date: Sep 2011
Posts: 53
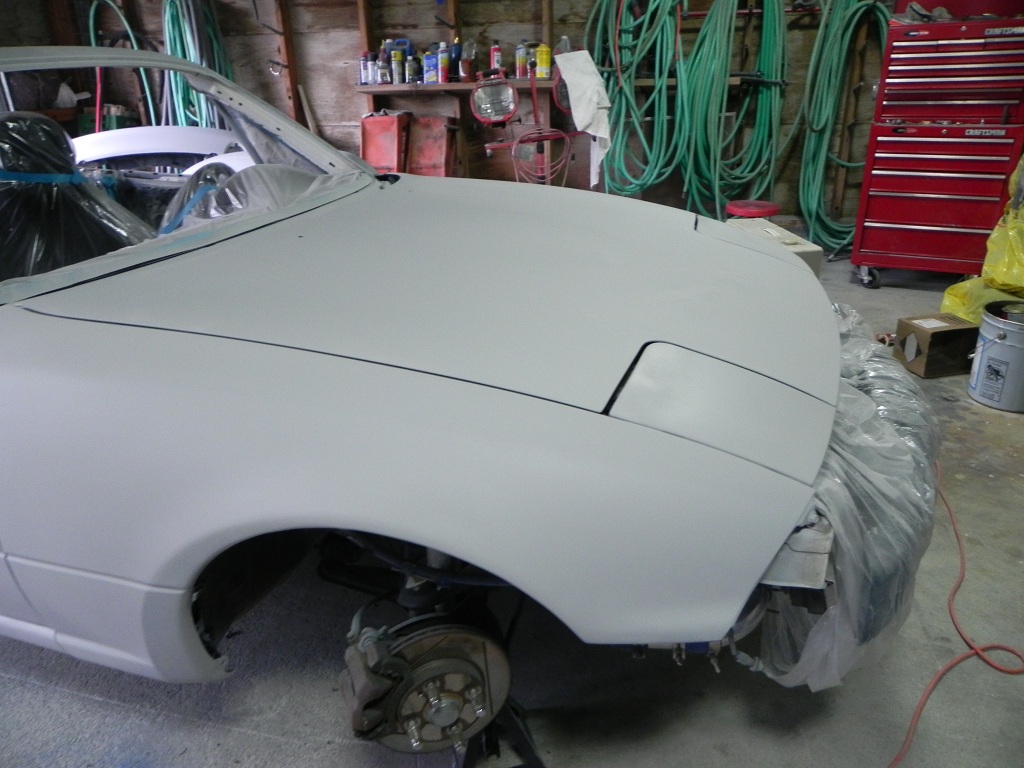
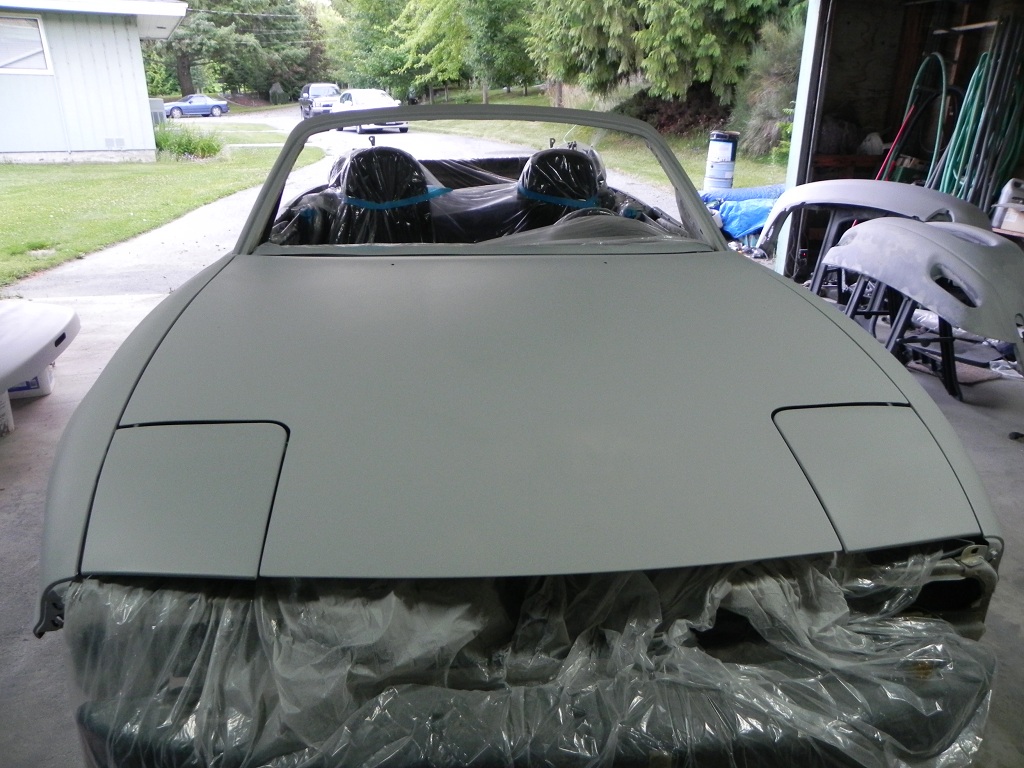
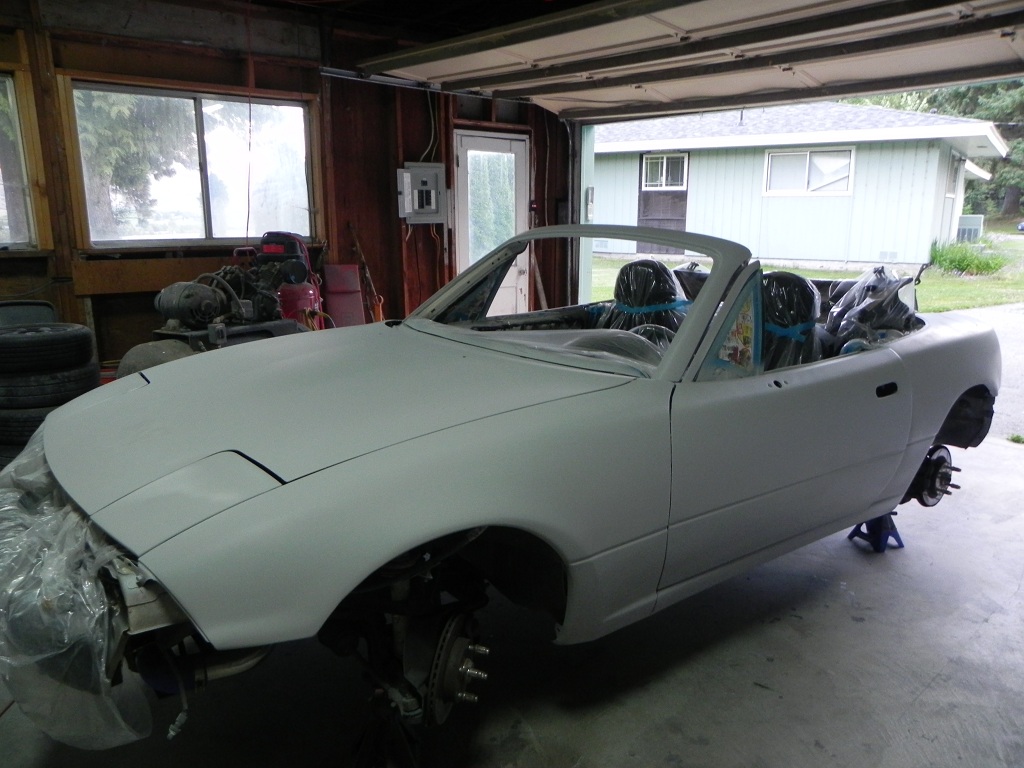
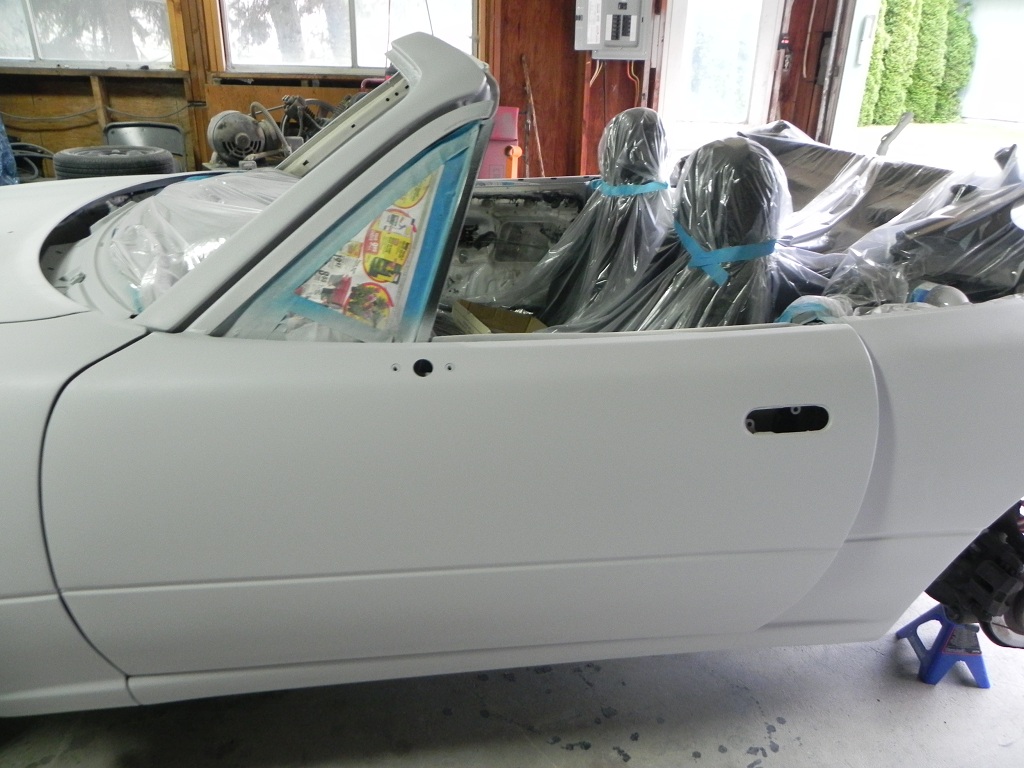
Well, finally got around to taking pictures of the latest and updating on it.
So far, the Harbor Freight gun is working shockingly well for a HF piece of crap. I wouldn't get 10 foot near it as a long term gun, but as a single use gun, it works shockingly well. If it continues to work as well as it does for the paint, it may get an entry as win in the win or fail thread!
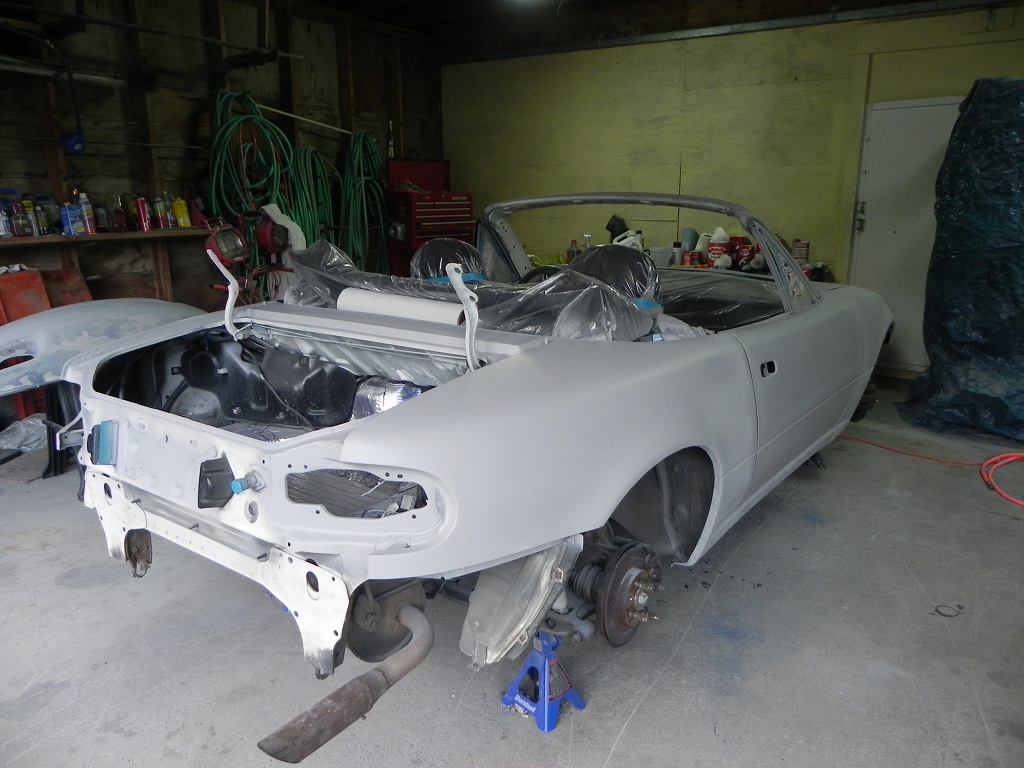
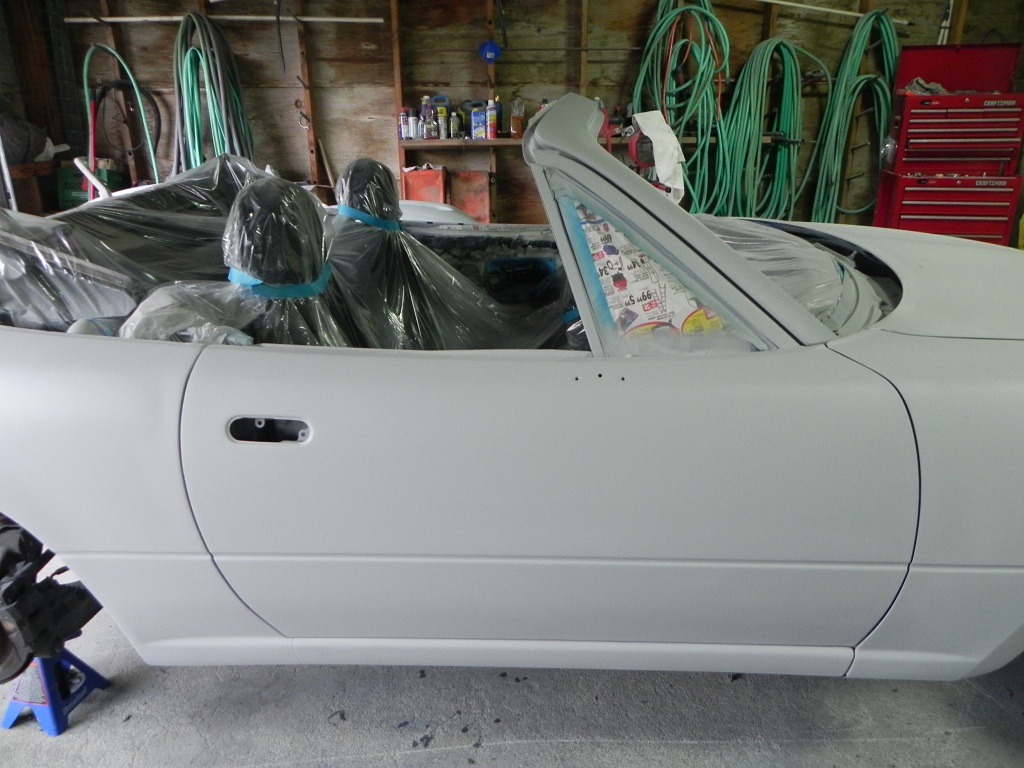
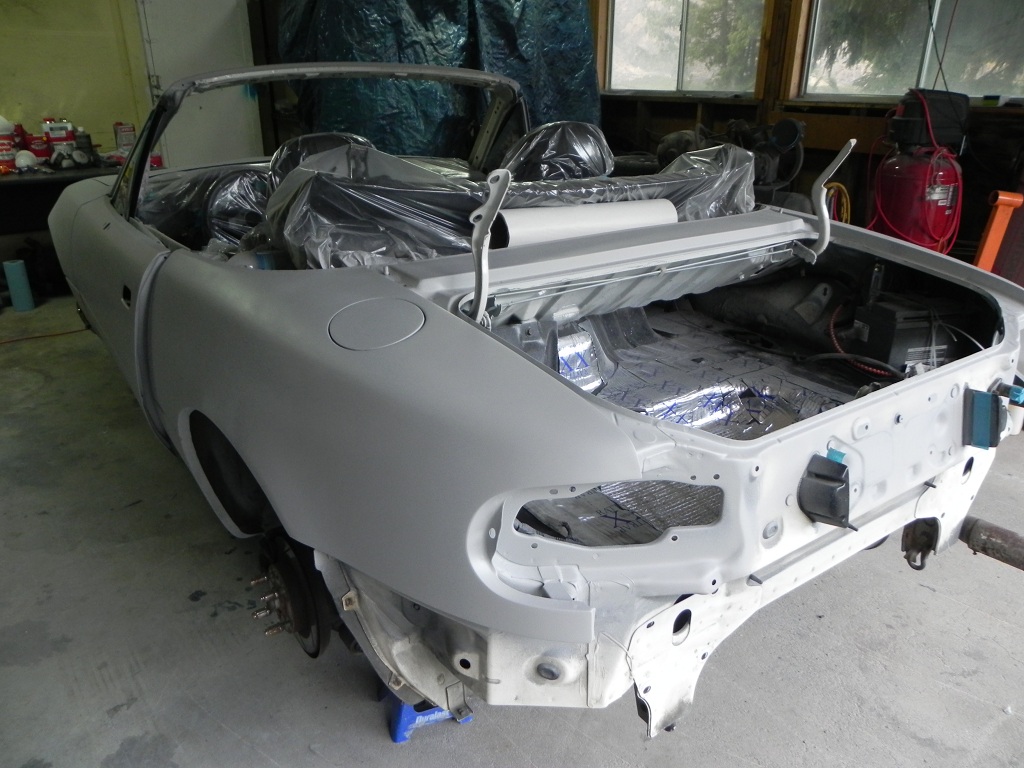
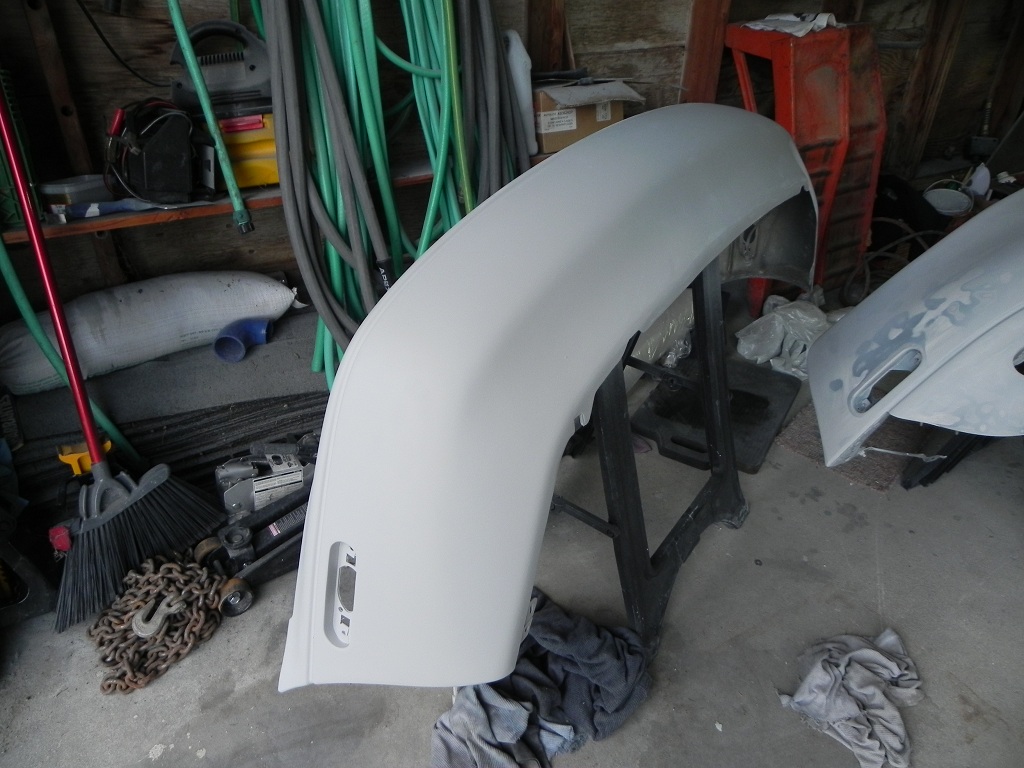
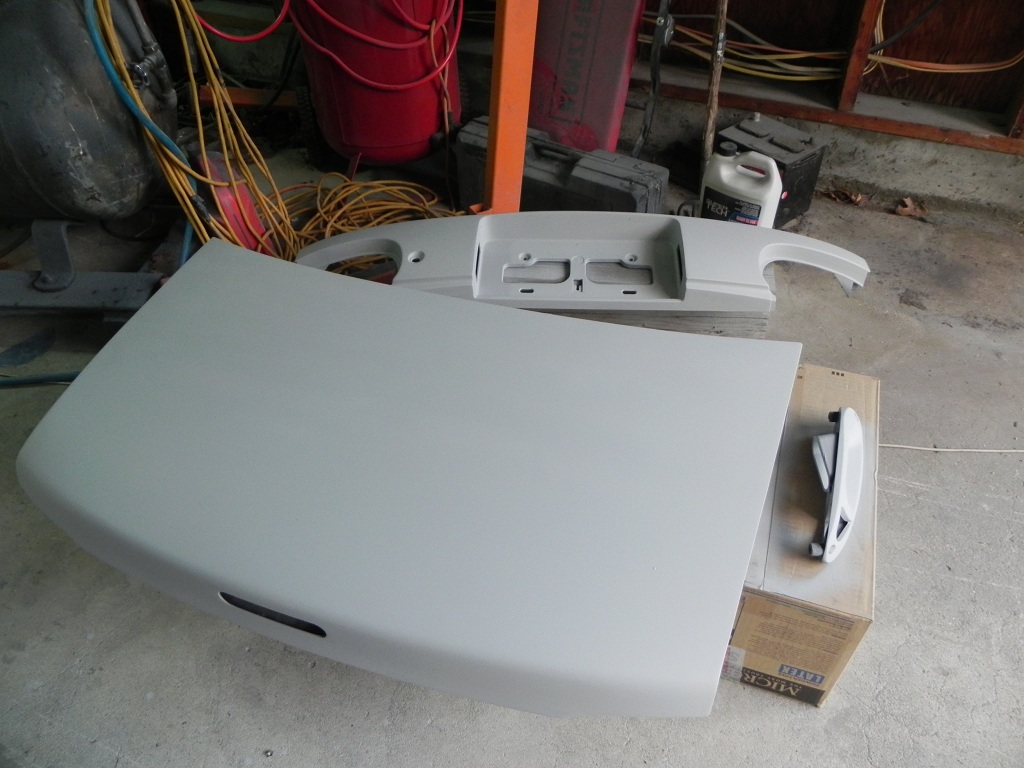
I still need to finish the front bumper, but everything is definitely getting there. This is the initial primer round, so guide coat incoming with lots of sanding, but there's definitely a great deal of progress being made.
So far, the Harbor Freight gun is working shockingly well for a HF piece of crap. I wouldn't get 10 foot near it as a long term gun, but as a single use gun, it works shockingly well. If it continues to work as well as it does for the paint, it may get an entry as win in the win or fail thread!
I still need to finish the front bumper, but everything is definitely getting there. This is the initial primer round, so guide coat incoming with lots of sanding, but there's definitely a great deal of progress being made.
08-12-2012, 02:47 PM
#34
MFz Regular
Thread Starter
Join Date: Sep 2011
Posts: 53
Good-to-decent for the first shooting, declines a bit for the second, very mediocre for the third shooting, and isn't worth shooting with after that. It's disposable.
This isn't my first rodeo, if that's what you mean. Next post incoming on the build thread now - I'm updating a backlog of posts that need to go up here.
and whats ur background in painting is this your first paint job?
08-12-2012, 02:49 PM
#35
MFz Regular
Thread Starter
Join Date: Sep 2011
Posts: 53
This is when the painting was just been finished, and it took a good 6 hours to do from the start to shooting final clear.
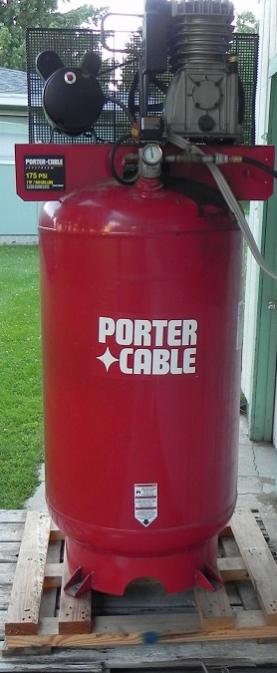
The first thing that I had to get a picture of is the compressor. This is the size of compressor you really should be using for paint, even if it's just a garage job. Yes, this compressor really is taller than I am, and I'm 6'1". It's gigantic, and for paint, larger is always better.
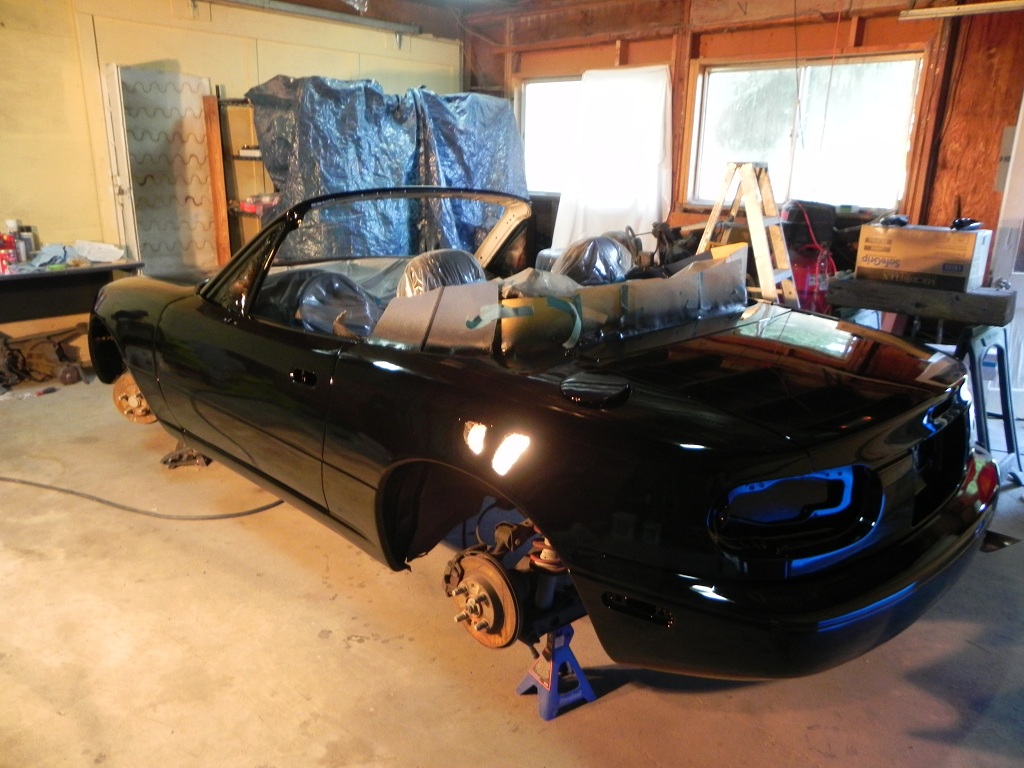

This paint job was done with the $50 harbor gun HVLP set. My overall take on it is it is okay - but only for one job. Realistically, if you can, it is best to only shoot with it once, although you can squeeze more than one shooting out of it if you have to. However, if you try to force more than 3 shootings out of it, you are insane and need to just bite the bullet and get a real paint gun - or buy a new one. 2 shootings was the practical limit for quality shooting with it, although you saw degradation immediately in the second shooting, and a third was still possible (It made it more difficult than was necessary to shoot with it the third time however - and it likely will end up costing me in time far more than the guns are worth).
The paint used and most primer was pure Wanda, using SPI black Epoxy as a sealer and as the first primer coat. Total material cost for the paint job was under $600 including a RIDICULOUS amount of bodyfiller and icing. If I had time to wait on SPI materials, however, what I would recommend is using all SPI primers/clears, with just a Wanda basecoat. The results you get will be definitely superior to the pure Wanda system at a minimal cost increase. Sadly, I was unable to get SPI materials here on a timeframe that was compatible with my schedule, but they are the best on the market imo - not best value for money, best period. And they are pretty cheap too.
The pictures show a freshly-shot car that needs to be wet sanded. You can see the issues expected in a garage job, but none of them are unfixable - you just need a wet sanding and polish/buff. With that said, you will still get these same issues in a dedicated paint booth, and I have seen paint jobs come out of paint booths that look way worse than what was done in a crappy, ancient old garage here.
The first thing that I had to get a picture of is the compressor. This is the size of compressor you really should be using for paint, even if it's just a garage job. Yes, this compressor really is taller than I am, and I'm 6'1". It's gigantic, and for paint, larger is always better.
This paint job was done with the $50 harbor gun HVLP set. My overall take on it is it is okay - but only for one job. Realistically, if you can, it is best to only shoot with it once, although you can squeeze more than one shooting out of it if you have to. However, if you try to force more than 3 shootings out of it, you are insane and need to just bite the bullet and get a real paint gun - or buy a new one. 2 shootings was the practical limit for quality shooting with it, although you saw degradation immediately in the second shooting, and a third was still possible (It made it more difficult than was necessary to shoot with it the third time however - and it likely will end up costing me in time far more than the guns are worth).
The paint used and most primer was pure Wanda, using SPI black Epoxy as a sealer and as the first primer coat. Total material cost for the paint job was under $600 including a RIDICULOUS amount of bodyfiller and icing. If I had time to wait on SPI materials, however, what I would recommend is using all SPI primers/clears, with just a Wanda basecoat. The results you get will be definitely superior to the pure Wanda system at a minimal cost increase. Sadly, I was unable to get SPI materials here on a timeframe that was compatible with my schedule, but they are the best on the market imo - not best value for money, best period. And they are pretty cheap too.
The pictures show a freshly-shot car that needs to be wet sanded. You can see the issues expected in a garage job, but none of them are unfixable - you just need a wet sanding and polish/buff. With that said, you will still get these same issues in a dedicated paint booth, and I have seen paint jobs come out of paint booths that look way worse than what was done in a crappy, ancient old garage here.

 08-14-2012, 03:40 PM
#37
MFz Regular
Thread Starter
Join Date: Sep 2011
Posts: 53
I live in WA, so that depends on how far you consider driving distance! As for next update...
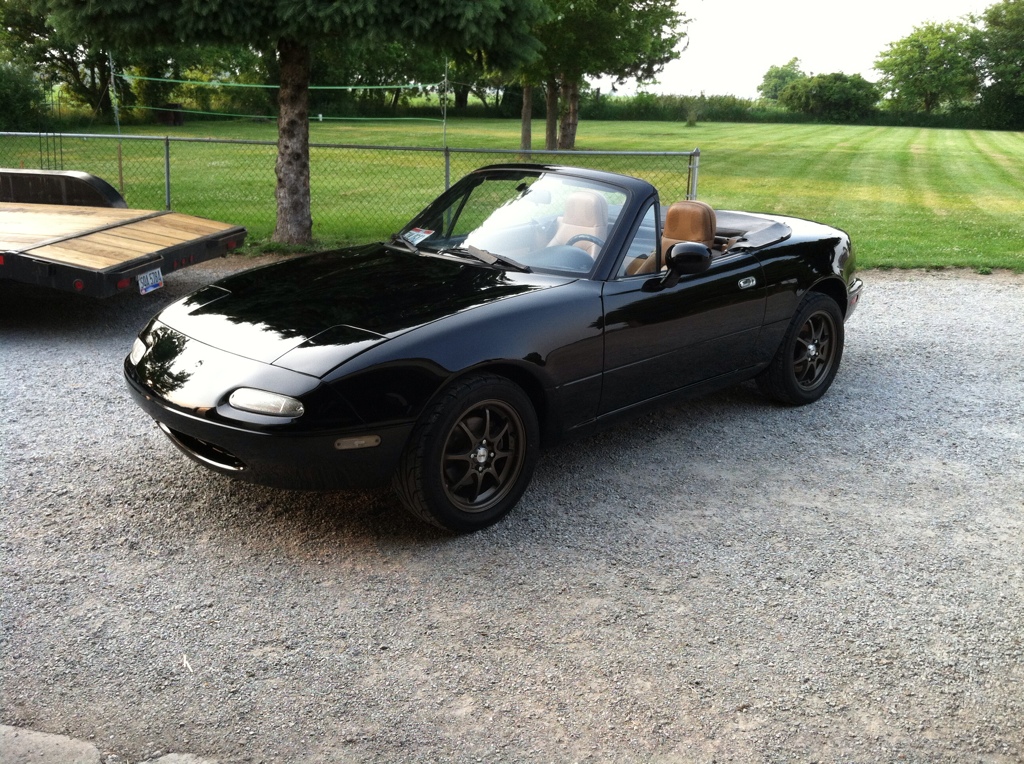
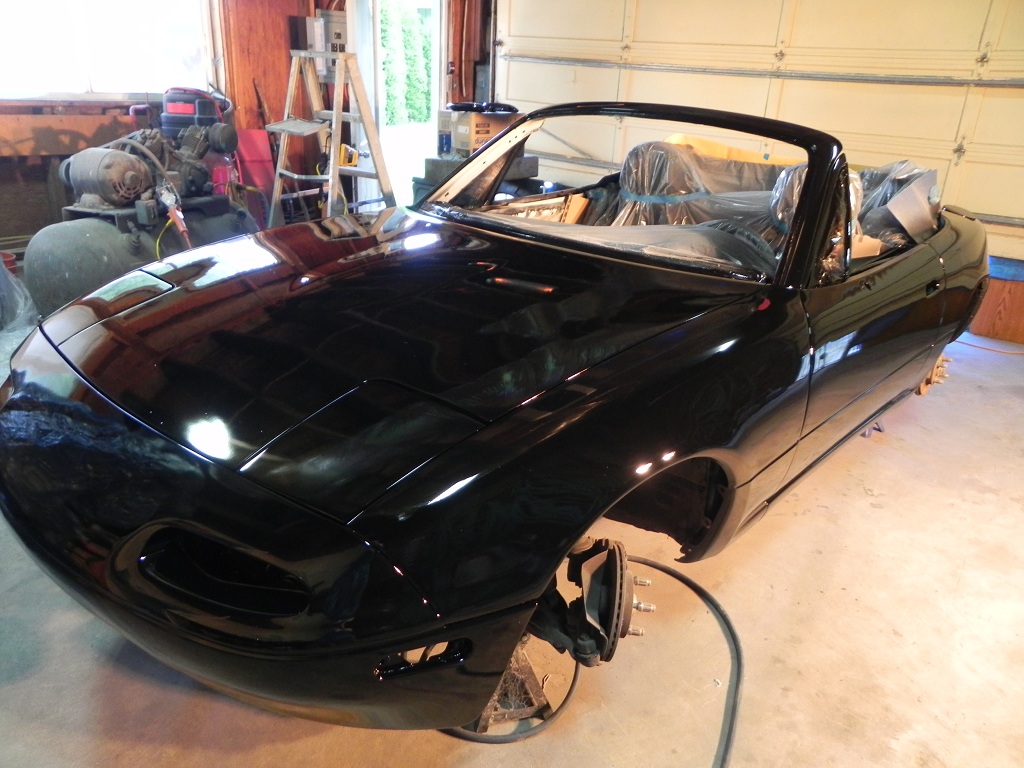
Pictures absolutely do not do this paint job justice. This is the q140 paint color from the Sikkens and Wanda line. It is the best black I have ever seen or heard of. It is recockulously deep and dark IRL, and no picture setting I can use (Or had my photographer use, 'cause I'm photo-illiterate) could properly reflect the actual color.
This is also before wet sanding. This is just the car after spraying, no sanding, nothing. This is just the result of good prep work underneath while using good quality components. I love how it looks, but I am completely unable to properly capture how it looks - it looks far, far better then in any photo I've been able to take or have taken for me. It's something like a 2'-5' job (Depending on what part, sadly, there are some obvious results of garage painting unfortunately) - without wetsanding, polishing, or buffing. I cannot believe that Wanda is as cheap as it is for the results it gave.
Disclaimer: I know there was dust on it. It was a week before I could give it a light washing as of these pictures.
Last edited by blaen99; 08-14-2012 at 03:42 PM.