Suspension How To: Power Steering Delete


Thread Starter
MFz Regular

Joined: Jul 2011
Posts: 132
From: Las Cruces, NM
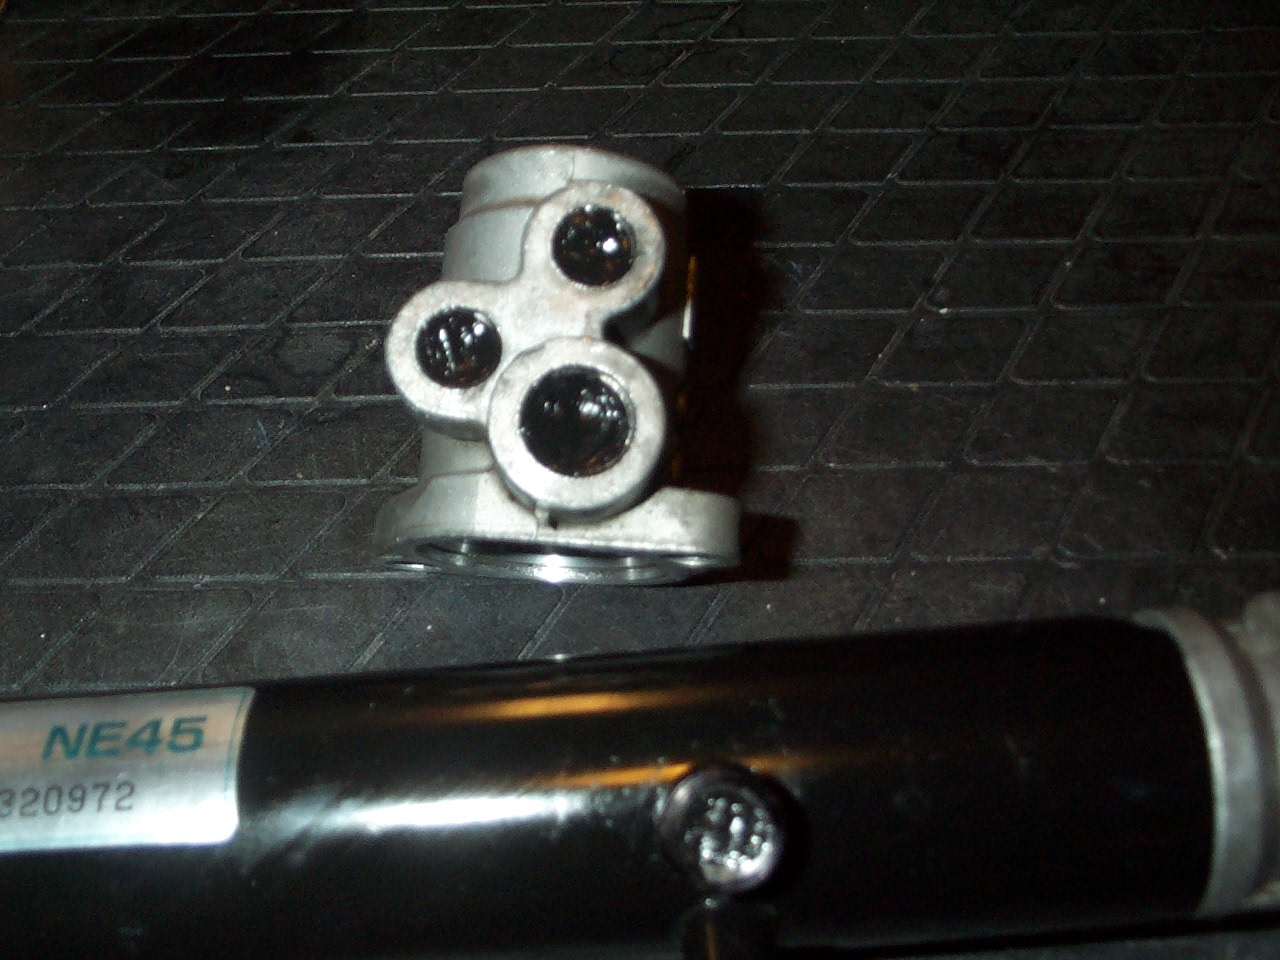
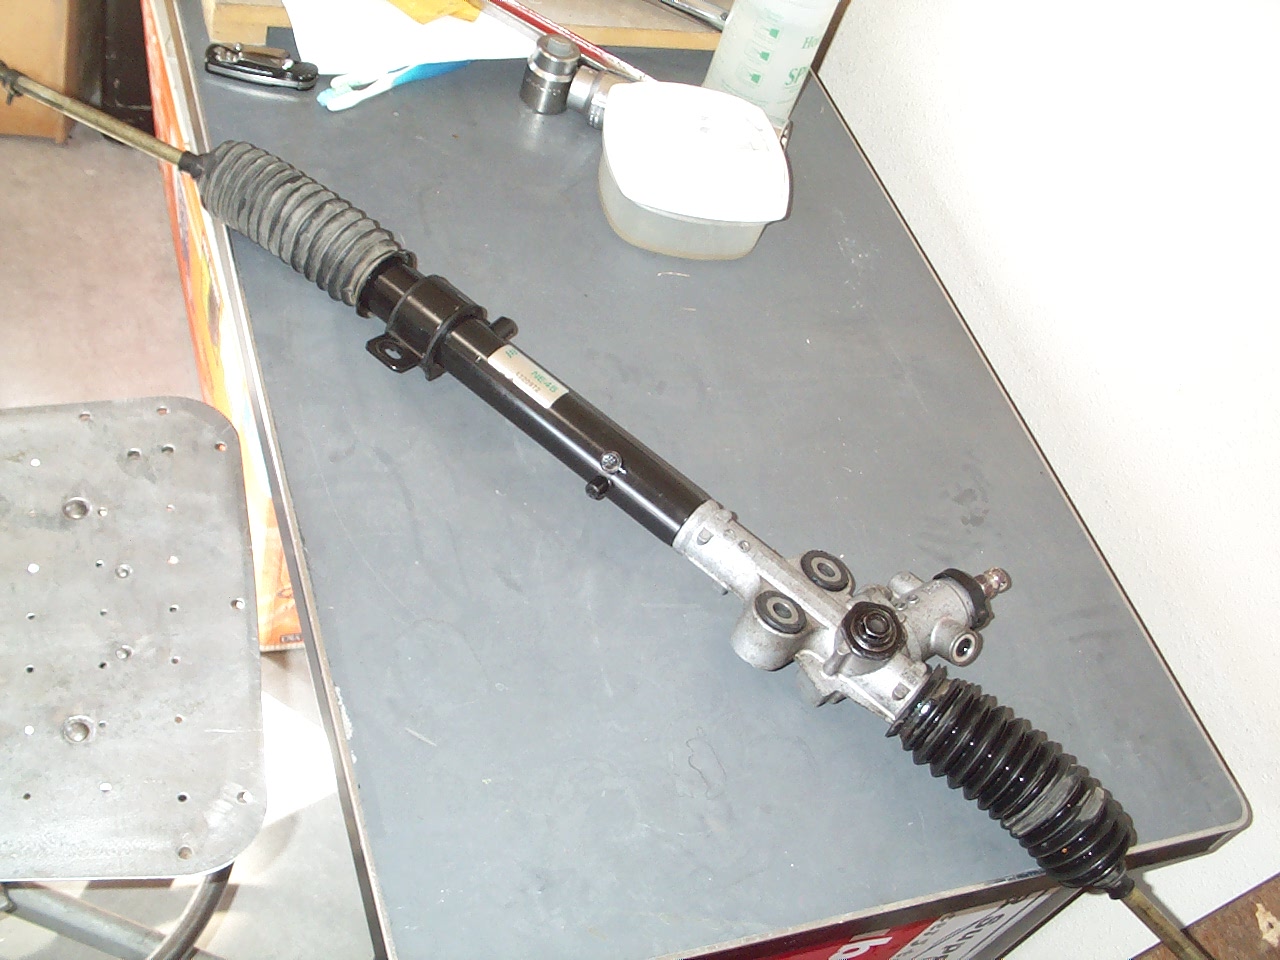
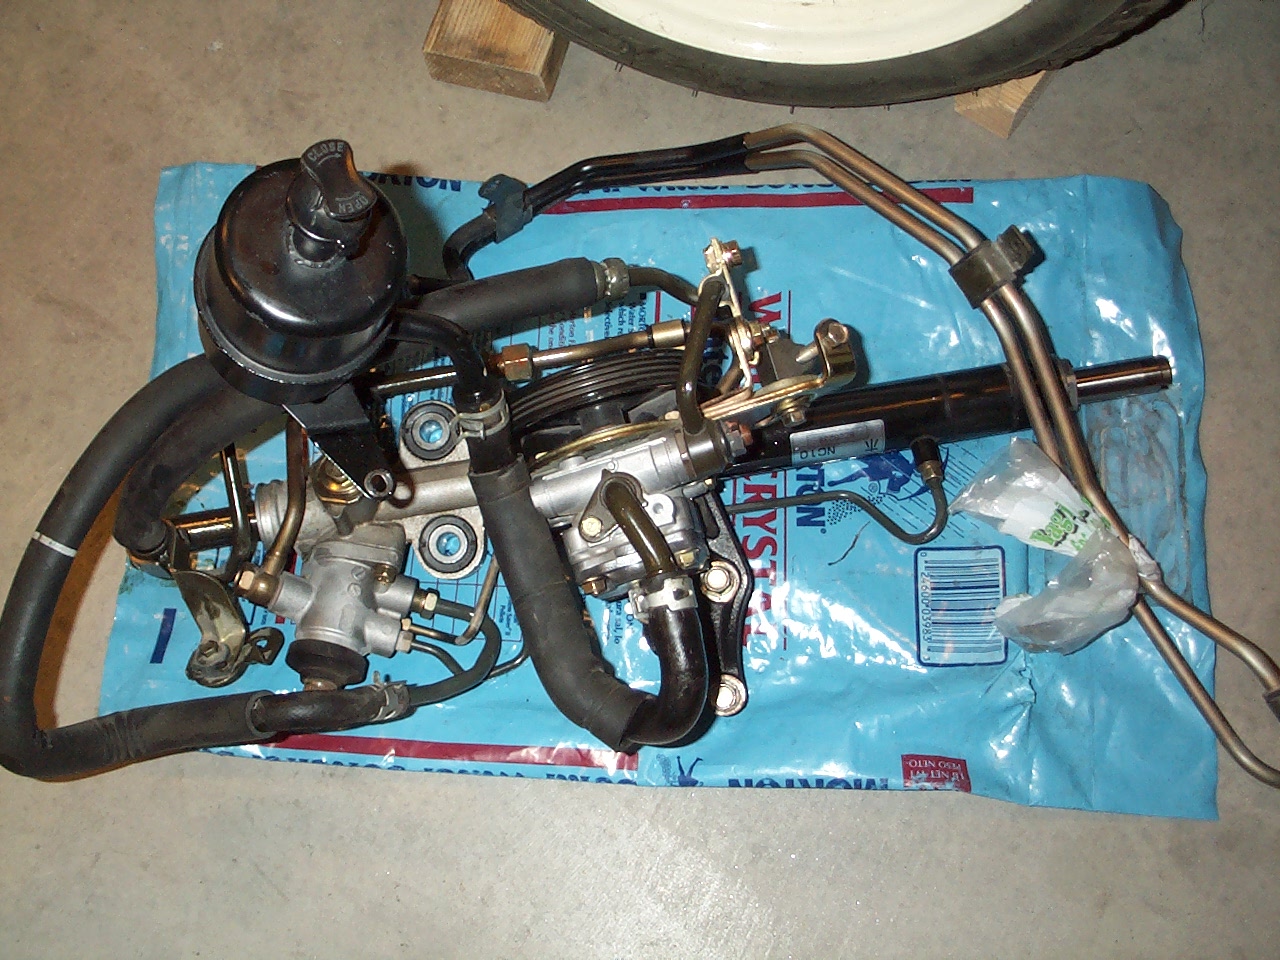
I used silicone to seal the hard line ports.
There is no pressure after depowering the rack so all that is needed is to seal it from dirt.
There is no pressure after depowering the rack so all that is needed is to seal it from dirt.
Last edited by Track; Dec 25, 2011 at 09:32 AM.
Thread Starter
MFz Regular
Joined: Jul 2011
Posts: 132
From: Las Cruces, NM
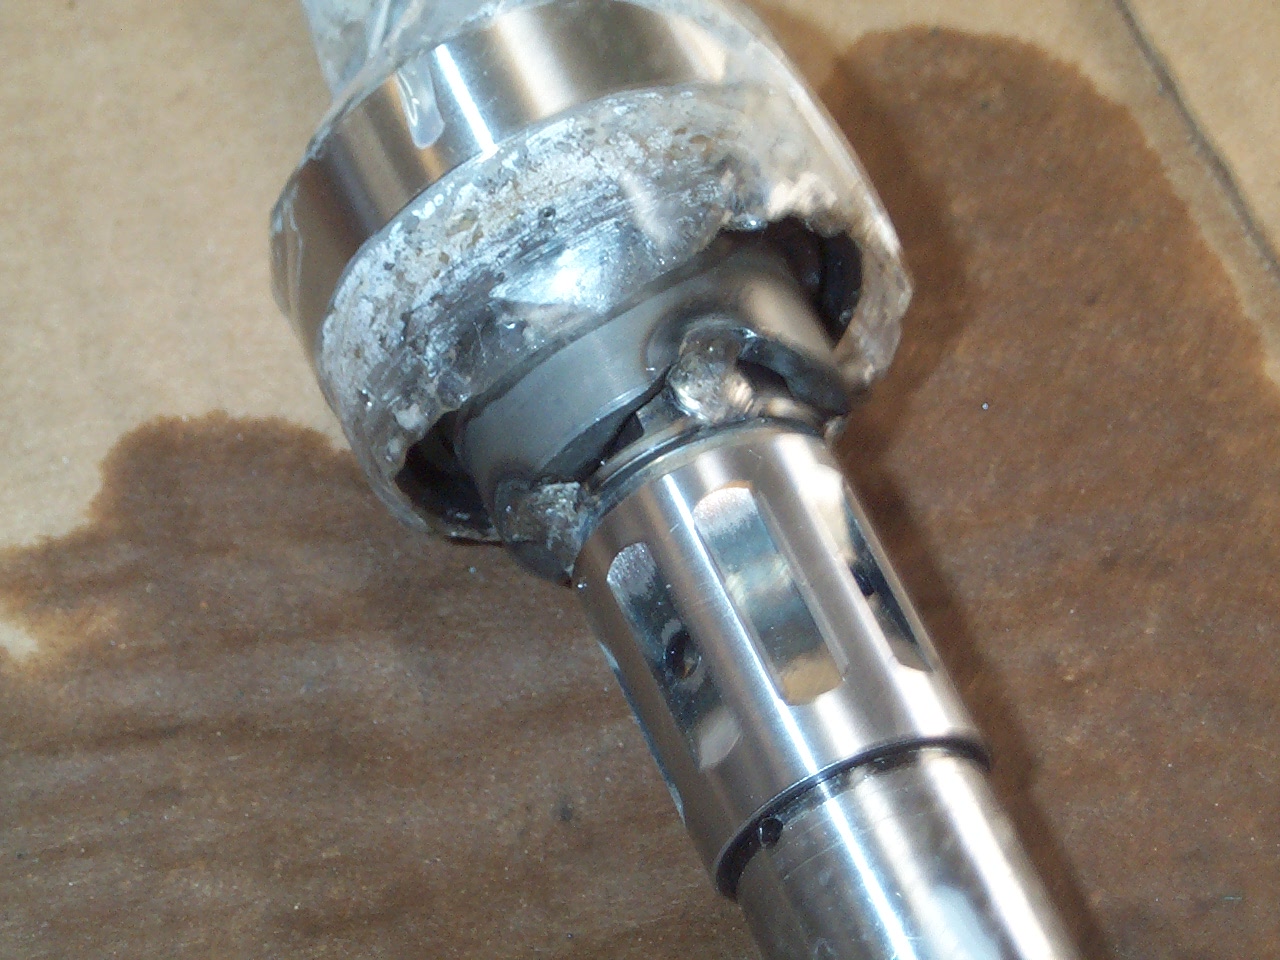
I then worked my away around by adding more spot welds while checking for striaghtness.
I cooled the part after each weld to minimize heat distortion.
I used a feeler gauge and spun it to check for straightness after each weld.
If it did warp, I straightened it before the next weld. Yes, I used a hammer and some creativity.
I cooled the part after each weld to minimize heat distortion.
I used a feeler gauge and spun it to check for straightness after each weld.
If it did warp, I straightened it before the next weld. Yes, I used a hammer and some creativity.
Last edited by Track; Dec 25, 2011 at 09:33 AM.
Thread Starter
MFz Regular
Joined: Jul 2011
Posts: 132
From: Las Cruces, NM
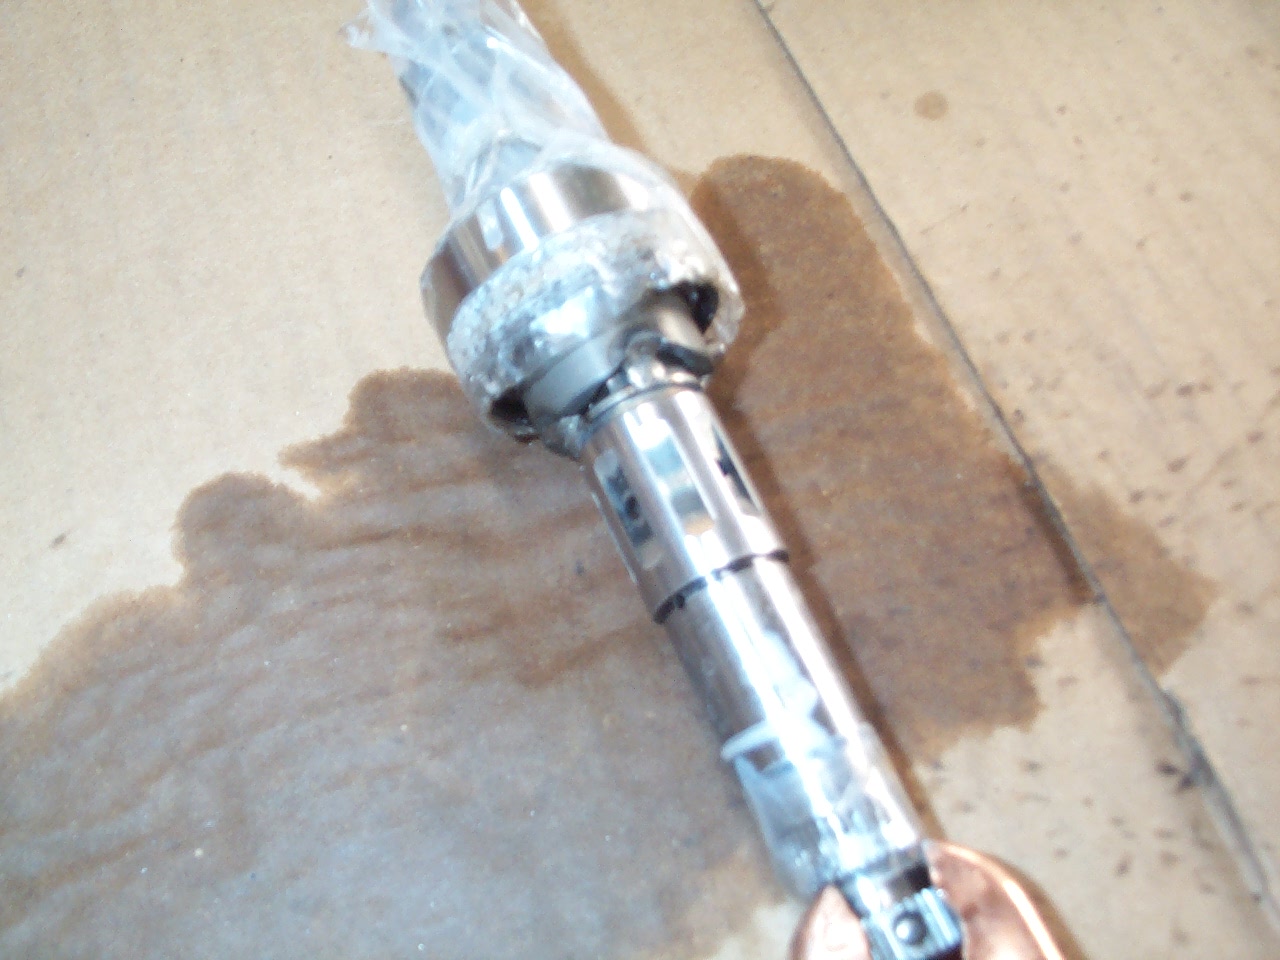
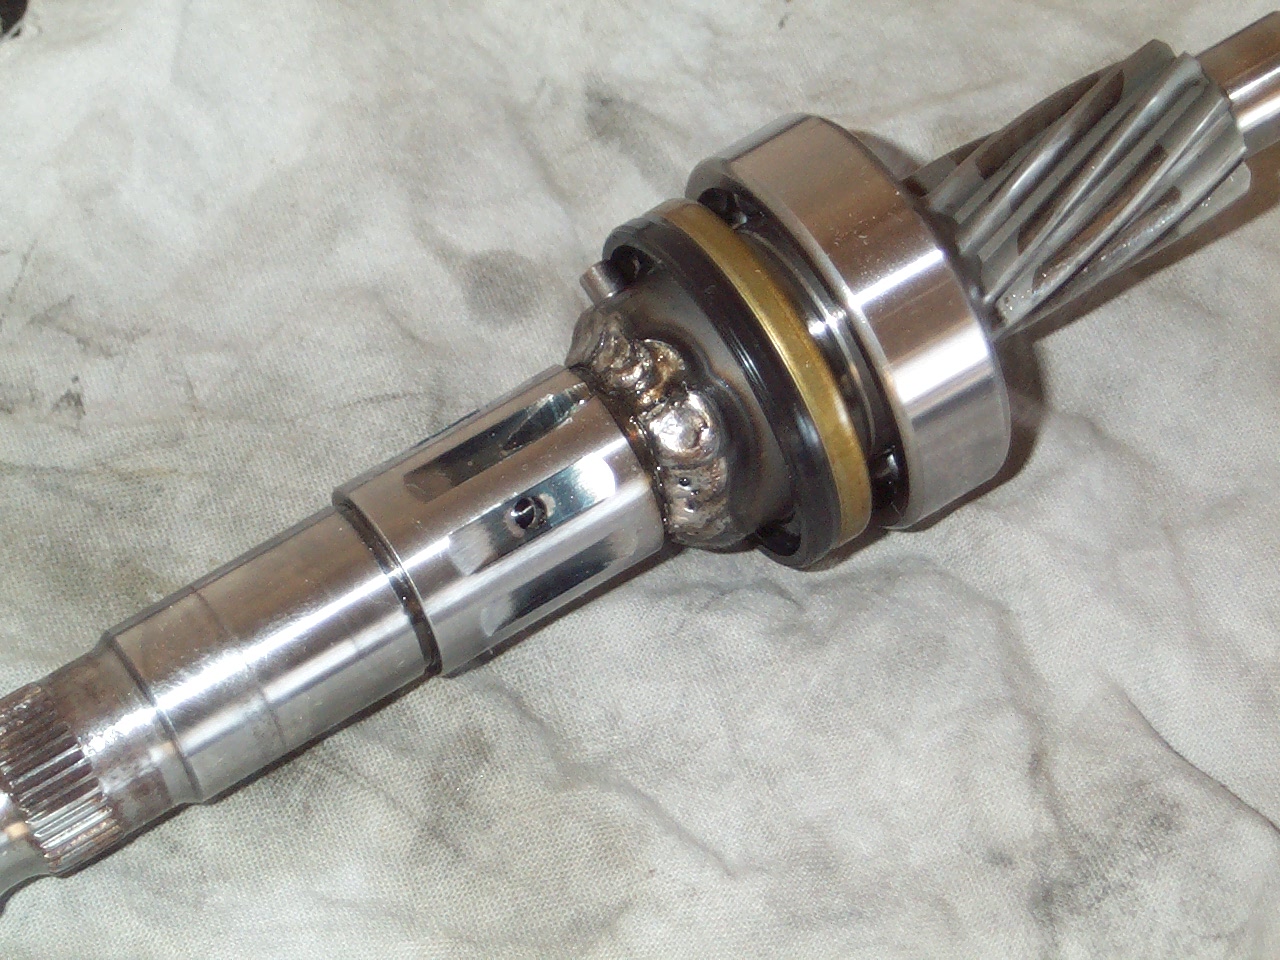
I packed it with grease and reassembed the rack in reverse order.
I tightened the tensioner nut according to the factory service manual.
Tighten the tensioner bolt to 4.9 N/m then loosen 25 degrees
then tighten the locknut while holding the tensioner nut in place.
I tightened the tensioner nut according to the factory service manual.
Tighten the tensioner bolt to 4.9 N/m then loosen 25 degrees
then tighten the locknut while holding the tensioner nut in place.
Last edited by Track; Dec 25, 2011 at 09:33 AM.

Thread Starter
MFz Regular
Joined: Jul 2011
Posts: 132
From: Las Cruces, NM
The new setup is definitely harder, but steering is much faster with less input. The steering is very precise with the solid input shaft. I had to turn the wheel less when parking the car. I definitely prefer it for the track. It has a lot more feedback.
The feedback is much more pronounced without the steering fluid dampening the bumps. I bumped my elbow against the seat when I hit the curb entering the gas station.
Check out the steering wheel movement in this video:
https://www.miataforumz.com/showpost...47&postcount=5
The feedback is much more pronounced without the steering fluid dampening the bumps. I bumped my elbow against the seat when I hit the curb entering the gas station.
Check out the steering wheel movement in this video:
https://www.miataforumz.com/showpost...47&postcount=5
Last edited by 99mx5; Dec 25, 2011 at 01:21 AM.