99mx5's ARTech EFR build


 06-21-2012, 02:16 PM
#136
MFz Regular

Thread Starter

Join Date: Jul 2011
Location: Las Cruces, NM
Posts: 132
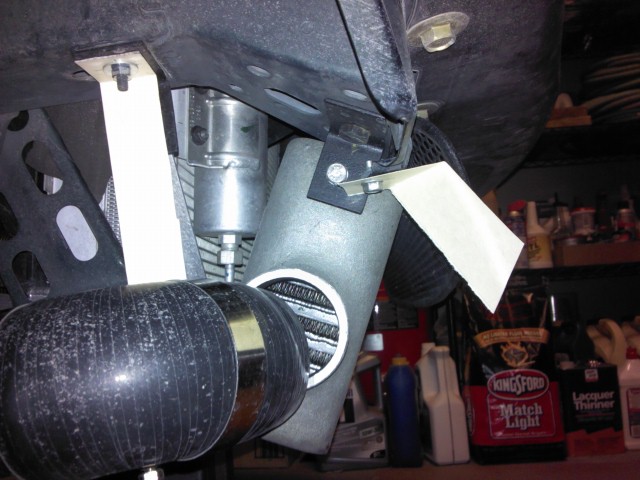
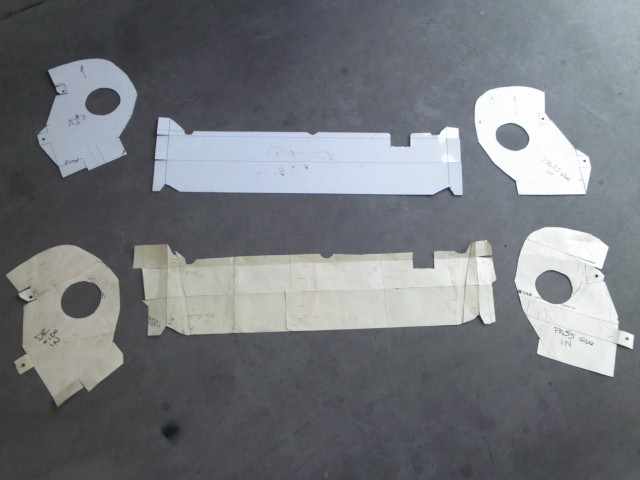
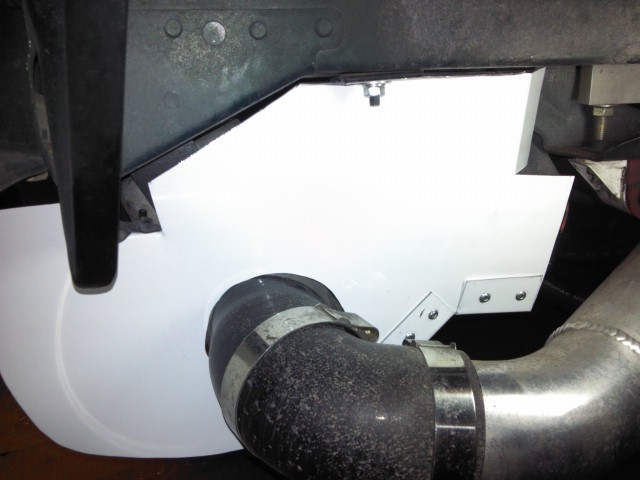
This weekend I added ducting for the intercooler and radiator. It channels all the air from the bumper opening. The duct is made from three pieces of aluminum. I first made a template from cardboard then transferred the parts to aluminum sheet.
I used scissors, tape and a stapler for the cardboard patterns . I used an air nibbler, jigsaw and tin snips to cut the metal. I used a metal brake to bend the bottom panel. I used a drill and rivet gun to assemble the parts.
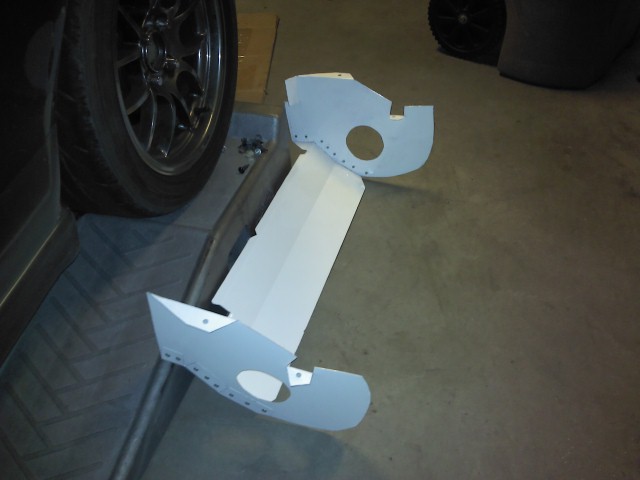
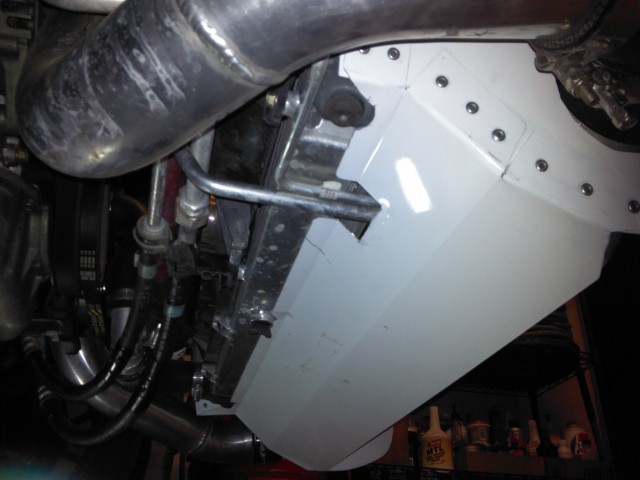
I used strips of cardboard to make mounting tabs then made the panels and mounted them to the tabs.
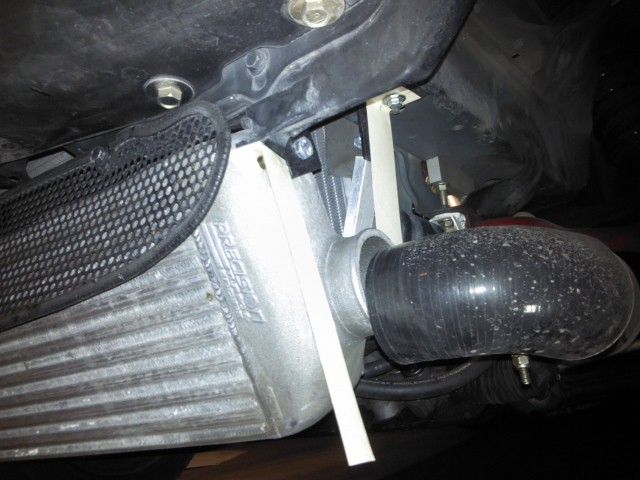

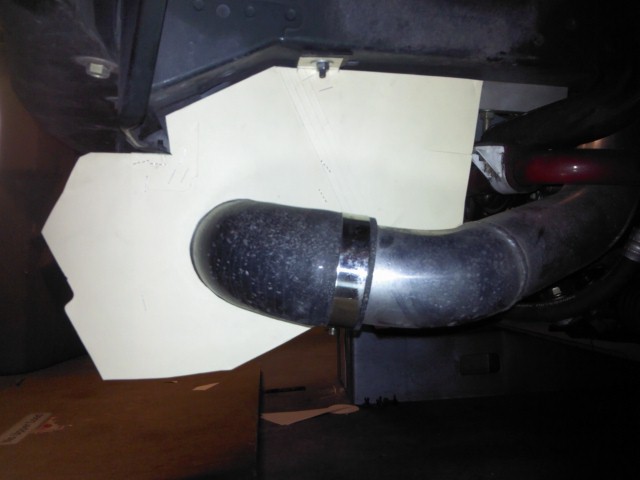
Once I made the sides I made the bottom panel to seal the gap between the intercooler and radiator. I then cut the leading edge to fit behind the bumper.


I transferred the parts to aluminum sheet and riveted them together. It is also shown how it will fit in the bumper with the bottom panel.

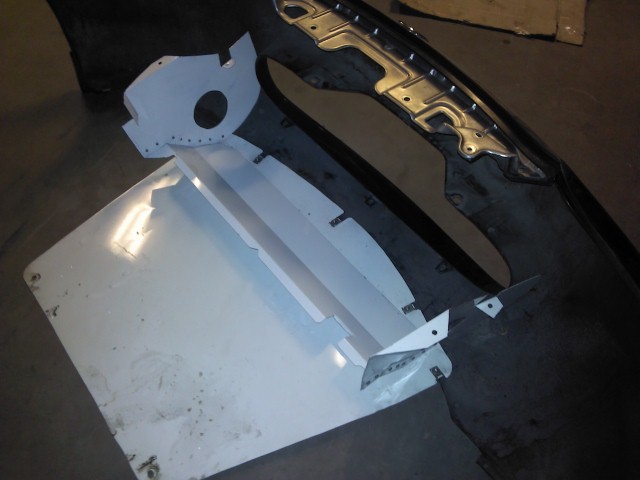
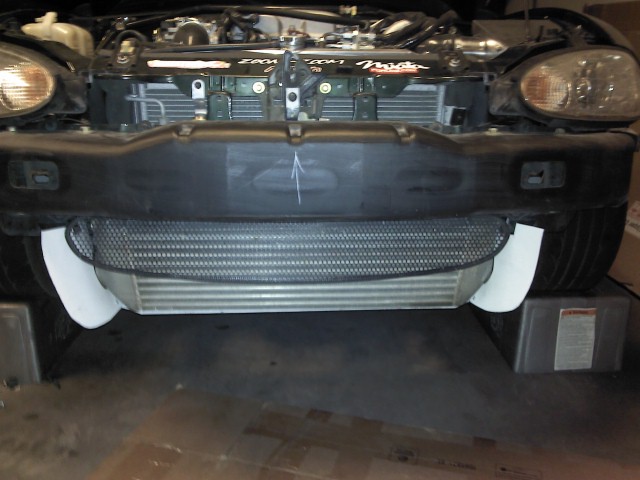
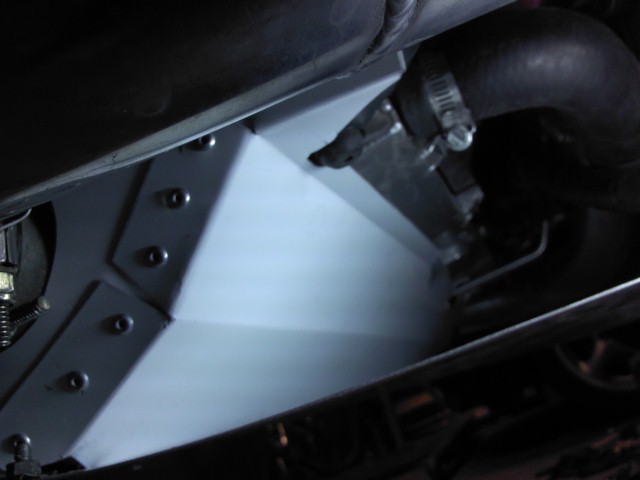
It fits nicely and directs all airflow through intercooler and rad.

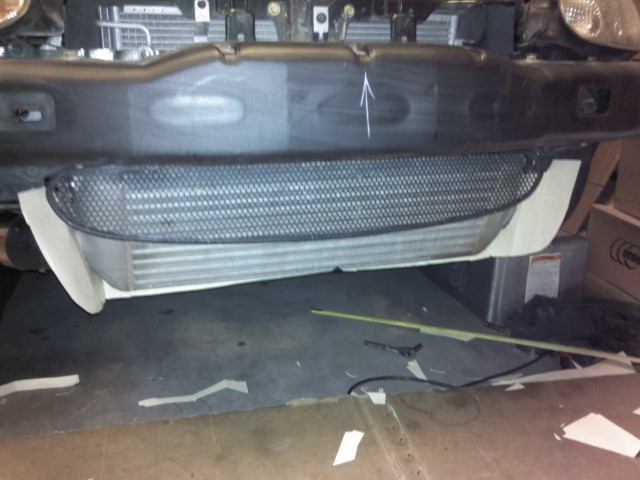
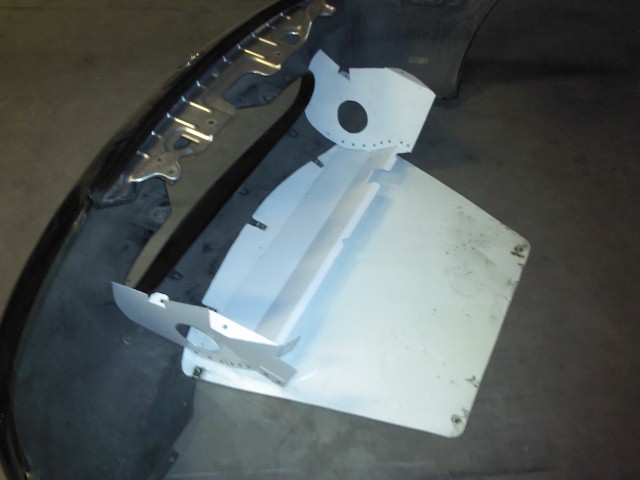
View of ducting inside of installed bumper.
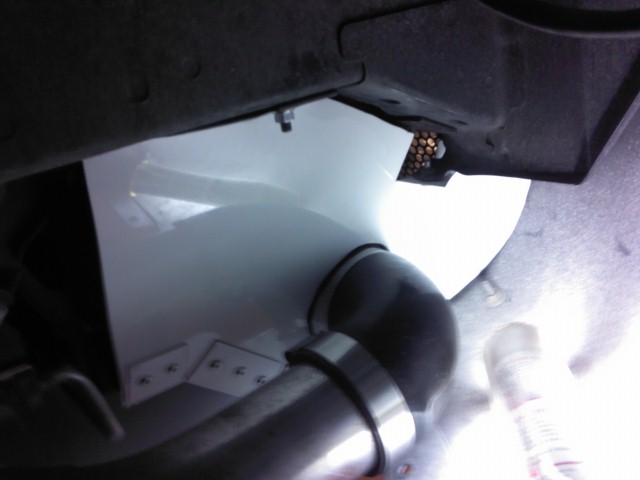
The trick is to use the cardboard for cutting and fitting. If you cut off too much, just tape some more on again. Try to use factory mounts on the chassis and make tabs, then attach the patterns to the tabs. When you cut the patterns, integrate the tabs to make it all in one piece.
I have some air going over the intercooler. Both radiator and intercooler get fresh air. If there is too much going over, I will add a panel as a lip at the top of the intercooler to force more to go through.
I used scissors, tape and a stapler for the cardboard patterns . I used an air nibbler, jigsaw and tin snips to cut the metal. I used a metal brake to bend the bottom panel. I used a drill and rivet gun to assemble the parts.
I used strips of cardboard to make mounting tabs then made the panels and mounted them to the tabs.
Once I made the sides I made the bottom panel to seal the gap between the intercooler and radiator. I then cut the leading edge to fit behind the bumper.
I transferred the parts to aluminum sheet and riveted them together. It is also shown how it will fit in the bumper with the bottom panel.
It fits nicely and directs all airflow through intercooler and rad.
View of ducting inside of installed bumper.
The trick is to use the cardboard for cutting and fitting. If you cut off too much, just tape some more on again. Try to use factory mounts on the chassis and make tabs, then attach the patterns to the tabs. When you cut the patterns, integrate the tabs to make it all in one piece.
I have some air going over the intercooler. Both radiator and intercooler get fresh air. If there is too much going over, I will add a panel as a lip at the top of the intercooler to force more to go through.
06-22-2012, 08:56 AM
#137
At some point you are going to look at your car and say "If I could do it all over again I would do, X,Y,Z."
At that point, call me and I will ship my car out to you as a blank canvas for you to work on the motor. I will then do the honorable thing and take this project off of your hands.
At that point, call me and I will ship my car out to you as a blank canvas for you to work on the motor. I will then do the honorable thing and take this project off of your hands.
 Now I look at it and think, "What is next?"
06-26-2012, 12:20 PM
Now I look at it and think, "What is next?"
06-26-2012, 12:20 PM
#139
MFz Lurker

Join Date: Jun 2012
Location: Houston, Texas
Posts: 23
I like the choice to go with the duct work, my friend did the same thing on his 240sx he noticed way more air getting to his intercooler but also to his radiator even with his 2 and a half inch radiator the thing still didn't get enough air till he made the duct, anyway nice build and even better build thread very well done man.
07-29-2012, 12:18 PM
#140
MFz Regular
Thread Starter
Join Date: Jul 2011
Location: Las Cruces, NM
Posts: 132
Thanks! As usual, its a work in progress.
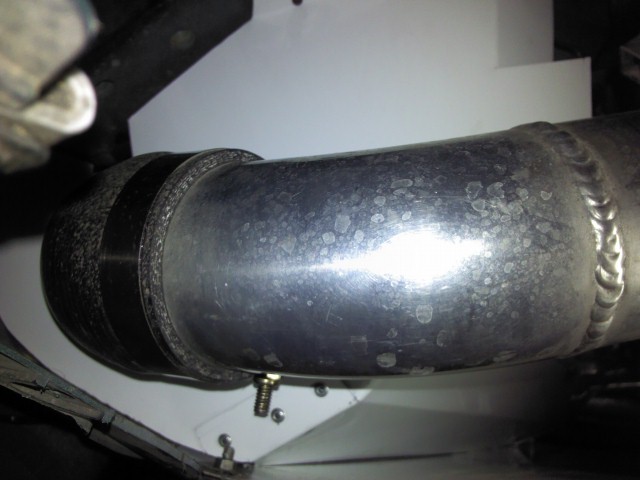
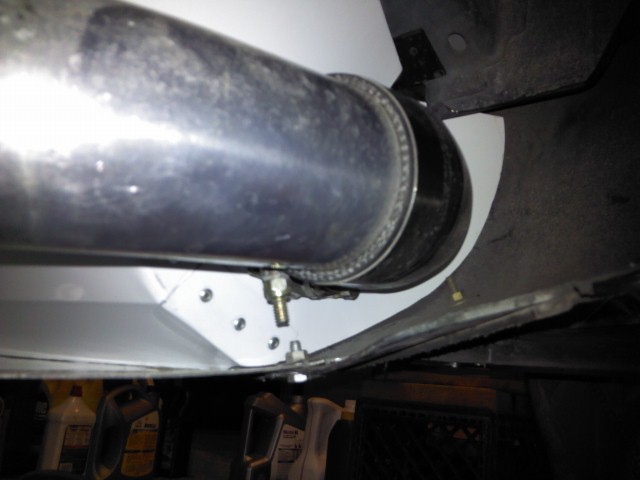
The temps were pretty bad here in the desert at the last race event. I installed an oil cooler to help lower engine temps. The cooler is a 19 row unit. The hoses are -10AN SS braided teflon with vynil hose over them as sleeves. The sandwich plate is a generic one. I replaced the fittings with XRP -10AN adapters and I ported it for better flow. I also added a VDO temp sender. I also have the VDO oil temp gauge but will install at a later time.
I placed the cooler in front of the radiator above the intercooler. The cooler is installed with 1/4" allthread rods with nuts to lock it in place. I also made a bracket to support the bottom. Everything is either black or silver for a stealthy install.
Last edited by 99mx5; 07-29-2012 at 12:21 PM.