
My 2002 BEGI S4 GT2860RS - White and sexy.


Thread Starter
Featured Miata!
Joined: Aug 2011
Posts: 187
From: Royal Oak, MI
My parts showed up today. Santa Claus is black and works for UPS by the way.

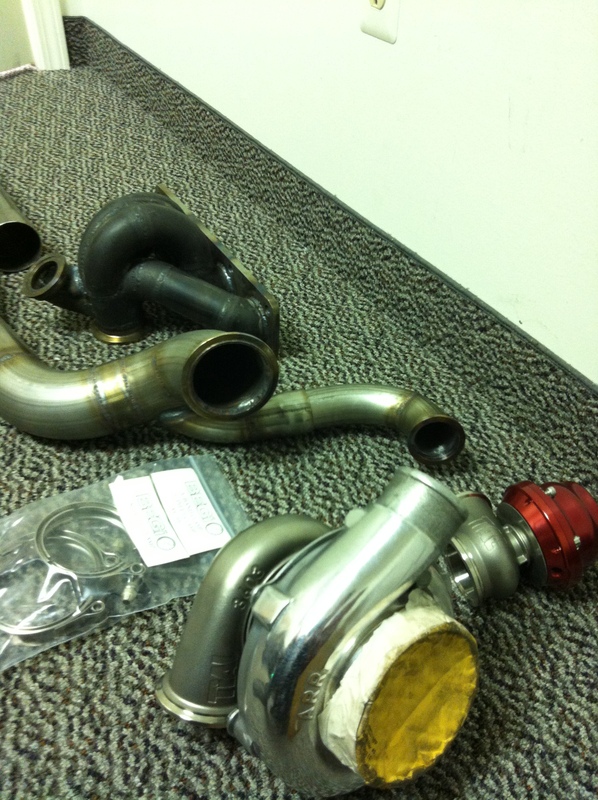
I also went and picked up my wheel from my wheel repair guys:

I'll head out tonight to start fitting everything.


I also went and picked up my wheel from my wheel repair guys:

I'll head out tonight to start fitting everything.
Thread Starter
Featured Miata!
Joined: Aug 2011
Posts: 187
From: Royal Oak, MI
I mocked everything up to become familiar with the layout and to see if any major problems with the setup would come into play. Glad I did… Power steering must go. I’ll be fabricating something to keep my Air Conditioning. A tensioner will need to be created to be used with a smaller belt as the power steering assembly acted as the current tensioner. You can see I mocked up one of the coolant lines. Not super happy with this routing so it will be changed to run under the turbo and away from the manifold. With stainless lines I need to be very conscious of rubbing as they will (and have) wear through things.

I’ve decided to use the port in the side of the block for my coolant. I’m also switching to AN lines so here they are mocked up.

For the coolant reroute I wanted something clean and reliable. I went and picked up the 2002 Tahoe radiator hose that most people use, then I chopped it up. You can see that there is hard pipe in the middle- that’s actually my old recirculating valve hard pipe, just so happened to be the right size for the job.
Then I used a slight elbow and mounted it to the alternator bracket using a t-bolt clamp. I have had my tension set bolt removed for months so this was convenient. I used locking nuts with loctite. The assembly sits here comfortably with it unbolted but this was just for some added insurance.

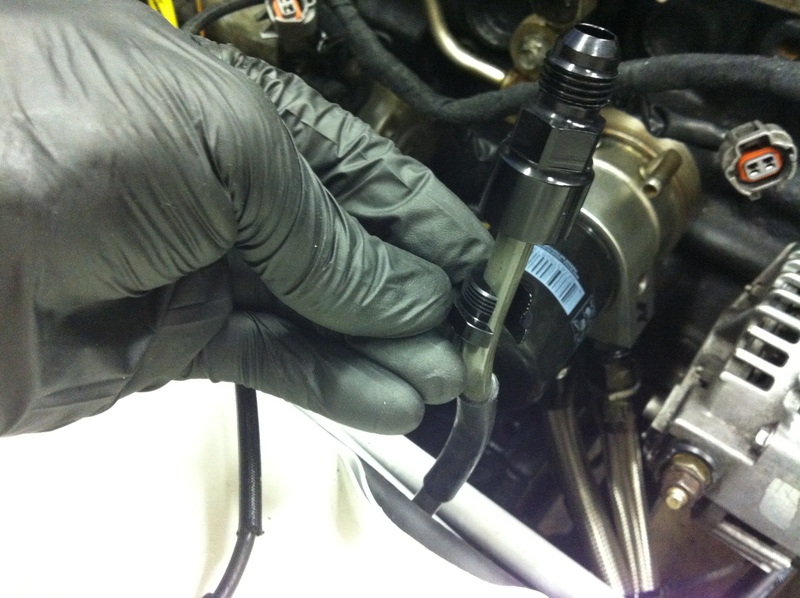
Next was my fuel setup – I converted the fuel lines to AN using the adapter shown here:
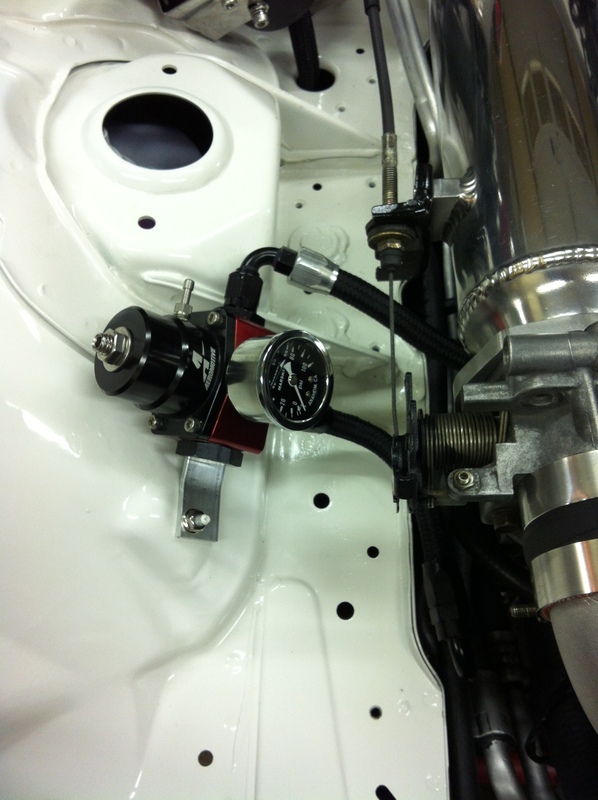
Then installed my Aeromotive regulator. I ended up using an existing hole in the bay with my own bracket. Locking hardware and loctite was used here as well.
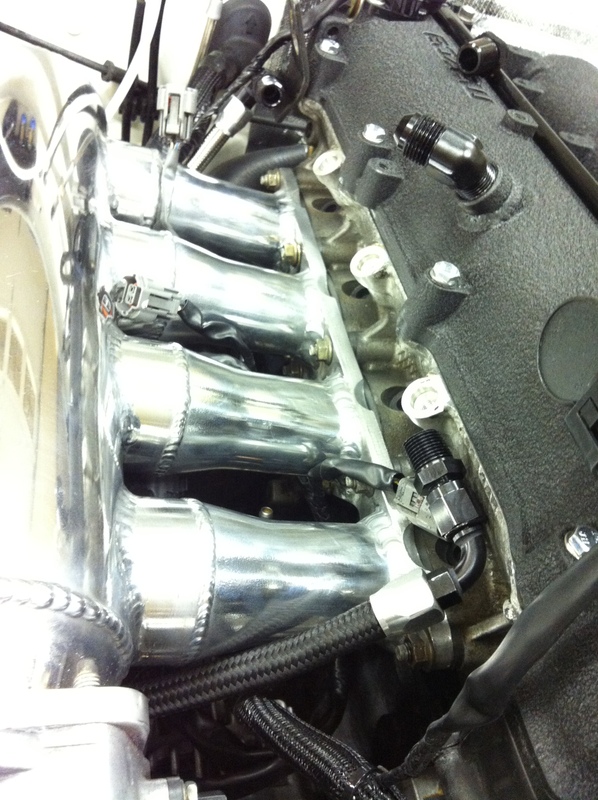
I extended a bunch of my wiring to route it all under the intake manifold, even the injector leads. After that was complete I mocked up the intake manifold to check for obstructions.

The lines are in place and awaiting my fuel rail.
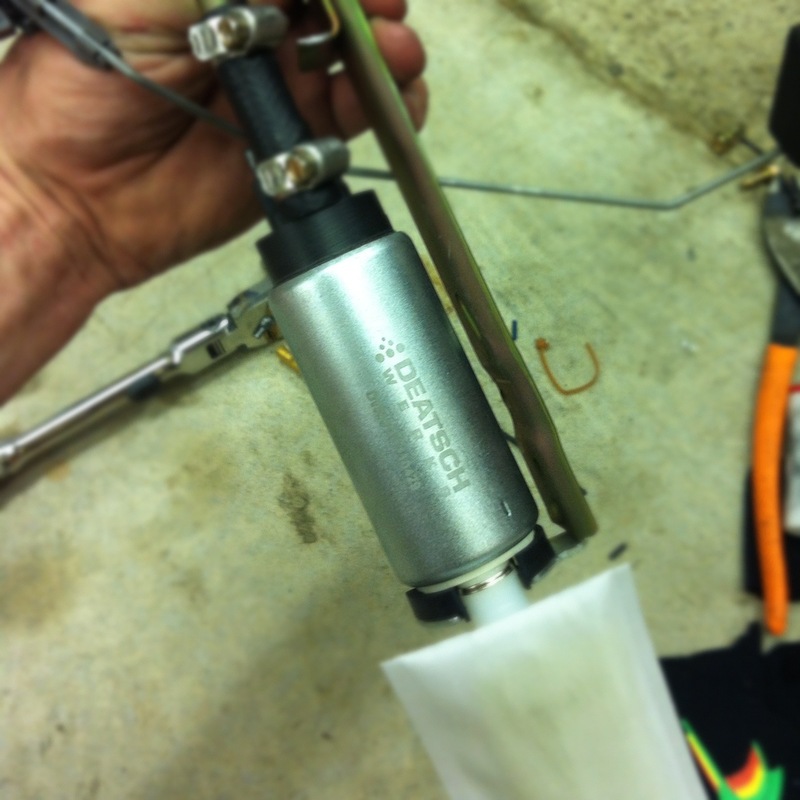
Next task was to install my Deatsch Werks pump. The DW pump is quieter than my old one, still in-tank and will flow the power I need. Since my car is a returnless setup I chopped off the regulator and redirected the return flow onto the pump for cooling reasons.
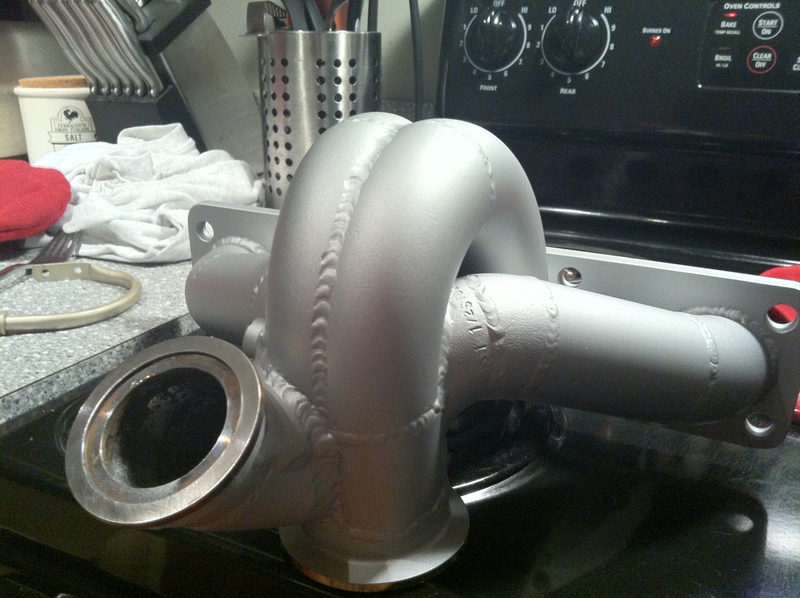
Manifold after ceramic coating:
Now I'm just waiting on the fuel rail.

I’ve decided to use the port in the side of the block for my coolant. I’m also switching to AN lines so here they are mocked up.

For the coolant reroute I wanted something clean and reliable. I went and picked up the 2002 Tahoe radiator hose that most people use, then I chopped it up. You can see that there is hard pipe in the middle- that’s actually my old recirculating valve hard pipe, just so happened to be the right size for the job.

Then I used a slight elbow and mounted it to the alternator bracket using a t-bolt clamp. I have had my tension set bolt removed for months so this was convenient. I used locking nuts with loctite. The assembly sits here comfortably with it unbolted but this was just for some added insurance.

Next was my fuel setup – I converted the fuel lines to AN using the adapter shown here:

Then installed my Aeromotive regulator. I ended up using an existing hole in the bay with my own bracket. Locking hardware and loctite was used here as well.

I extended a bunch of my wiring to route it all under the intake manifold, even the injector leads. After that was complete I mocked up the intake manifold to check for obstructions.

The lines are in place and awaiting my fuel rail.

Next task was to install my Deatsch Werks pump. The DW pump is quieter than my old one, still in-tank and will flow the power I need. Since my car is a returnless setup I chopped off the regulator and redirected the return flow onto the pump for cooling reasons.

Manifold after ceramic coating:

Now I'm just waiting on the fuel rail.
Thread Starter
Featured Miata!
Joined: Aug 2011
Posts: 187
From: Royal Oak, MI
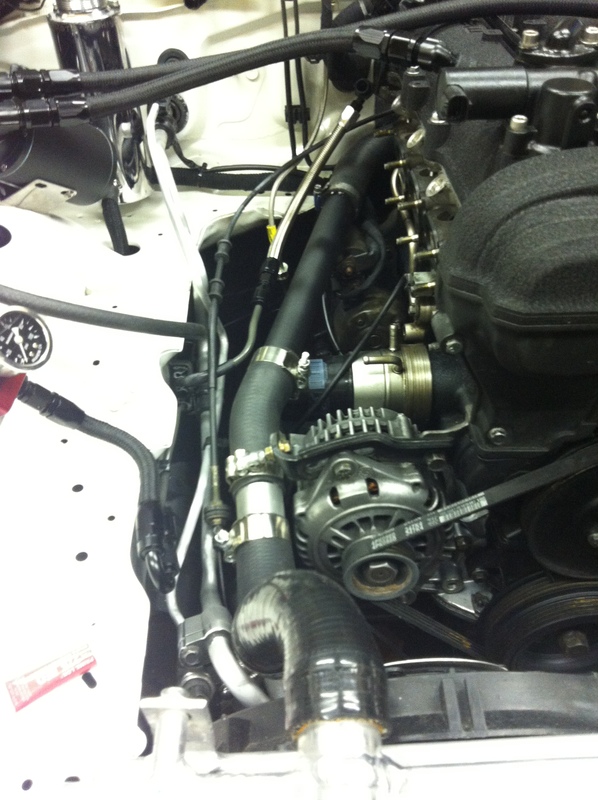
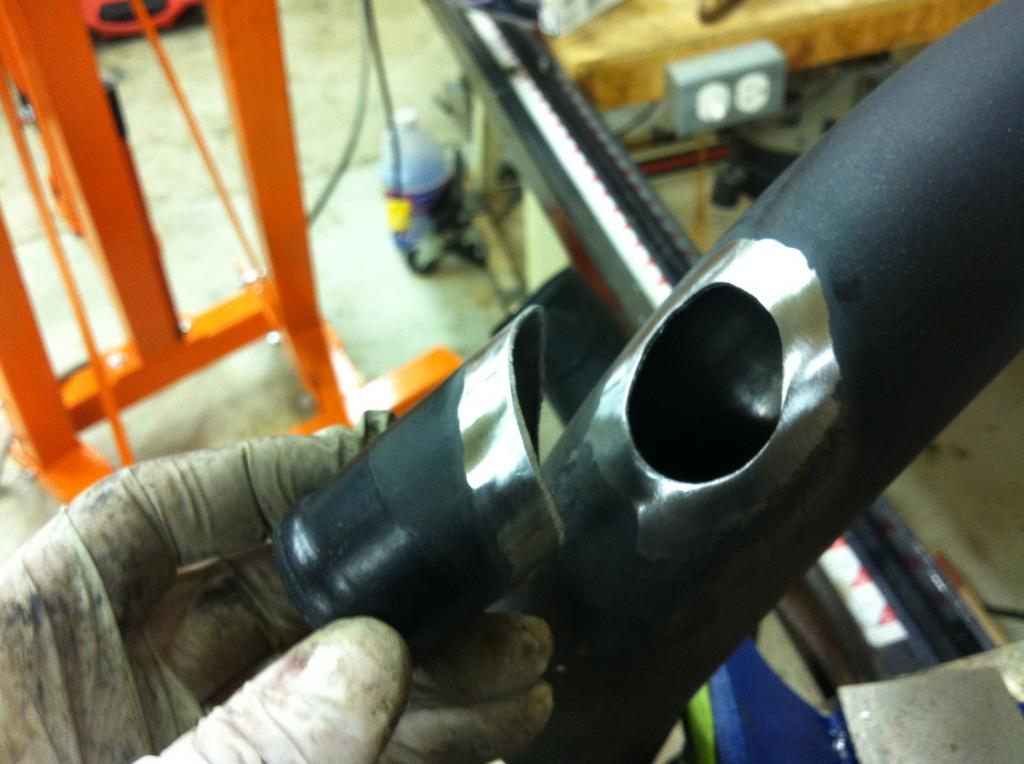
So with the manifold complete I could go ahead and get to the installation part. It’s been mocked up already for fitting the oil and coolant lines but I double checked this again.
During the installation I noticed that the wastegate tube was a bit too close to the engine bay and would likely make contact with the movement of the engine. So I mocked it up to draw out where I’d be modifying the bay and made my cut. I then painted the freshly exposed metal to avoid rust.

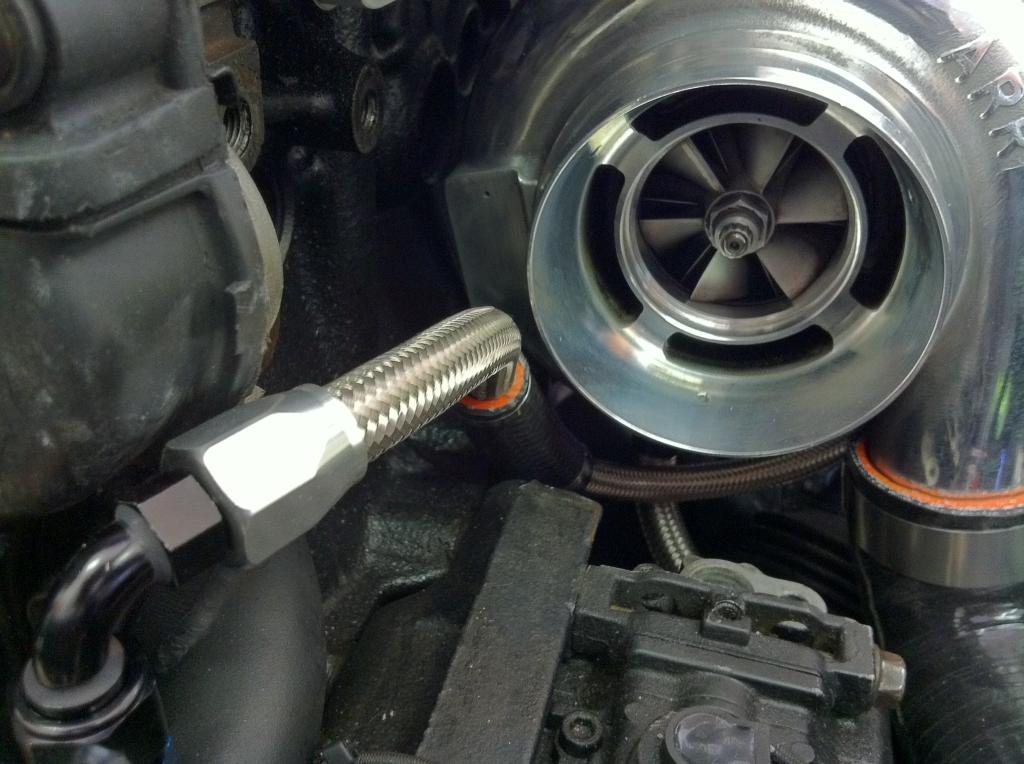
With the turbo installed I went through to check if any of the lines were making contact with anything else. To be safe I covered a couple of them with rubber line and stainless ties.
Then I installed my silicone outlet elbow. I ended up making a couple of adjustments that would keep it from making any contact with the frame. Looks like it was intended to be here.
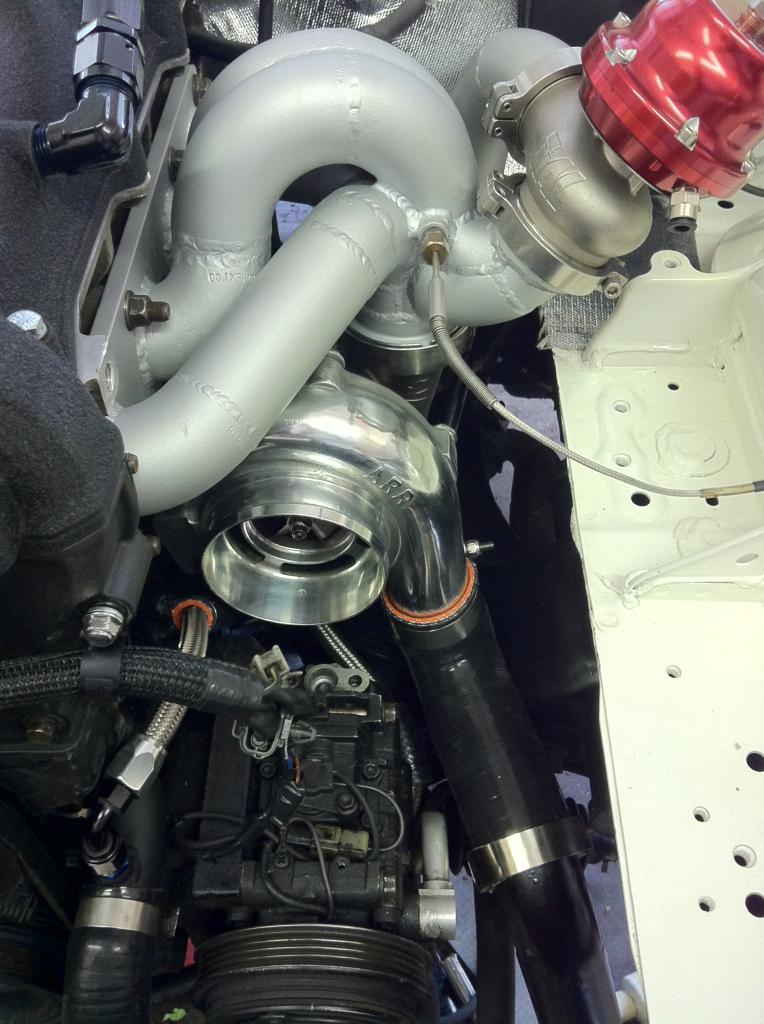
Next was to install my fuel rail. I ordered the M-Tuned rail from 949.

The website states that the rail will work with my vehicle. However I mocked it up and it made contact with the valve cover when used with the correct holes for my injector alignment. So I pulled it off the car and removed some material.

After that it was perfect.. Strange how this was overlooked…

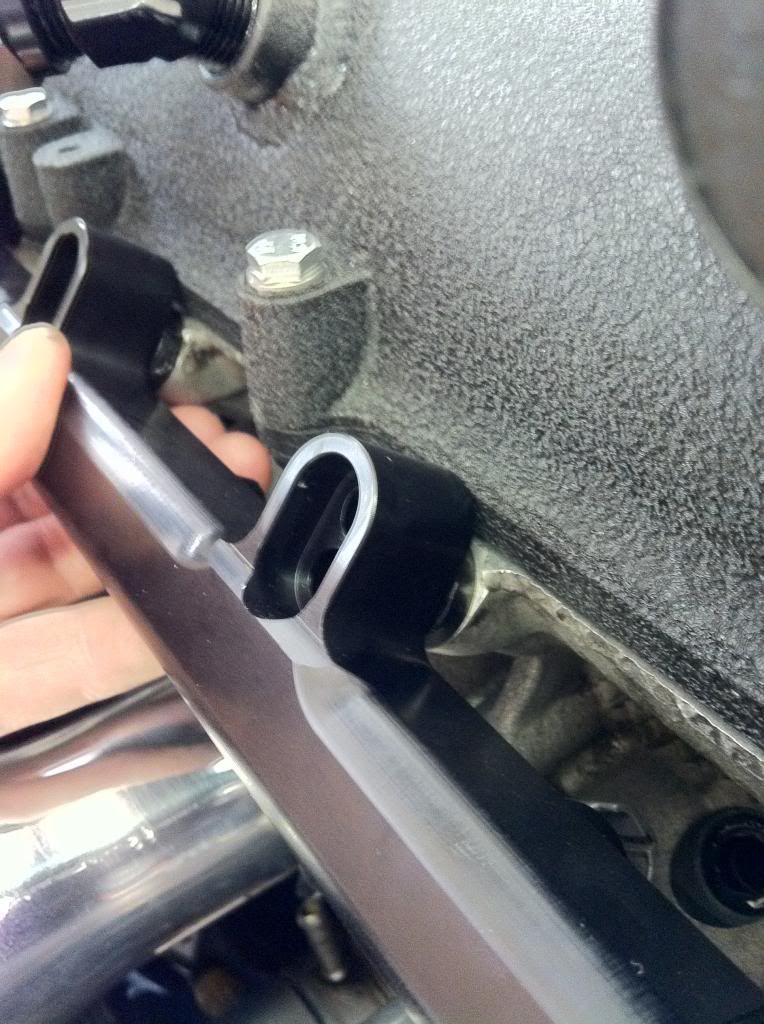
Next was to Depower my steering rack. Since I had to remove the pump, I’d rather have real manual steering. I uninstalled the rack and got it on the bench for disassembly.

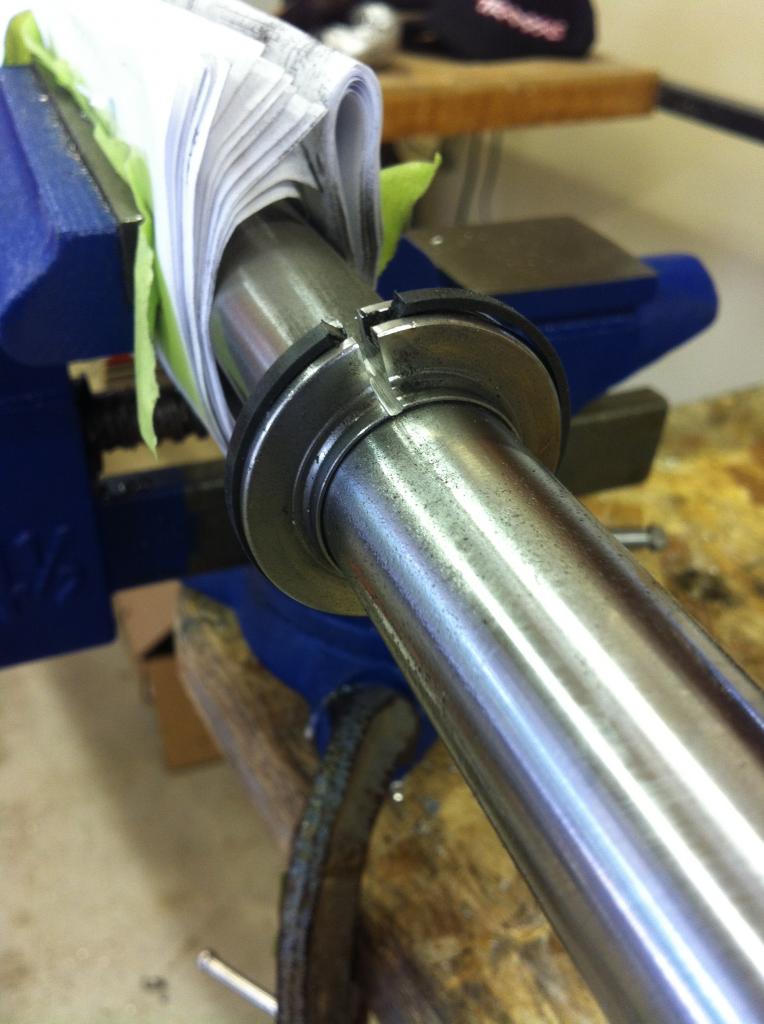
The basics of this job are to remove the seal from the shaft that was used to hydraulically push the shaft back and forth. Without a pump you just end up having to push this fluid through the lines, causing resistance. So I removed the shaft and placed it in the vice.

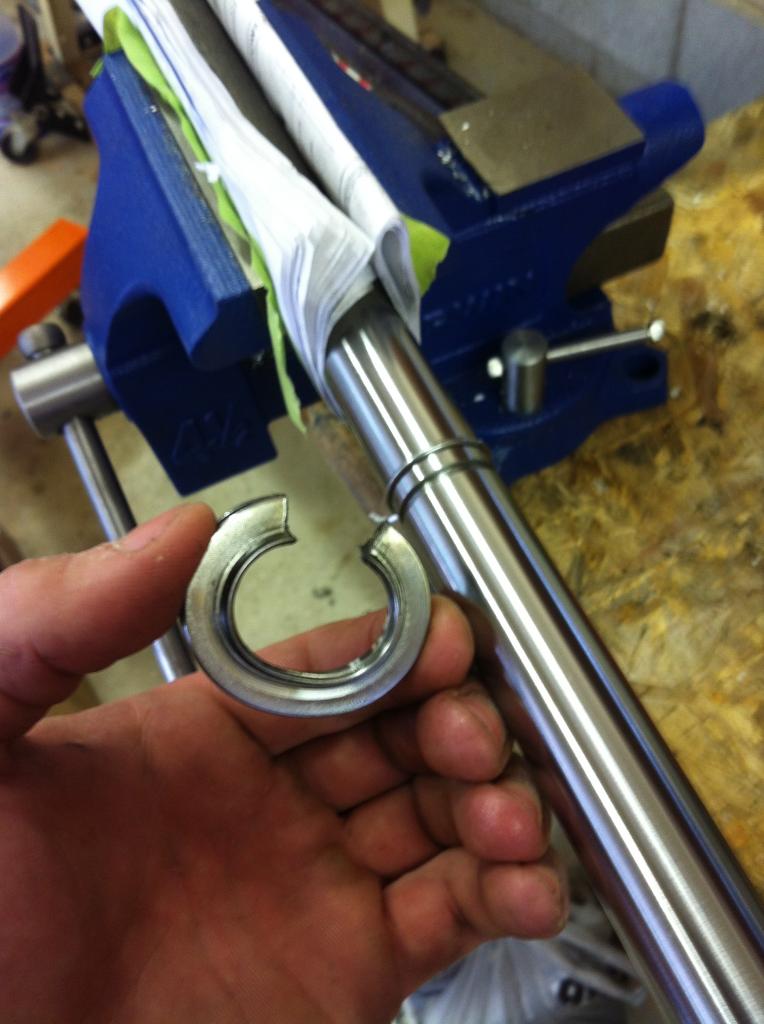
Next I cut a slice through the ring, then popped it off with a couple of pry bars.
I also noticed that I had a slight bend in my outer tie rod. Oddly enough I had one laying around so I tossed that on and reinstalled the boots.
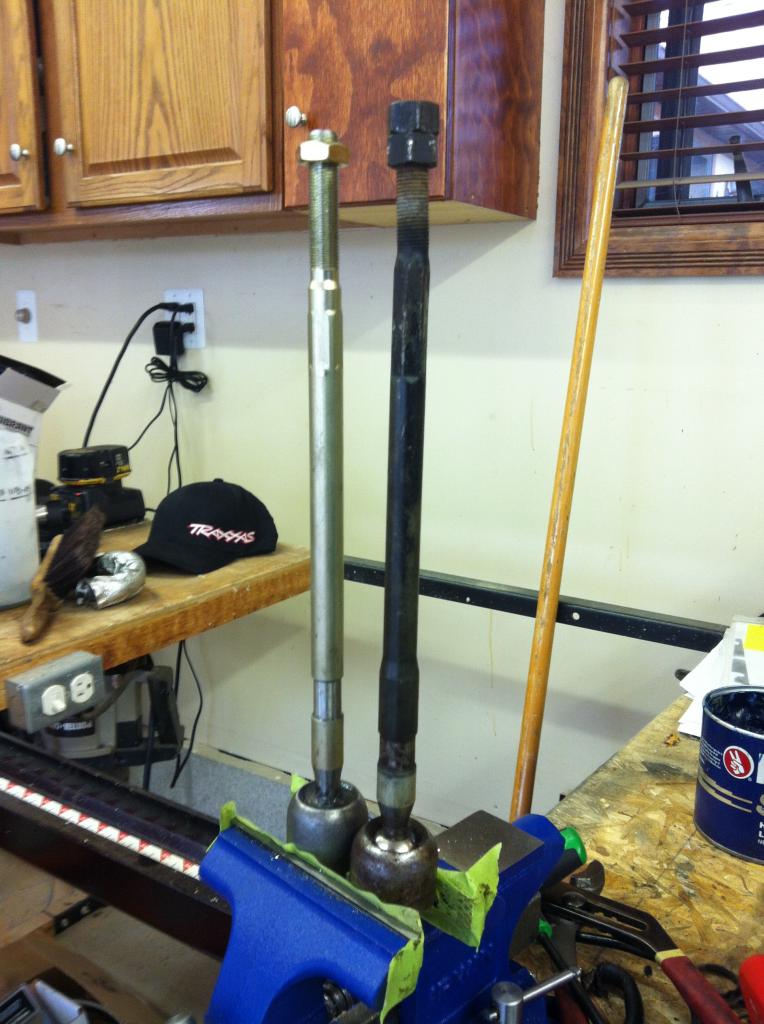
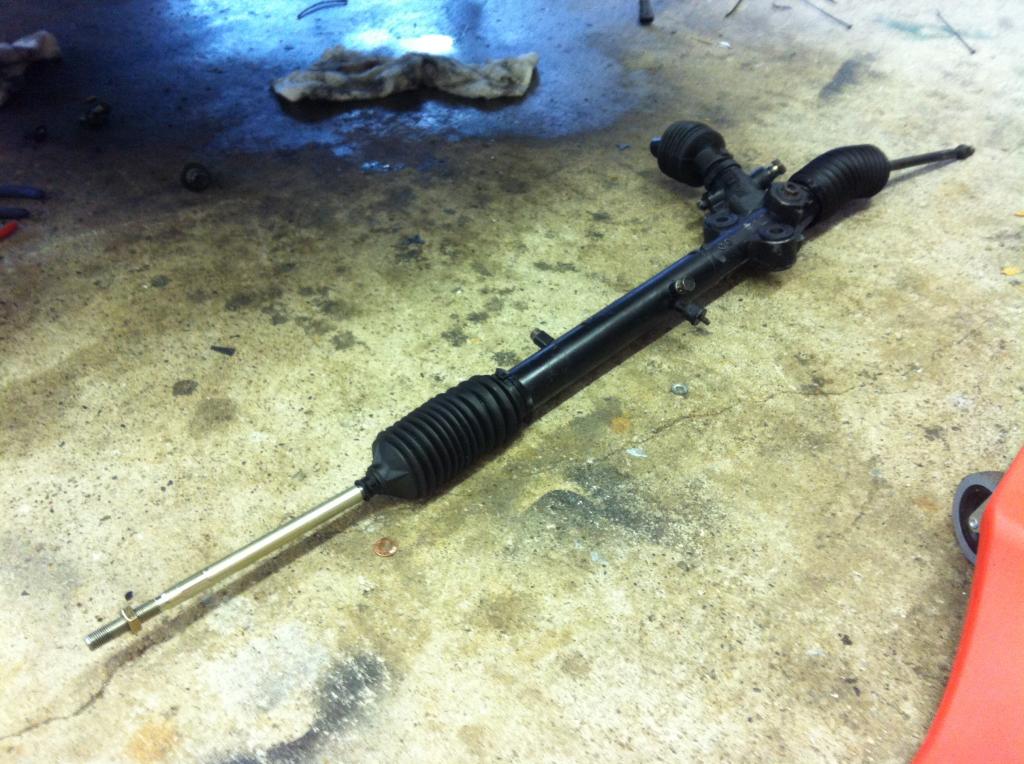
After the seal is removed, you cover the moving components with thick bearing grease and reassemble it. At this point you can remove all of the hydraulic lines but you want to cap them off to keep dust and dirt out.
Next I moved on to some of the vacuum components. Wastegate, regulator, brake booster…
After installing each component with the hard lines I would attach an air tool with a regulator to the end of it. I’d slowly crank up the pressure to about 40-50 psi and listen for leaks. I’ve had no reason to doubt these hard lines but it’s piece of mind.

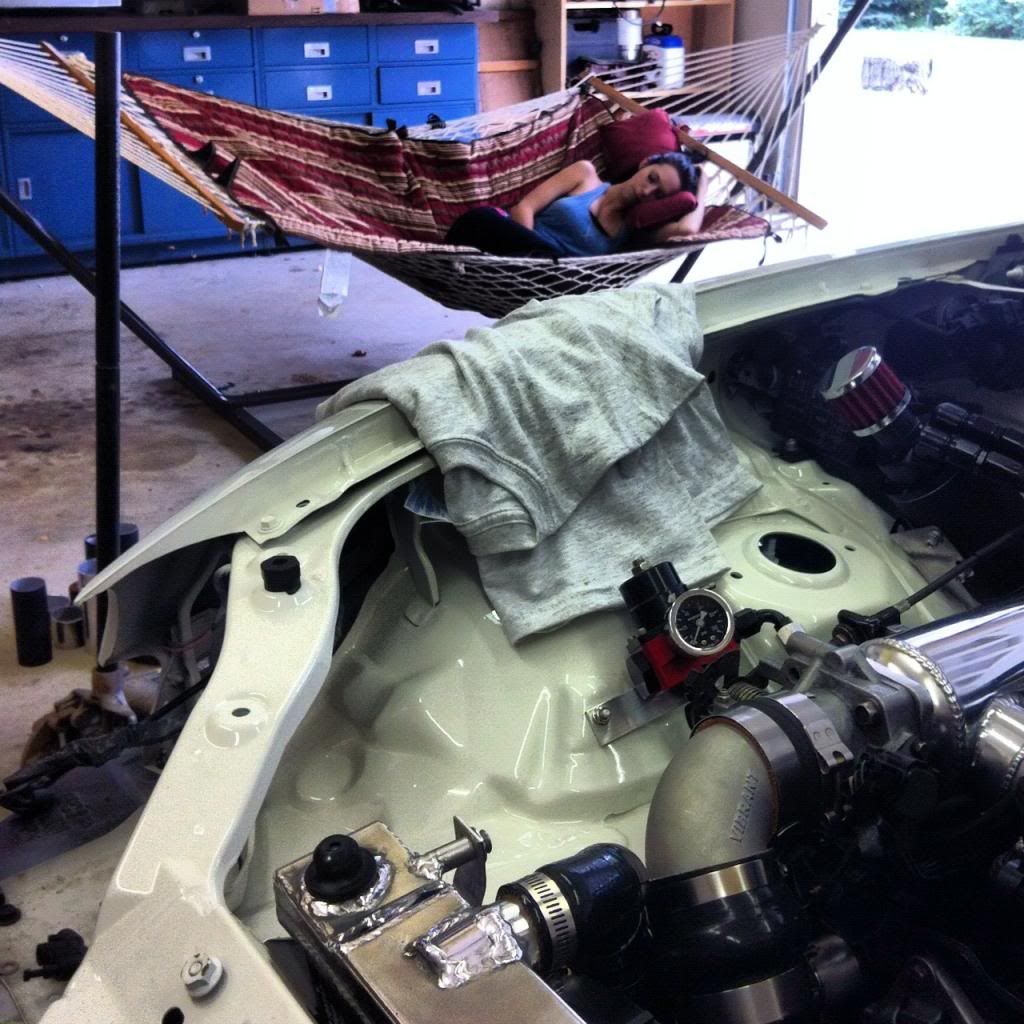
Since my girl has been hanging in the garage with me I figured I’d upgrade her seating form the riding lawn mower to a nice hammock… Looks about right.. Hammock + 50 shades of Grey = happy girl.
Next it was time to figure out where to put my bov. I’ll be using my Synapse recirculation valve as an atmospheric dump. I chopped off the old mounting pipe and made a new home for it just after the intercooler inside the bumper cover.


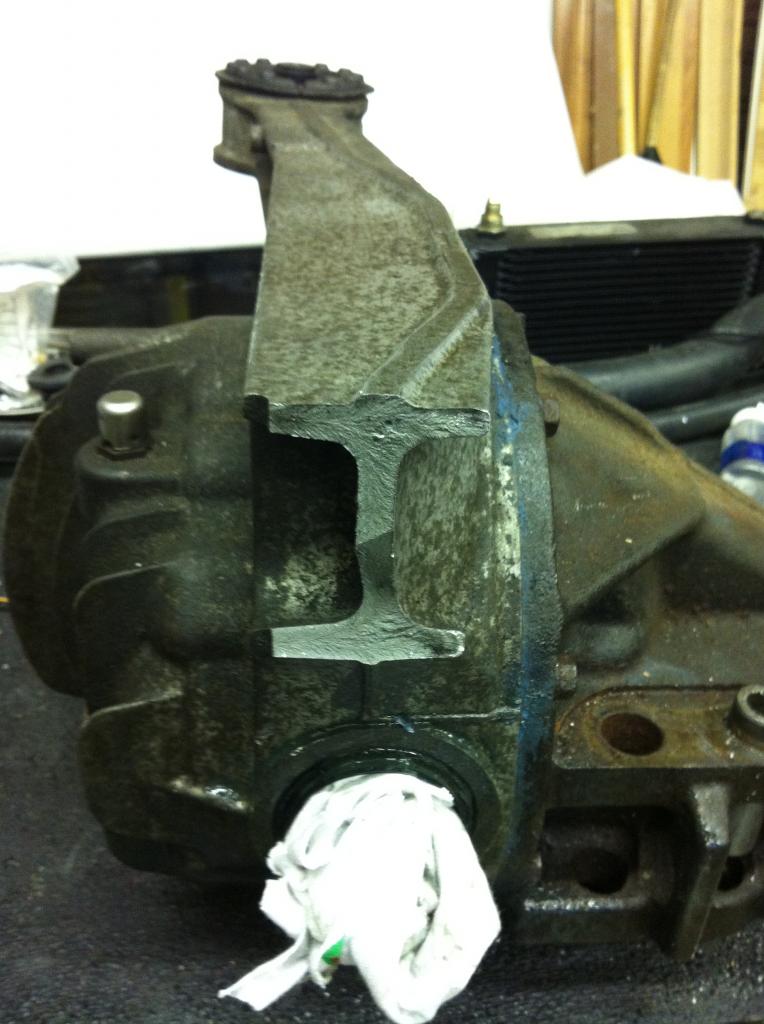
I’ll set that aside until I can make it over to my buddy’s place with a welder. So next was to replace that damn leaking diff seal. Since I’ve changed the axle a couple of times, it’s started to leak. I crawled under the car to discover this….
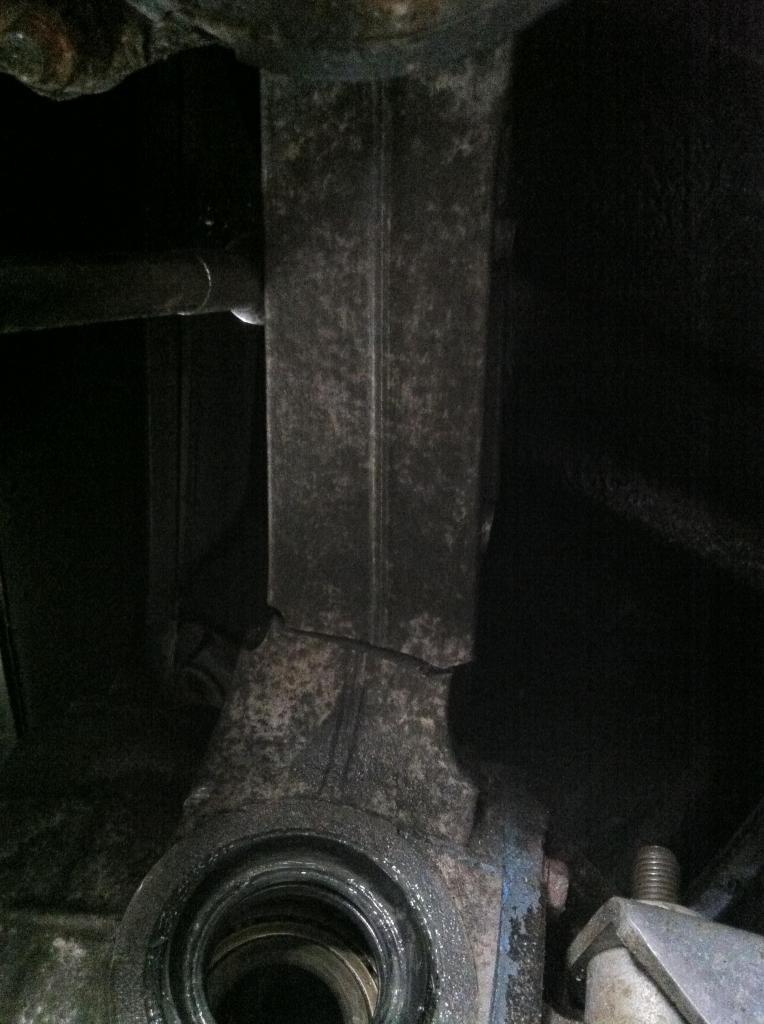
The diff arm is broken off… Since I’m using that beatrush brace, I probably couldn’t even tell it was broken. My guess is, it’s been broken for awhile now though.
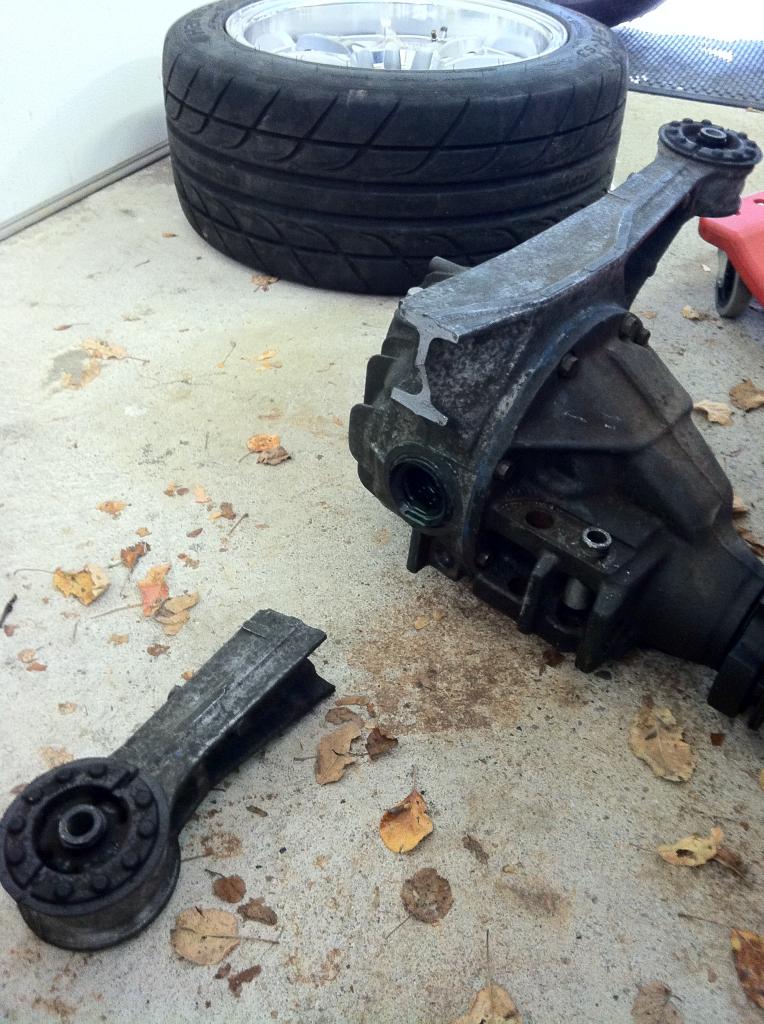
I’ll take this with me and weld it too.. I’ll likely box in the I beam part with more aluminum material. I doubt the diff internals are going to last long as it sits anyways but the arm probably won’t brake again with the beatrush brace installed.
Until next time my hoe…
During the installation I noticed that the wastegate tube was a bit too close to the engine bay and would likely make contact with the movement of the engine. So I mocked it up to draw out where I’d be modifying the bay and made my cut. I then painted the freshly exposed metal to avoid rust.
With the turbo installed I went through to check if any of the lines were making contact with anything else. To be safe I covered a couple of them with rubber line and stainless ties.
Then I installed my silicone outlet elbow. I ended up making a couple of adjustments that would keep it from making any contact with the frame. Looks like it was intended to be here.
Next was to install my fuel rail. I ordered the M-Tuned rail from 949.
The website states that the rail will work with my vehicle. However I mocked it up and it made contact with the valve cover when used with the correct holes for my injector alignment. So I pulled it off the car and removed some material.
After that it was perfect.. Strange how this was overlooked…
Next was to Depower my steering rack. Since I had to remove the pump, I’d rather have real manual steering. I uninstalled the rack and got it on the bench for disassembly.
The basics of this job are to remove the seal from the shaft that was used to hydraulically push the shaft back and forth. Without a pump you just end up having to push this fluid through the lines, causing resistance. So I removed the shaft and placed it in the vice.
Next I cut a slice through the ring, then popped it off with a couple of pry bars.
I also noticed that I had a slight bend in my outer tie rod. Oddly enough I had one laying around so I tossed that on and reinstalled the boots.
After the seal is removed, you cover the moving components with thick bearing grease and reassemble it. At this point you can remove all of the hydraulic lines but you want to cap them off to keep dust and dirt out.
Next I moved on to some of the vacuum components. Wastegate, regulator, brake booster…
After installing each component with the hard lines I would attach an air tool with a regulator to the end of it. I’d slowly crank up the pressure to about 40-50 psi and listen for leaks. I’ve had no reason to doubt these hard lines but it’s piece of mind.
Since my girl has been hanging in the garage with me I figured I’d upgrade her seating form the riding lawn mower to a nice hammock… Looks about right.. Hammock + 50 shades of Grey = happy girl.
Next it was time to figure out where to put my bov. I’ll be using my Synapse recirculation valve as an atmospheric dump. I chopped off the old mounting pipe and made a new home for it just after the intercooler inside the bumper cover.
I’ll set that aside until I can make it over to my buddy’s place with a welder. So next was to replace that damn leaking diff seal. Since I’ve changed the axle a couple of times, it’s started to leak. I crawled under the car to discover this….
The diff arm is broken off… Since I’m using that beatrush brace, I probably couldn’t even tell it was broken. My guess is, it’s been broken for awhile now though.
I’ll take this with me and weld it too.. I’ll likely box in the I beam part with more aluminum material. I doubt the diff internals are going to last long as it sits anyways but the arm probably won’t brake again with the beatrush brace installed.
Until next time my hoe…

Thread Starter
Featured Miata!
Joined: Aug 2011
Posts: 187
From: Royal Oak, MI
So I've decided that waiting for a diff housing only to break it again was not really in the list of things I'd like to do. Ultimately I’d like to swap the Cobra rear end but that can happen over the winter.
I have not seen anyone repair a diff housing before and it's probably for a couple of good reasons:
1. They are cheap to replace.
2. It's cast aluminum rendering it rather weak and difficult to repair
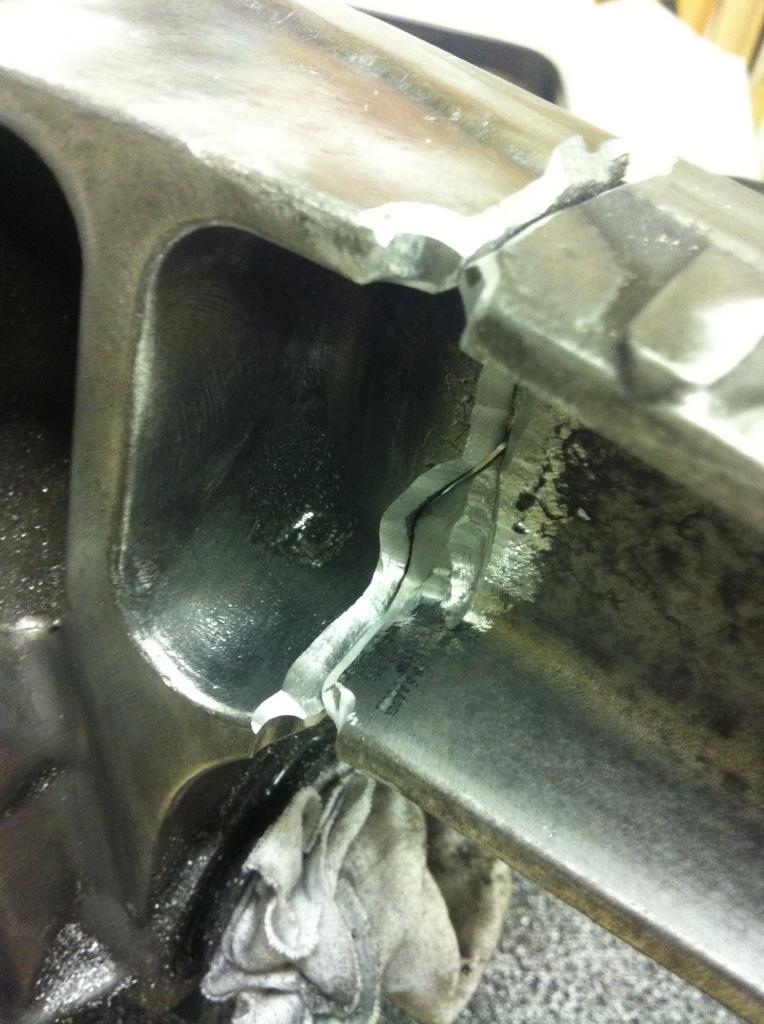
So I shall repair. I started by simply cleaning up the area with a gasket removal bit.
Since this is 100% structural I used a grinding bit to bevel into the material for the best weld penetration.

There was also a hairline crack that I dug into for repair.
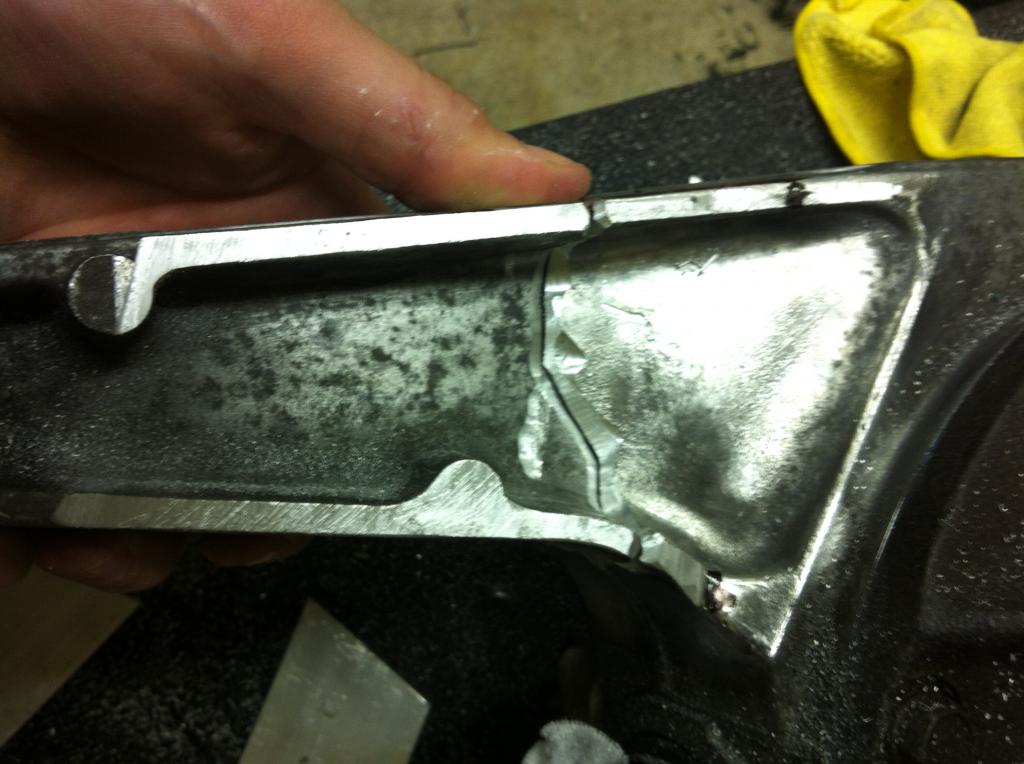
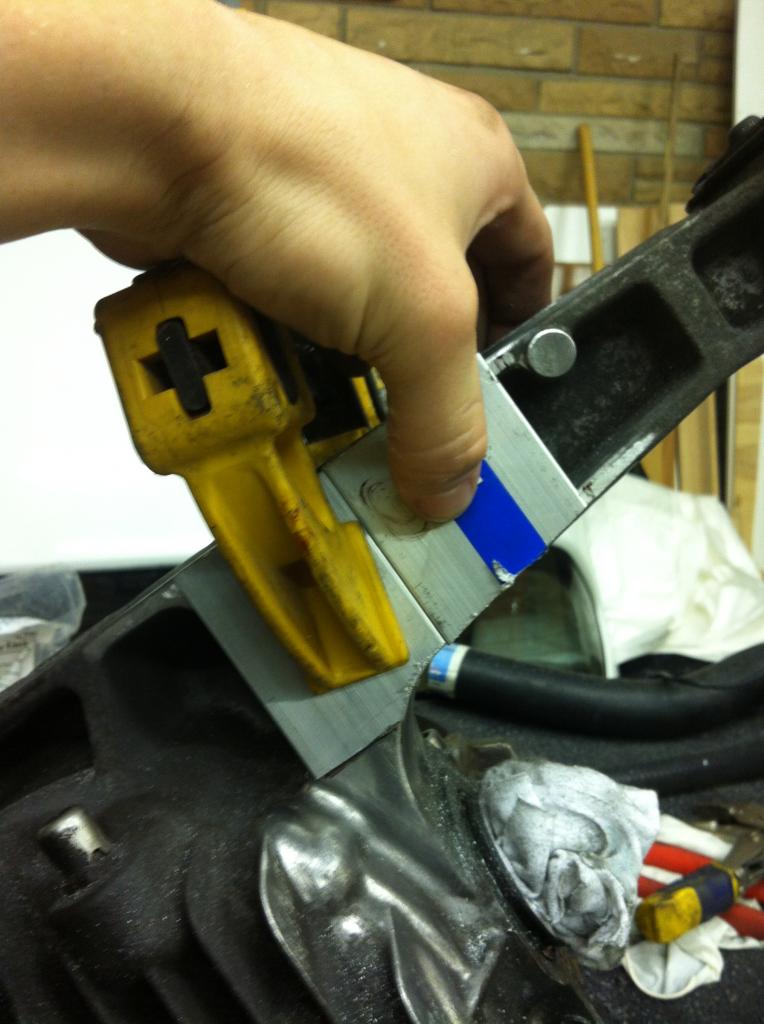
To strengthen the structure I’ve picked up aluminum plate to box in the I beam structure. This should leave the assembly stronger than before. You can see to begin; I’ve taken a flat file to create a flat mating surface for the new metal.
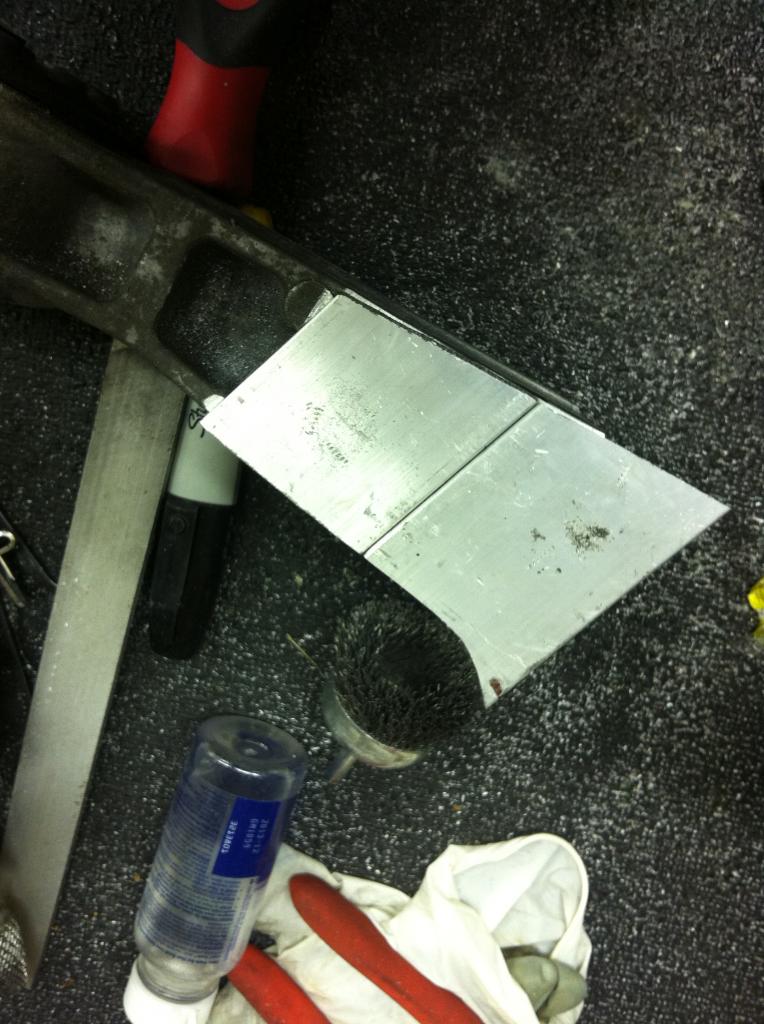
I’ll bring it to my guy tonight to have it welded up.
With that set aside, I tightened down my fuel rail and wanted to check my fuel system for leaks. I still needed to complete the return line by removing it from the “evap” canister thing and running it to the return tube on the tank.
This is a bit hard to explain but the smaller “return” line I’ve used was put in place for the EVAP system, meaning it does not go to the return on the fuel tank. Instead it goes to a charcoal canister for filtering. So it must be disconnected and run to the fuel tank as a return line.
I’ve created this illustration to show exactly how the routing ended up. Where is my +1 naow. I didn't make this for me guys
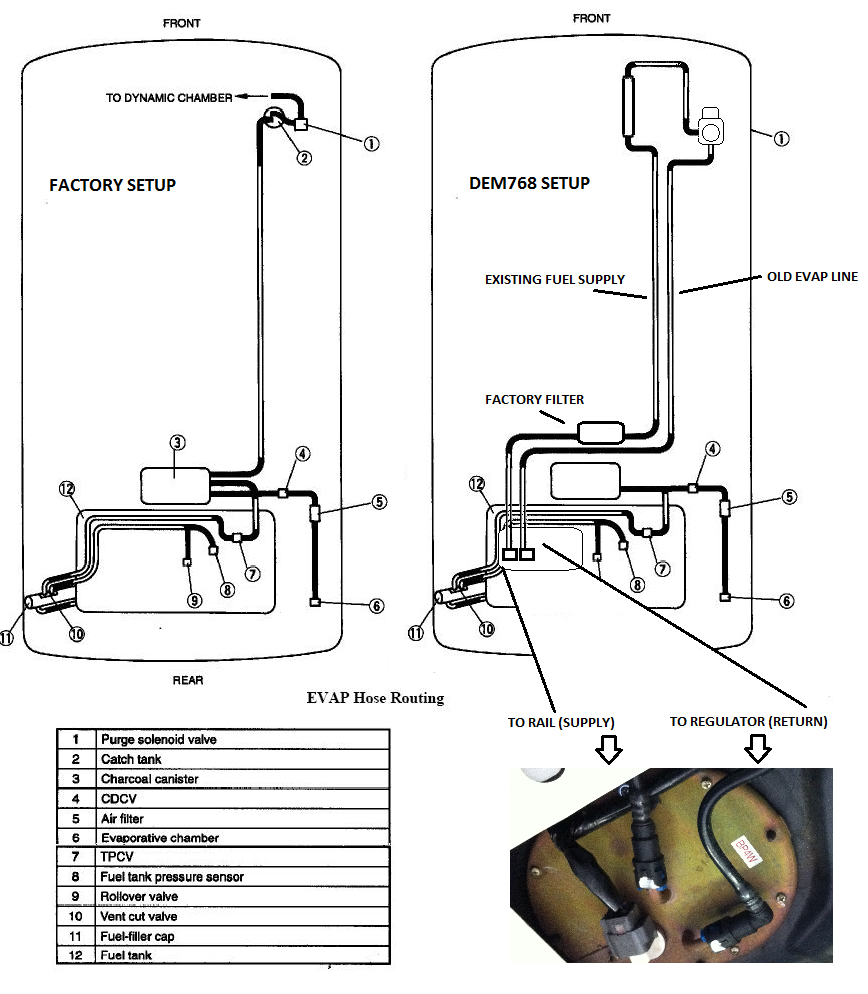
And bam – We’ve got fuel.

I have not seen anyone repair a diff housing before and it's probably for a couple of good reasons:
1. They are cheap to replace.
2. It's cast aluminum rendering it rather weak and difficult to repair
So I shall repair. I started by simply cleaning up the area with a gasket removal bit.
Since this is 100% structural I used a grinding bit to bevel into the material for the best weld penetration.
There was also a hairline crack that I dug into for repair.
To strengthen the structure I’ve picked up aluminum plate to box in the I beam structure. This should leave the assembly stronger than before. You can see to begin; I’ve taken a flat file to create a flat mating surface for the new metal.
I’ll bring it to my guy tonight to have it welded up.
With that set aside, I tightened down my fuel rail and wanted to check my fuel system for leaks. I still needed to complete the return line by removing it from the “evap” canister thing and running it to the return tube on the tank.
This is a bit hard to explain but the smaller “return” line I’ve used was put in place for the EVAP system, meaning it does not go to the return on the fuel tank. Instead it goes to a charcoal canister for filtering. So it must be disconnected and run to the fuel tank as a return line.
I’ve created this illustration to show exactly how the routing ended up. Where is my +1 naow. I didn't make this for me guys
And bam – We’ve got fuel.
Thread Starter
Featured Miata!
Joined: Aug 2011
Posts: 187
From: Royal Oak, MI
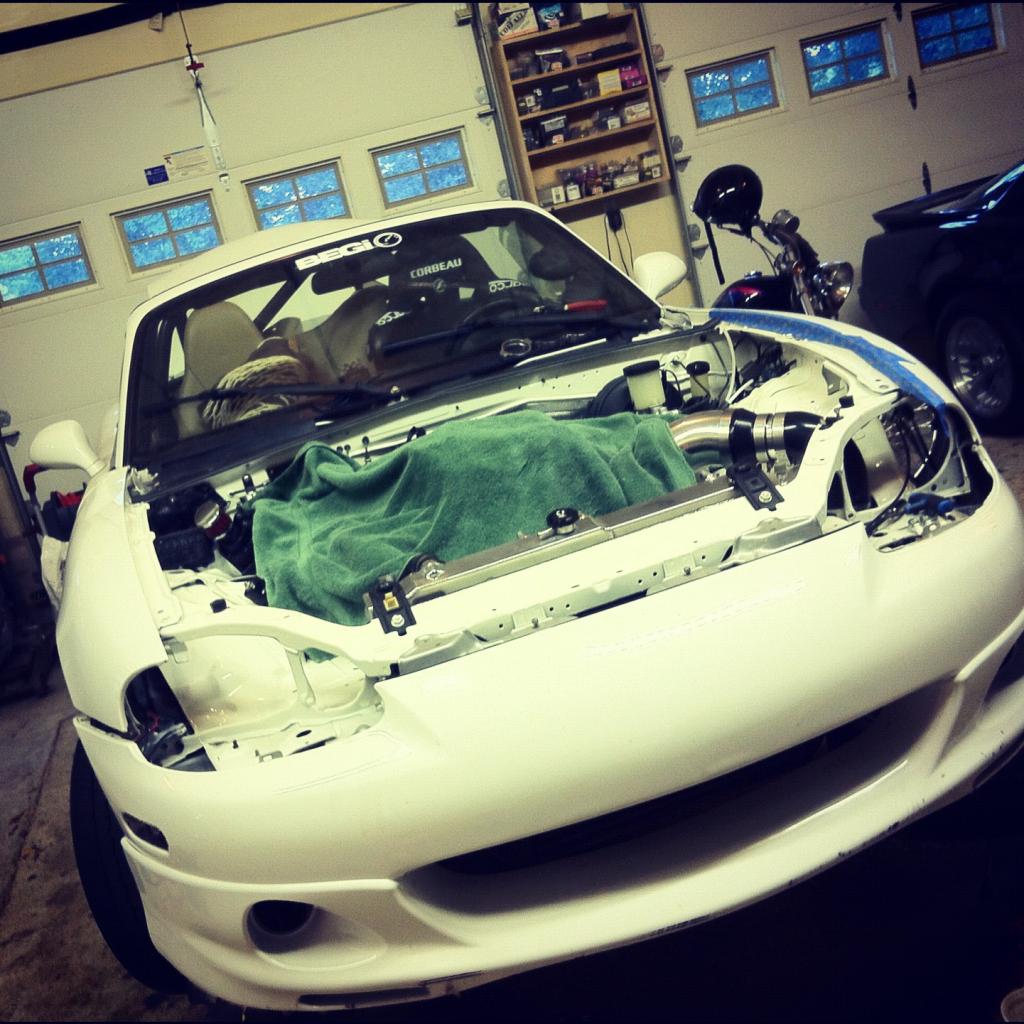
Not tuned. Working on some street tuning and working out the bugs.. Running on e85 having trouble with hot starts.
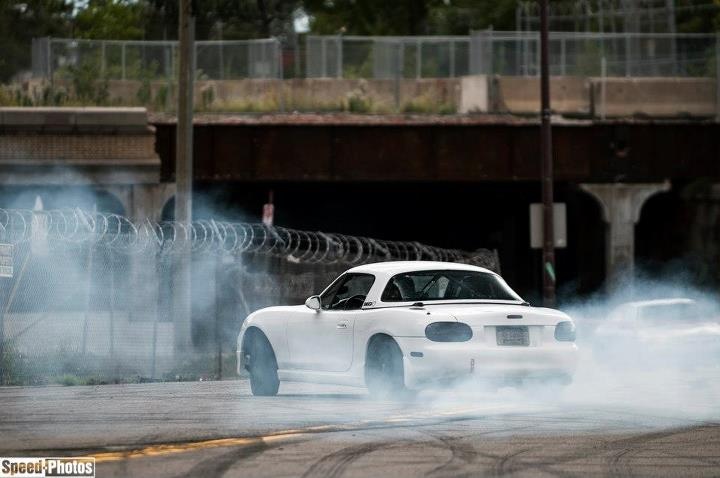
Pulls sooooooooo hard under boost... 1,2,3,4 blows the tires off.
Enjoy:


Pulls sooooooooo hard under boost... 1,2,3,4 blows the tires off.
Enjoy:

WTF, I want to know how I have 2 feet of snow in my yard and you are on the other side of the pond with no snow in that parking lot!
Oh, btw, car is awesome as usual, but you already know that.
Oh, btw, car is awesome as usual, but you already know that.

